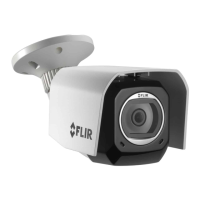
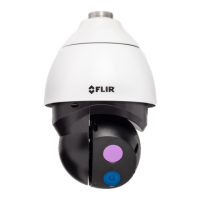
Appendix A — Camera Conditions (Select models only)
10
3. Under Zoom Speed, click + / - or use the slider to set the speed of optical zoom
functions.
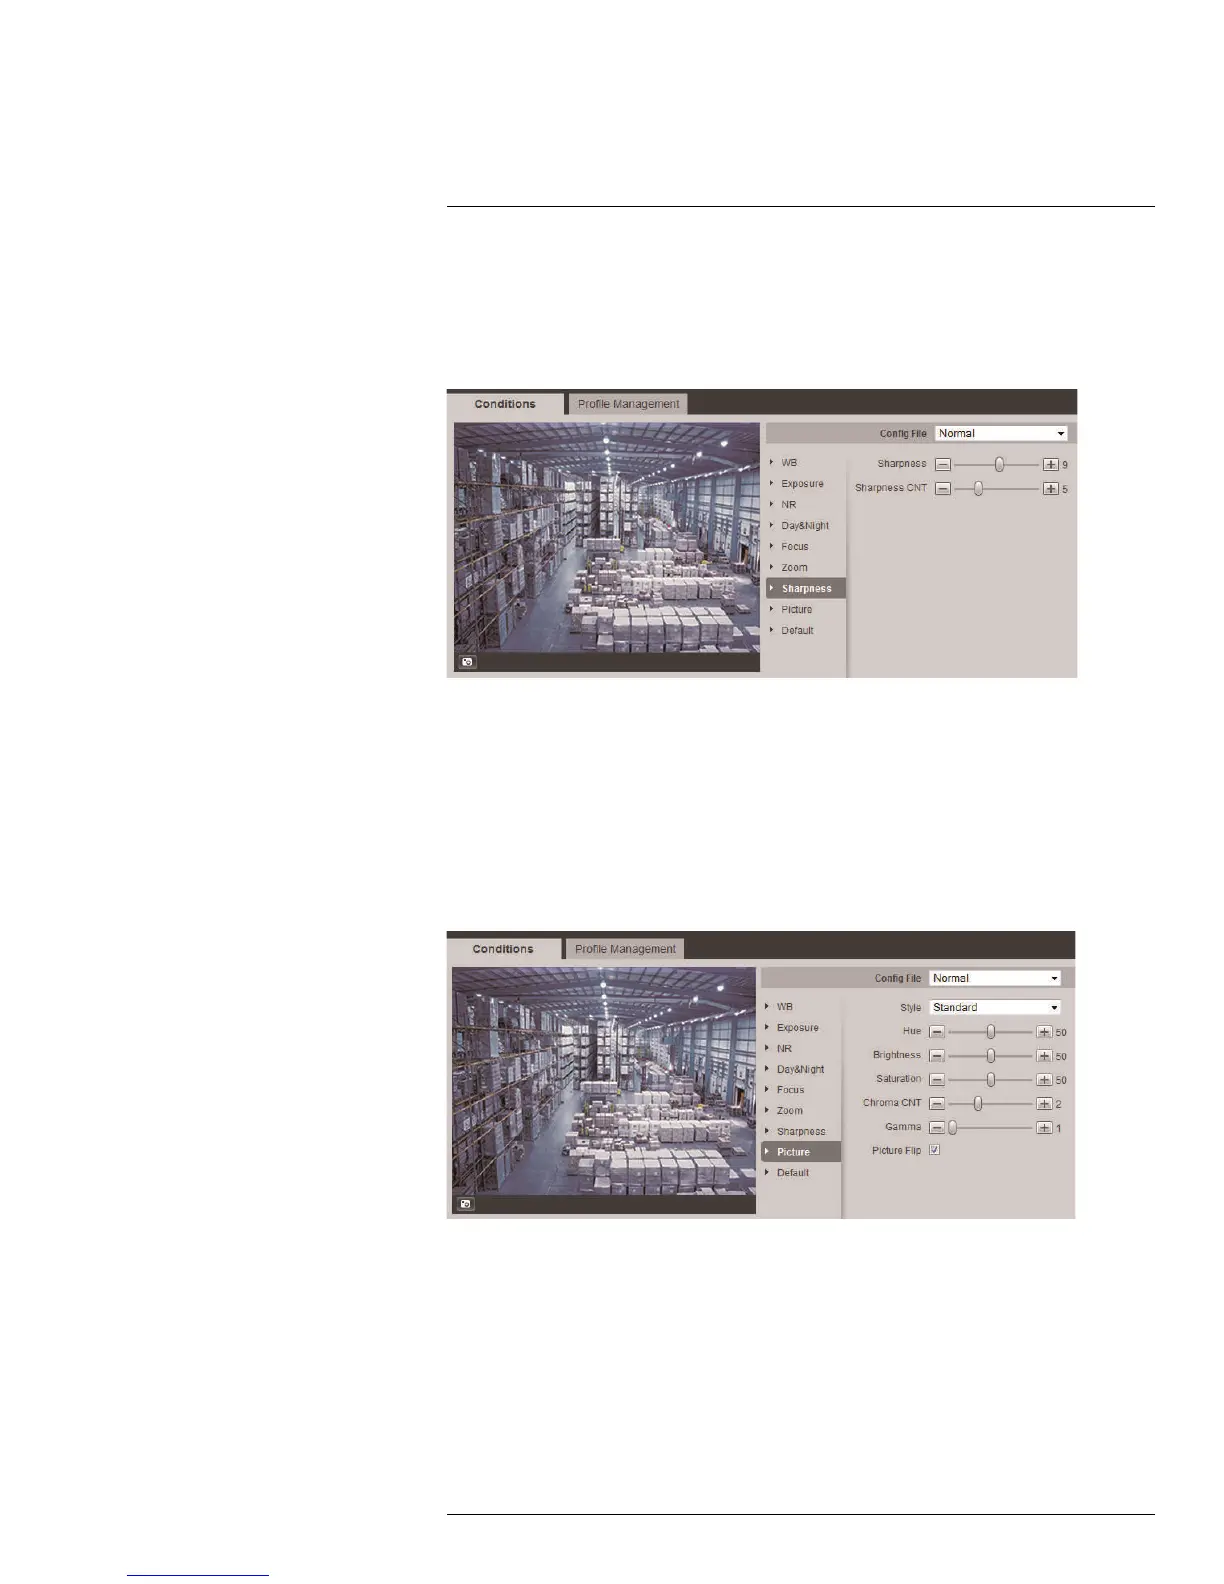
10.8 Sharpness Setting
Configure image sharpness settings.
To configure sharpness settings:
1. Click Sharpness to enter the sharpness setting submenu.
2. Under Sharpness, click + / - or use the slider to set the sharpness of the camera im-
age. The higher the value, the more clear the image becomes. Object edges also be-
come sharper when a higher value is set.
3. Under Sharpness CNT, click + / - or use the slider to set the sharpness control level.
10.9 Picture Setting
Configure the color and appearance of the camera image.
To configure picture settings:
1. Click Picture to enter the picture setting submenu.
2. Under Style, select one of the following options:
• Standard: Default image style. Sharp, saturated image with vivid colors.
• Soft: Lowers image detail to create a softer image.
• Flamboyant: High saturation with lower sharpness. Designed to reduce eye strain.
3. Under Hue, click the left / right arrow keys to select a hue value for the camera image
(1–100).
#LX400038; r. 1.0/18537/18537; en-US
133