1750
Getting Started Guide
26
The SD card should display as an additional drive storage card for the
PDA in the My Computer folder.
3. On your PC, open the card as a drive.
4. Copy the files from the PDA to the desired location on your computer.
You are now ready to open the recorded data files in Fluke Power Analyze.
Overview of the Power Analyze Screen
Whether you are working with a recorded data file or are connected live to a
Recorder, many of the elements of the Fluke Power Analyze screen are the
same.
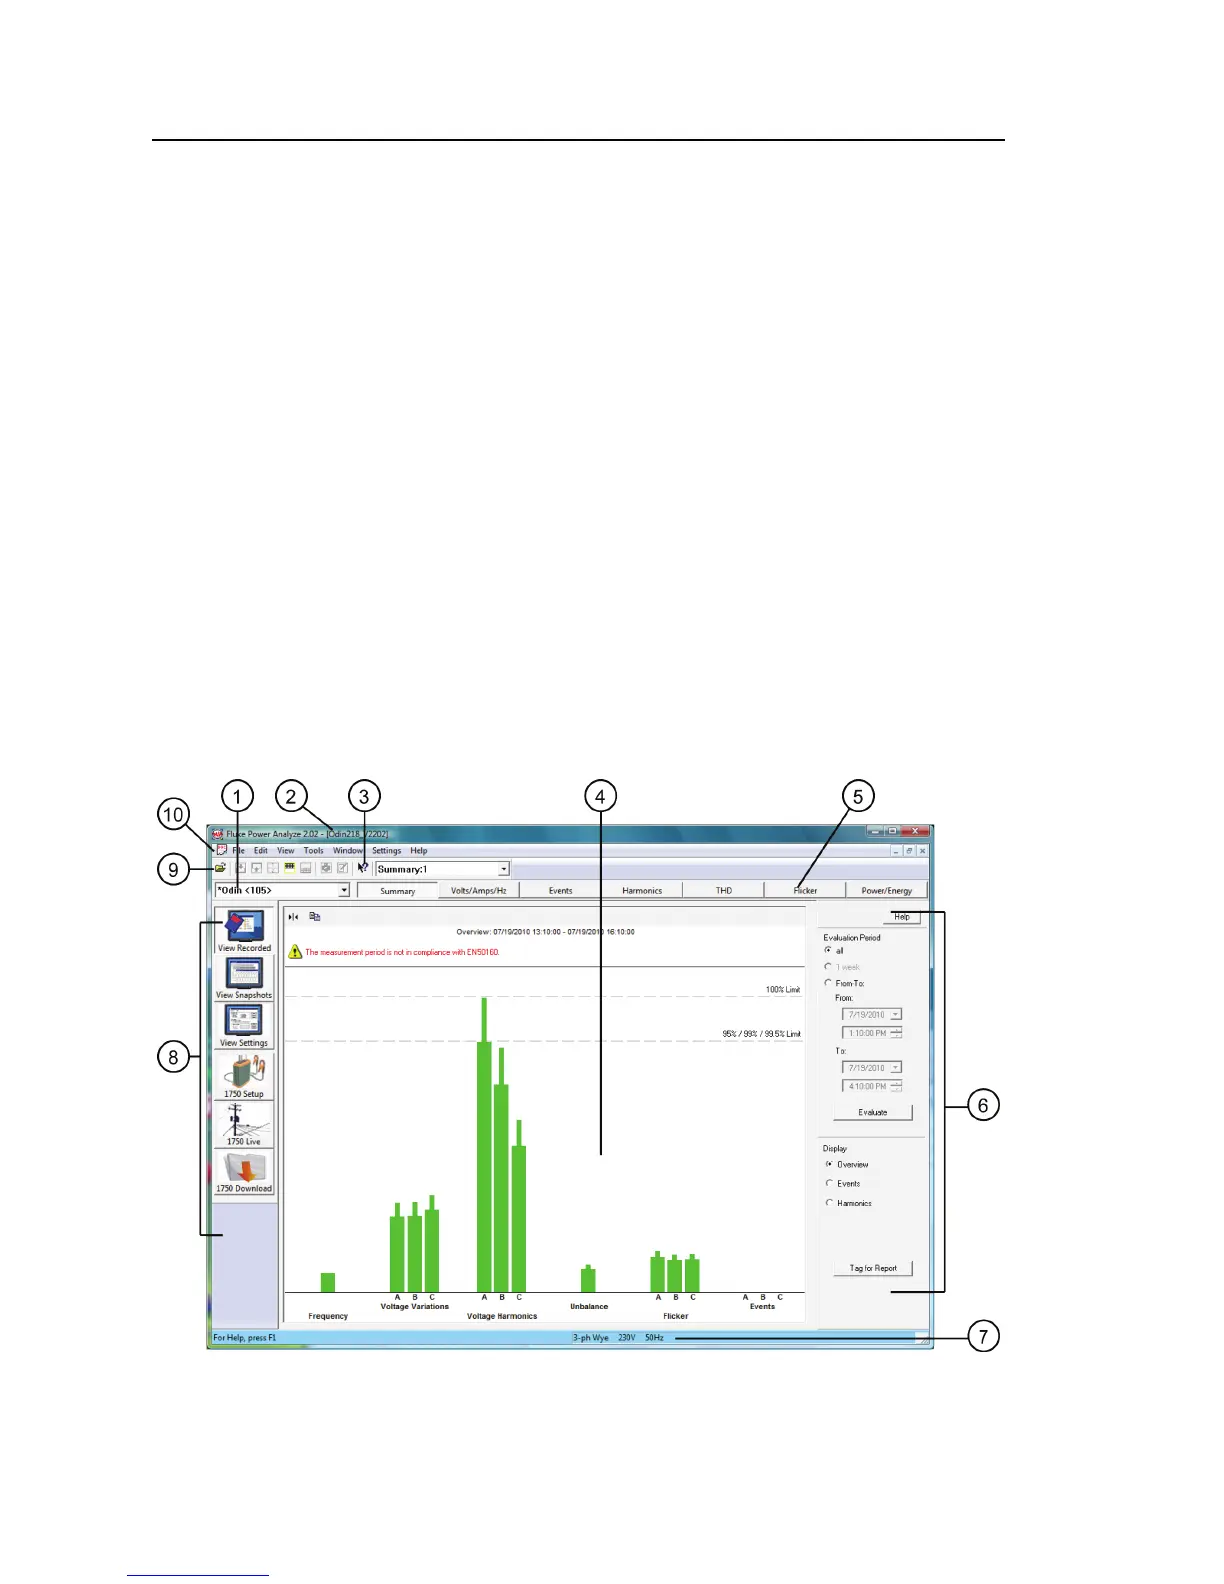
Power quality data appears in the central screen area. The type of data you see
depends on the active mode and view. Additional view controls on the right
side and buttons on the tool bar let you customize how the data displays.
Figure 3 shows the Summary recorded data view and Table 4 describes the
areas and controls of the screen. For a detailed review of the contents of the
actual data, see “Recorded Data Screen Overview” later in this manual.
azd200.png
Figure 3. Power Analyze Screen

 Loading...


