Section 3: Model 9100 Controls: Modes of Operation 3-7
Final Width = 215mm
TODAYS DATE TIME
TODAYS DATE TIME
Present Settings:
Language English
Power-up mode Manual
Bus Address 1
Printer NONE
Results Card Disabled
Safety Voltage
.
V
Border Line
7
.
%
Scope option Option 600
Crystal option High acc
Passwords and Access
1. All Configuration mode selections,
other than the viewing angle, require
a password. When the 9100 is
shipped from new, the password
requirement is enabled to avoid
unauthorized access.
2. It is recommended that both
passwords be changed, for security
purposes, at the earliest
opportunity.
3. The shipment 'Configuration'
password is 12321 (as typed on the
front panel keypad when the
Password Entry screen for
Configuration mode is showing).
It is stated here to allow entry to
Configuration mode by personnel
authorized by local management,
and permit subsequent access to the
means of altering the password
itself. The necessary process is
detailed later in this sub-section.
4. A second (different) password will
be required to allow entry to
Calibration mode as authorized by
local management. The shipment
version of the Calibration mode
password is 2→3→5→7 (as typed
on the front panel keypad when the
Password Entry screen for
Calibration mode is showing) The
necessary process for changing this
password is also detailed later in
this sub-section.
3.3.2.2 'MORE'
Configuration
1. To gain access to other
Configuration mode options, a
password will be required. (Refer
to the arrangements made for
'shipment' passwords described in
the column on the left.)
2. The password requirement will be
invoked by pressing the MORE
screen key on the right of the
bottom row. The 9100 will transfer
to the 'Password Entry' screen
3. When you enter your password
using the alpha-numeric keypad,
security icons will appear on the
screen as you type. Finally press
the ↵ key.
If the password is incorrect: an
error message will be given and
the security icons will be removed,
enabling a new attempt to enter
the password.
The 'EXIT' screen key acts to
escape, back to the previous screen.
3. The correct password, followed
by ↵, will provide entry to the
main 'Configuration' menu screen,
which shows the present settings
of the parameters which can be
changed using screen keys whose
labels now appear on the display
If it desired to revert to the initial
Mode Selection display, press the front
panel 'Mode' key.
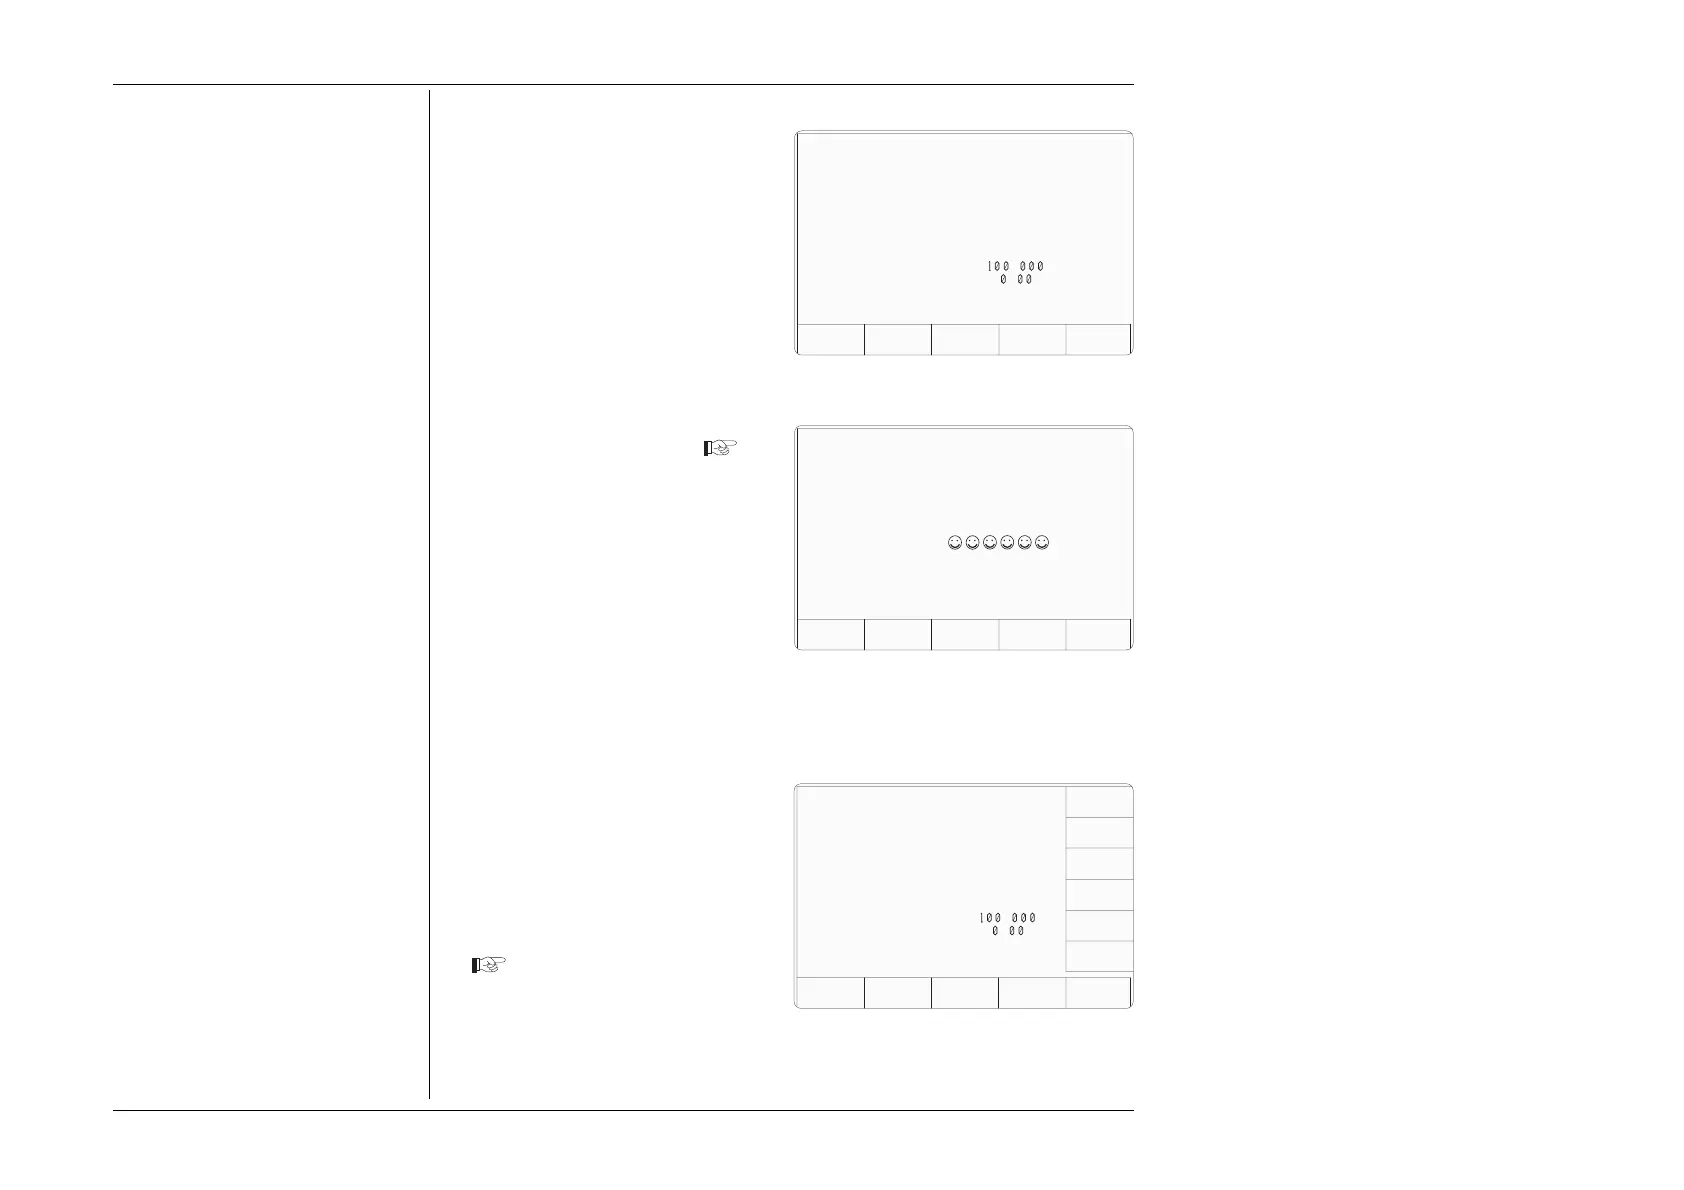
Ser. No. XXXXXX Rev. XXX
For Configuration
Password Entry
EXIT
Enter password :
Configuration
TODAYS DATE TIME
Configuration
VOLTAGE
LIMIT
DATE
TIME
BORDER
LINE
SELECT
LANG
MORE
POWER
UP MODE
BUS
ADDRESS
PRINTER
RESULTS
CARD
CLEAR
USER
LIST
VIEW MORE
Present Settings:
Language English
Power-up mode Manual
Bus Address 1
Printer NONE
Results Card Disabled
Safety Voltage
.
V
Border Line
7
.
%
Scope option Option 600
Crystal option High acc
Ser. No. XXXXXX Rev. XXX