Section 3: Model 9100 Controls: Modes of Operation 3-15
Final Width = 215mm
TODAYS DATE TIME
TODAYS DATE TIME
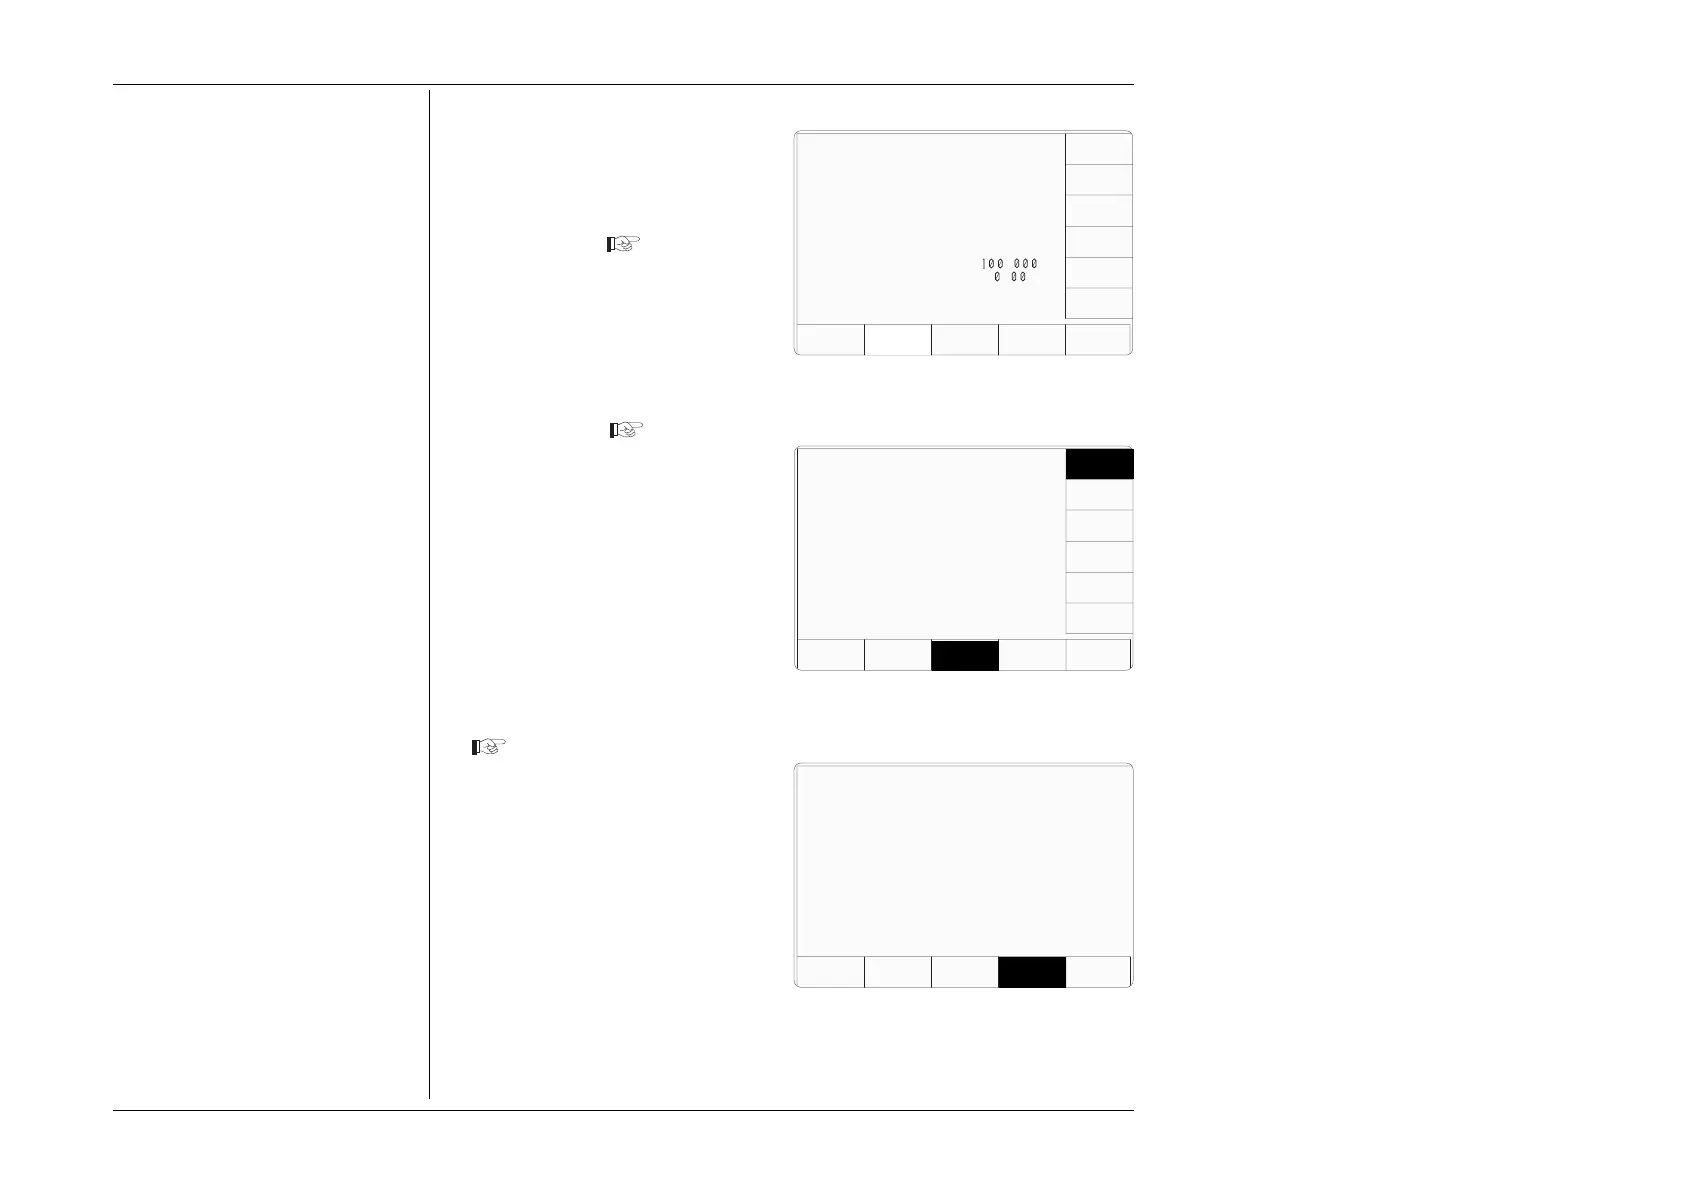
3.3.2.10 'DATE TIME'
1. For access to allow the date and
time to be altered, press the DATE
TIME screen key on the 'Present
Settings' screen
Date and Time Settings
A real-time clock, supported by an
internal battery for occasions when line
power is off, presents the date and time
at the bottom of many screens. It is also
used to generate the date which will
appear on direct-printing certificates in
Procedure mode. Users have access
via Configuration mode to correct the
date and time (for instance: to
accommodate daylight saving changes,
and crossing time-zones).
2. This transfers to a configuration
screen designed for changing the
date and time. Our representation
shows the current date from a
previous setting
3. Press the appropriate right screen
key to set the required date format.
4. To correct the date, use the alpha-
numeric keypad to enter the present
date: in the same format as shown
by the highlighted screen key.
5. To correct the time, press the
CHANGE TIME screen key to
transfer to the 'Change the time'
screen, then use the alpha-numeric
keypad to enter the present time
6. Pressing the 'CHANGE DATE'
screen key reverts to the screen for
changing the date.
7. Press the EXIT screen key to
return to the 'Present settings' menu
screen. The corrected date and
time, updated by the real-time
clock, will appear wherever they
are used.
Configuration
EXIT
CHANGE
TIME
CHANGE
DATE
Change the time by using
direct editing only.
09—37
Configuration
EXIT
The selected date format is
indicated by the highlight.
Change the date by using
direct editing only.
21/07/1995
CHANGE
TIME
CHANGE
DATE
D-M-Y
M-D-Y
Y-M-D
Configuration
Present Settings:
Language English
Power-up mode Manual
Bus Address 1
Printer NONE
Results Card Disabled
Safety Voltage
.
V
Border Line
7
.
%
Scope option Option 600
Crystal option High acc
Ser. No. XXXXXX Rev. XXX
VOLTAGE
LIMIT
DATE
TIME
BORDER
LINE
SELECT
LANG
MORE
POWER
UP MODE
BUS
ADDRESS
RESULTS
CARD
PRINTER
CLEAR
USER
LIST