FRICK
®
QUANTUM™ LX COMPRESSOR CONTROL PANEL S90-020 M
MAINTENANCE Page 39
IDENTIFYING THE TYPE OF DISPLAY
To date, there have been four different manufacturers of
displays that the Quantum™ Control Panel has used. It is
important to be able to determine the type of display that
you are installing, so that it can be properly matched with
the version of Quantum™ controller already in place. The
reason for this is that each of the manufacturers has their
own requirements for both logic voltage, and for backlight
voltage for their particular display. Fortunately, the
Samsung, NEC, and Sharp displays all share the same
voltage characteristics, only the LG Philips display varies
from this voltage requirement.
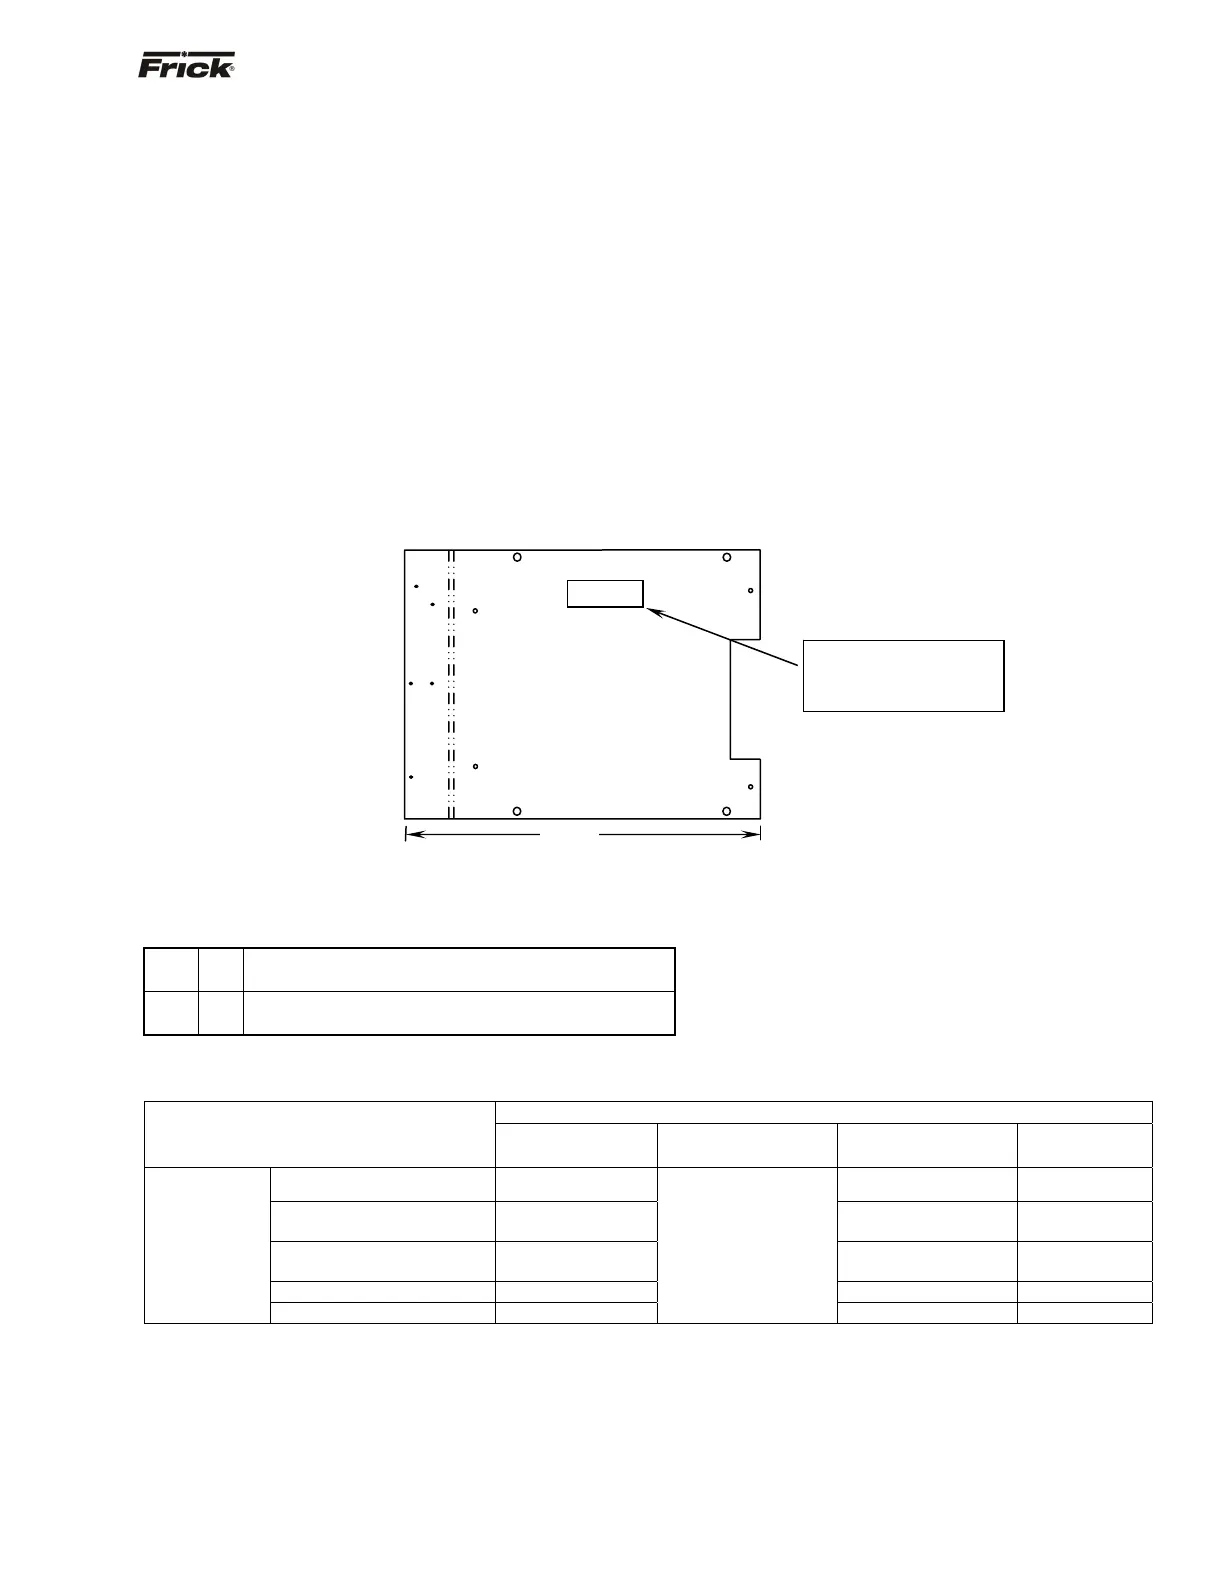
A sticker should be affixed to the top center of the
mounting plate. This sticker will give the part number of
the assembly, the display (and type of display), and the
inverter. If this sticker is not present, or to confirm the
sticker information, measure the distance from one end of
the white display mounting plate to the other, as shown
below. If the distance is approximately 12-3/4", the display
that is mounted to the plate is either a Sharp, NEC or
Samsung. If the distance is approximately 11-3/4", the
display is an LG Philips, as shown below.
Once the type of display is known, you will want to use the
chart at the bottom of this page to determine the proper
parts compatibility.
You will also need to refer to the jumper settings for the
appropriate Quantum™ controller that is installed.
Display Replacement
1. Shut off control power.
2. Remove the defective display.
3. Install the new display.
4. Ensure that all parts (cables, etc.) are compatible
per the chart at the bottom of this page.
5. Verify the jumper (link) settings per the table near
the bottom of this page.
Display Mounting Plate
Quantum™ 4 Motherboard Display Jumpers (links)
(Refer to “Quantum™ 4 Board Settings" for location of jumpers)
LK3
A
B*
+5V Backlight Voltage (Not used)
+12V Backlight Voltage (All Displays)
LK4
A*
B
+5V LCD Supply (Samsung, NEC, Sharp)
+3.3V LCD Supply (LG Philips Display)
* standard setting
DISPLAY ASSEMBLY COMPONENT REPLACEMENT GUIDE
MANUFACTURER
DESCRIPTION
SAMSUNG
(OBSOLETE)
NEC
(OBSOLETE)
SHARP
(CURRENT)
LG PHILIPS
(OBSOLETE)
10.4” TFT Display 333Q0001180 333Q0001581 649C1078H01
Backlight Inverter
333Q0001582
(OR 333Q0001181)
333Q0001582 333Q0001582
Cable - CPU to
Display/Inverter
649D4824H01 649D4824H01 649D4824H01
Replacement - Backlight Not Available 333Q0001588 333Q0001785
Quantum™ 4
Display Replacement Assy. 640C0021G01
SEE NOTE "A"
640C0021G01 Rev B 640C0052G01
NOTE A: When upgrading from a Quantum™ 3 with an NEC Display, to the Quantum™ 4, the display will need to be upgraded also,
refer to the Recommended Spare Parts list. The LK4 jumper will need to be in the "A" position.
12-3/4"
FRICK ASSEM NO.
640C0052G01 / L.G.
PHILIPS
FRICK ASSEM NO.
640C0021G01 / SHARP
DISPLAY NO. 333Q0001581
INVERTER NO. 333Q0001582
Sticker Information
(may not be present on all
mounting plates)