3000 CONTROLLER USER GUIDE
17
Main Menu: Vat Setup
To program the Vat Setup, make sure the controller is OFF and follow the steps below.
Vat Setup mode allows the controller to be set for language displays, vat sizes, and
temperature range displays.
NOTE: Global system settings are only available on the far left controller. Individual vat setup
choices are available on the individual vat controller.
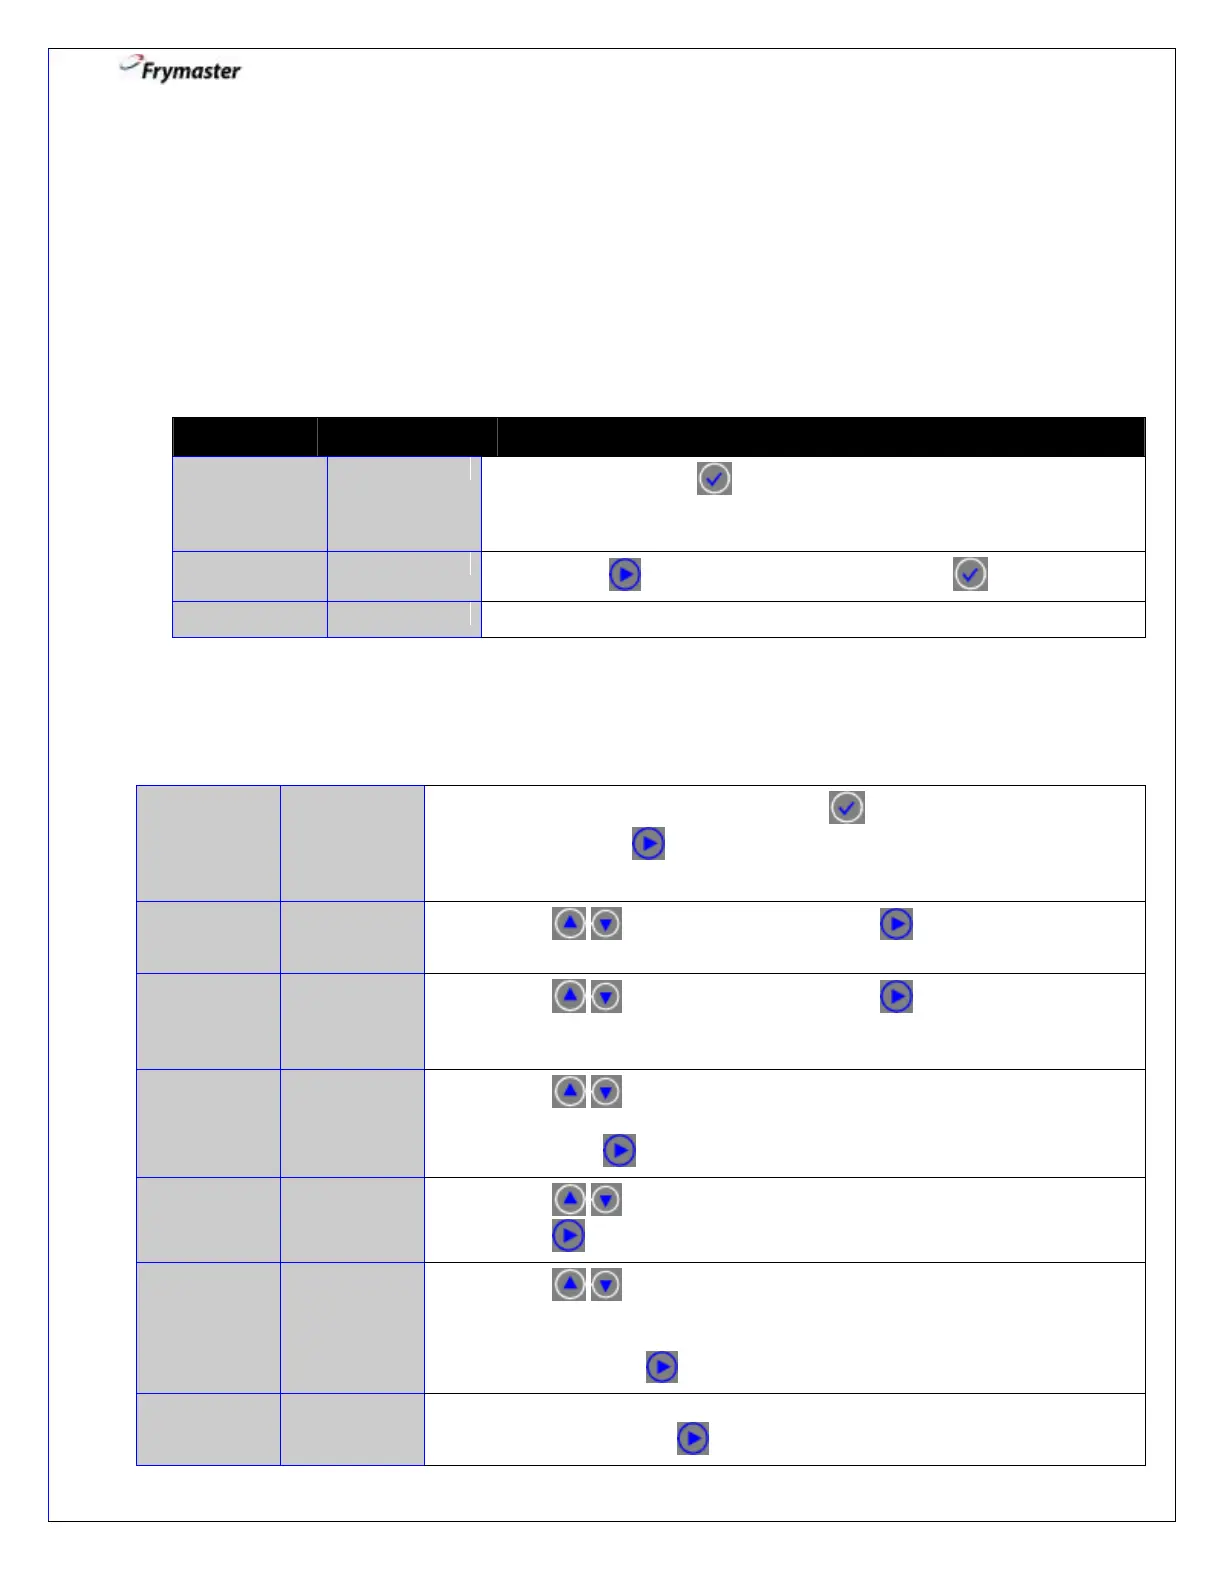
1. Enter Vat Setup
1-1. Press and hold for about 10 seconds until the controller
displays Main Menu changing to PRODUCT SETUP.
(Product Setup is described on page 9.)
1-2. Press to scroll to VAT SETUP and press .
2. Vat Set-Up: System
(Most of the system choices are only available on the far left controller)
2-1. SYSTEM shows in left display. Press to enter System Setup.
Note: Pressing will scroll to TIME/DATE *, DST SETUP *, FILTER,
E-LOG, or CHANGE PASSWORD. * Global Settings
2-2. Press to scroll to choice and press to advance (Default is
ENGLISH). Far left controller only.
2-3. Press to scroll to choice and press to advance. (This option
allows another display language to be selected – ex. Spanish as a
second language). (Default is SPANISH). Far left controller only.
2-4. Press to scroll to choices: Non-CE (non-European standards),
CE Belgium, or CE (European Conformity standards) (Default is NON-
CE). Press to advance. Far left controller only.
2-5. Press to scroll to choices: Gas or Electric.
Press to advance. Far left controller only.
2-6. Press to scroll choices: Gas: GL30 Full, GL30 Split, GL30 Full
Quick, or GL30 Split Quick; Electric: EL30-14 Full, EL30-14 Split,
EL30-17 Full, or EL30-17 Split. With the current fryer vat type
displayed, press to advance. Far left controller only.
2-7. Sets sound level for controller. Enter level, 0-9 (0=Off/ 9=Loudest)
(Default is 5). Press to advance. Far left controller only.