3000 CONTROLLER USER GUIDE
43
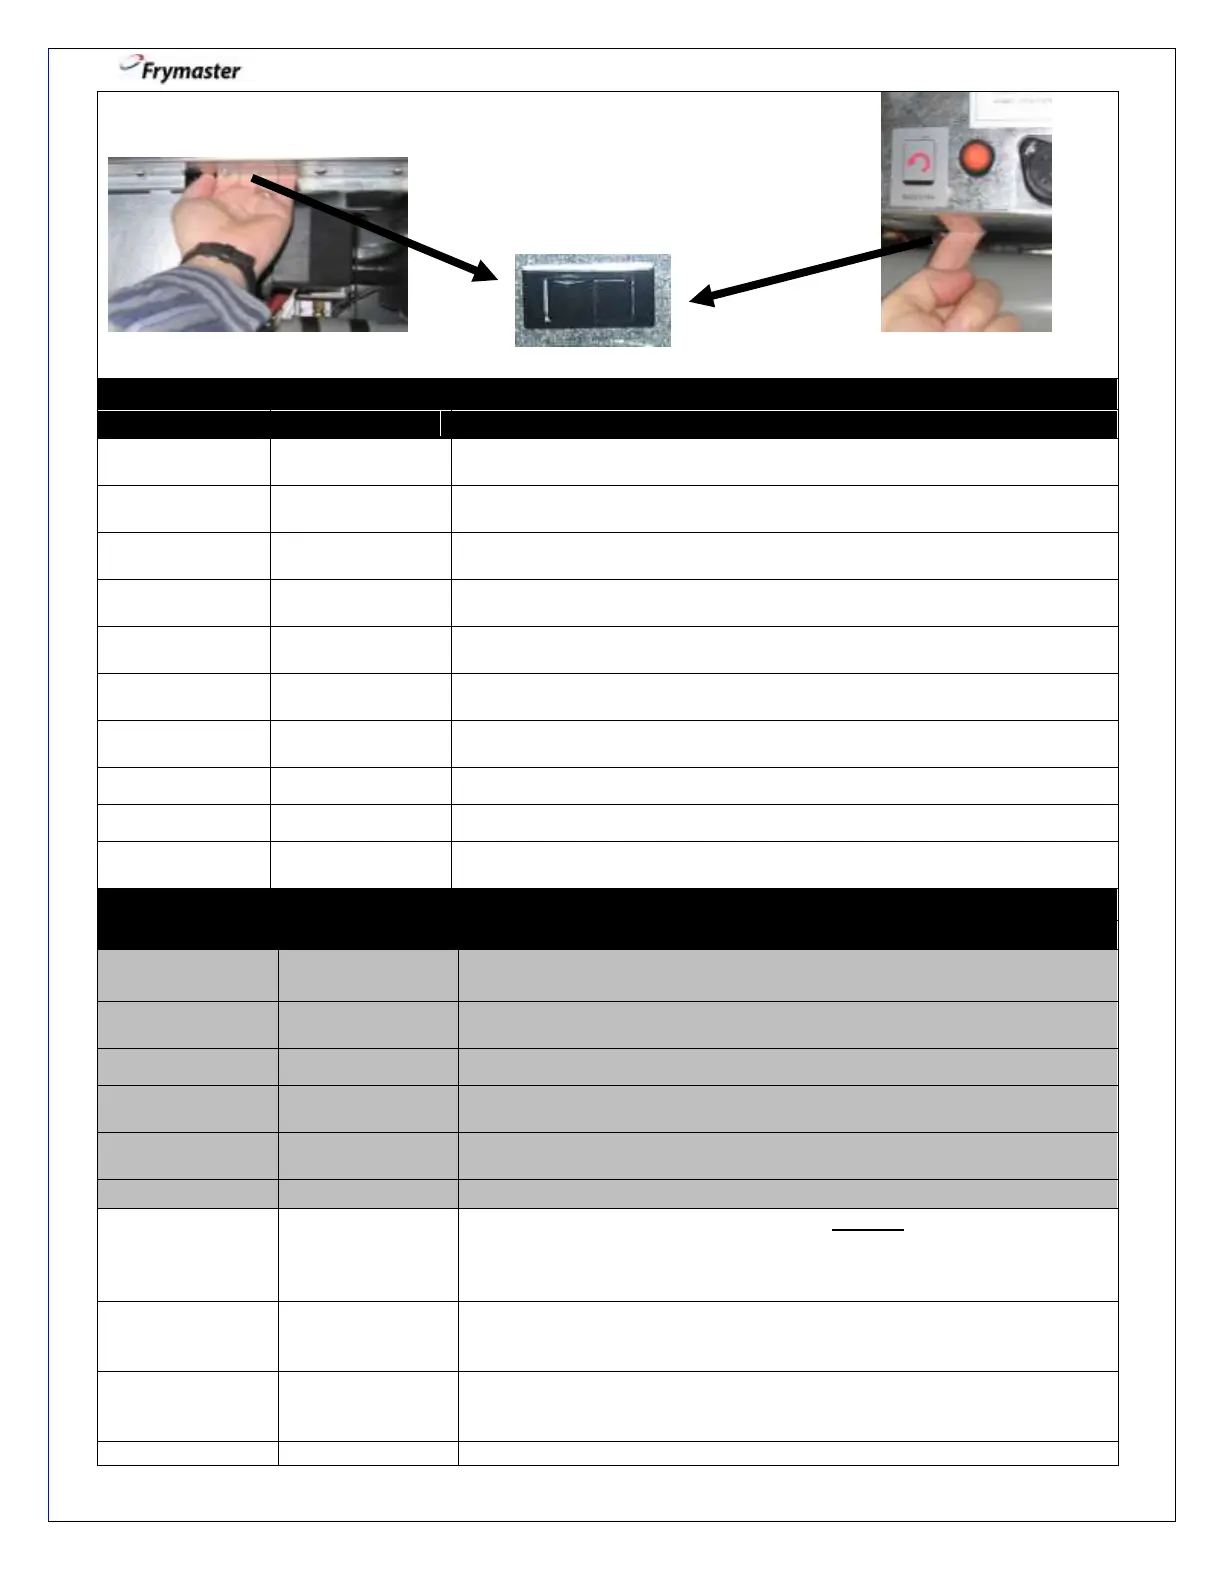
Figure 4 (Gas) Figure 5 (Electric)
Figure 3
The left controller displays this message. US and non-CE countries
leave at NON-CE. CE countries press the to choose CE. Press
This message is displayed on additional controllers (usually vats 2 and
higher).
The left controller displays this message. Press the or to choose
correct fryer type (OCF30 or other fryer type if different ) then press
Press the or to choose correct energy type (gas or electric) then
press .
Press the or to select proper fryer model (GL30FULL or GL30
SPLIT or other fryer type if different) then press .
Press the or to scroll choices (NONE, JIB, or BULK) for fresh oil
supply. Press . This option is only available on the far left computer.
Press the or to scroll choices (NONE, or BULK). Default is NONE.
Press . This option is only available on the far left computer.
Press the (check) button.
First controller reboots and goes to OFF.
Additional controllers may display this message. If displayed, press the
filter button on each controller to continue.
EACH ADDITIONAL CONTROLLER
Press and hold the for 10 seconds until MAIN MENU/PRODUCT
SETUP is displayed.
Enter 1656 to advance to system setup.
Press the (check) button to enter SYSTEM SETUP.
Press the or to choose correct fryer type (OCF30) then press
Press the or to select proper fryer model (GL30FULL or GL30
SPLIT) then press .
Press the (check) button. (Repeat for all remaining controllers).
With the controller(s) displaying OFF, VERIFY software update by
pressing the TEMP button to check updated 3000 version on each
controller. 3000 should display software version 40.0159.03. for 3000
and 35.0157.00 for ATO.
Once the software has been updated and the versions are correct,
replace the cover and screws covering the SD card slot. Replace the
screws attaching the controller and replace the bezel and screws.
If setting up a replacement controller, use the instruction sheet 819-
6806 to perform tech mode setup and vat setup. Ensure at the “RESET
PRODUCTS” prompt to press the to “YES”. Press .
Set the current date and time using instructions 819-6806.