Installing Your SONAbeam Terminal
34
wireless at the speed of light …………….
NAbeam E-Series Installation Manual
Optional Customer Cabling Kit
An optional E-Series Cabling Kit is available from fSONA, which provides all of the
components necessary to interface a SONAbeam to a suitably located Customer Interface
Box. This optional kit includes:
ONE – 2.3m length of 1” Liquid-Tight flexible conduit, with 1” conduit
connector kit…
ONE – 3m length of 3-18 AWG power cable…
TWO – 3m CAT5 patch cable with RJ45 terminated ends…
TWO – 3m multimode duplex fiber optic cable with LC terminated ends…
TWO – 3m single mode duplex fiber optic cable with LC terminated ends…
WARNING!
If you choose to provide your own interface components, the conduit must
provide a watertight interface to the terminal.
For powering your SONAbeam terminals, use standard, compliant power
cordage that meets or exceeds the following:
18 – 14 AWG stranded; 300 Volts; -40
°
C to 85
°
C
In extreme environments, select suitably rated power cordage!
Furthermore, all applicable local/regional safety codes MUST be observed!
SONAbeam Customer Interface Area
All of the customer-provided interfaces are made in the SONAbeam terminal’s Customer
Interface Area inside the optical head through the customer-provided, 1” flexible Liquid-
Tight conduit.
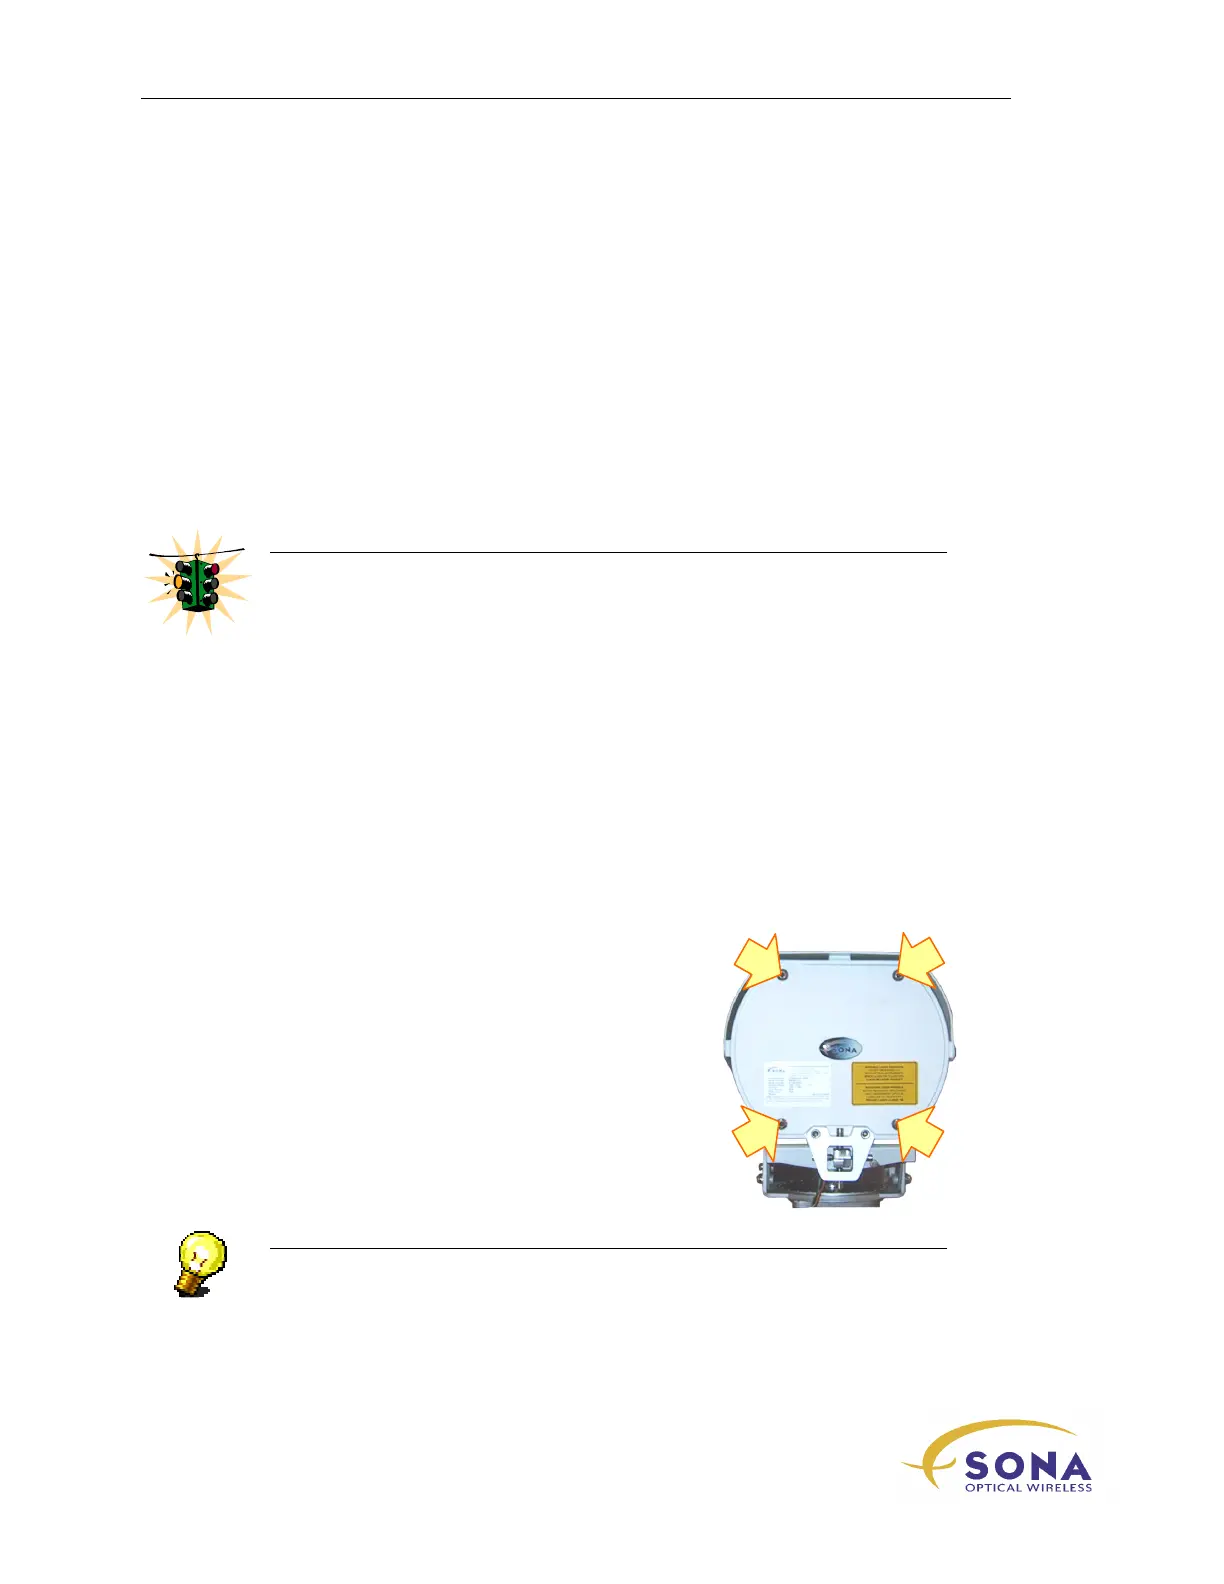
To remove the cover to the Customer Interface Area:
1.
Using a 5mm Allen wrench – one is provided in
the optional Basic Alignment Kit – loosen the
four cover screws shown in Figure 10…
Figure 10 – SONAbeam Customer
Interface Cover Screws
NOTE…
The four Customer Interface Cover screws are captive and the cover itself is
tethered to the optical head…