116 4 Paper
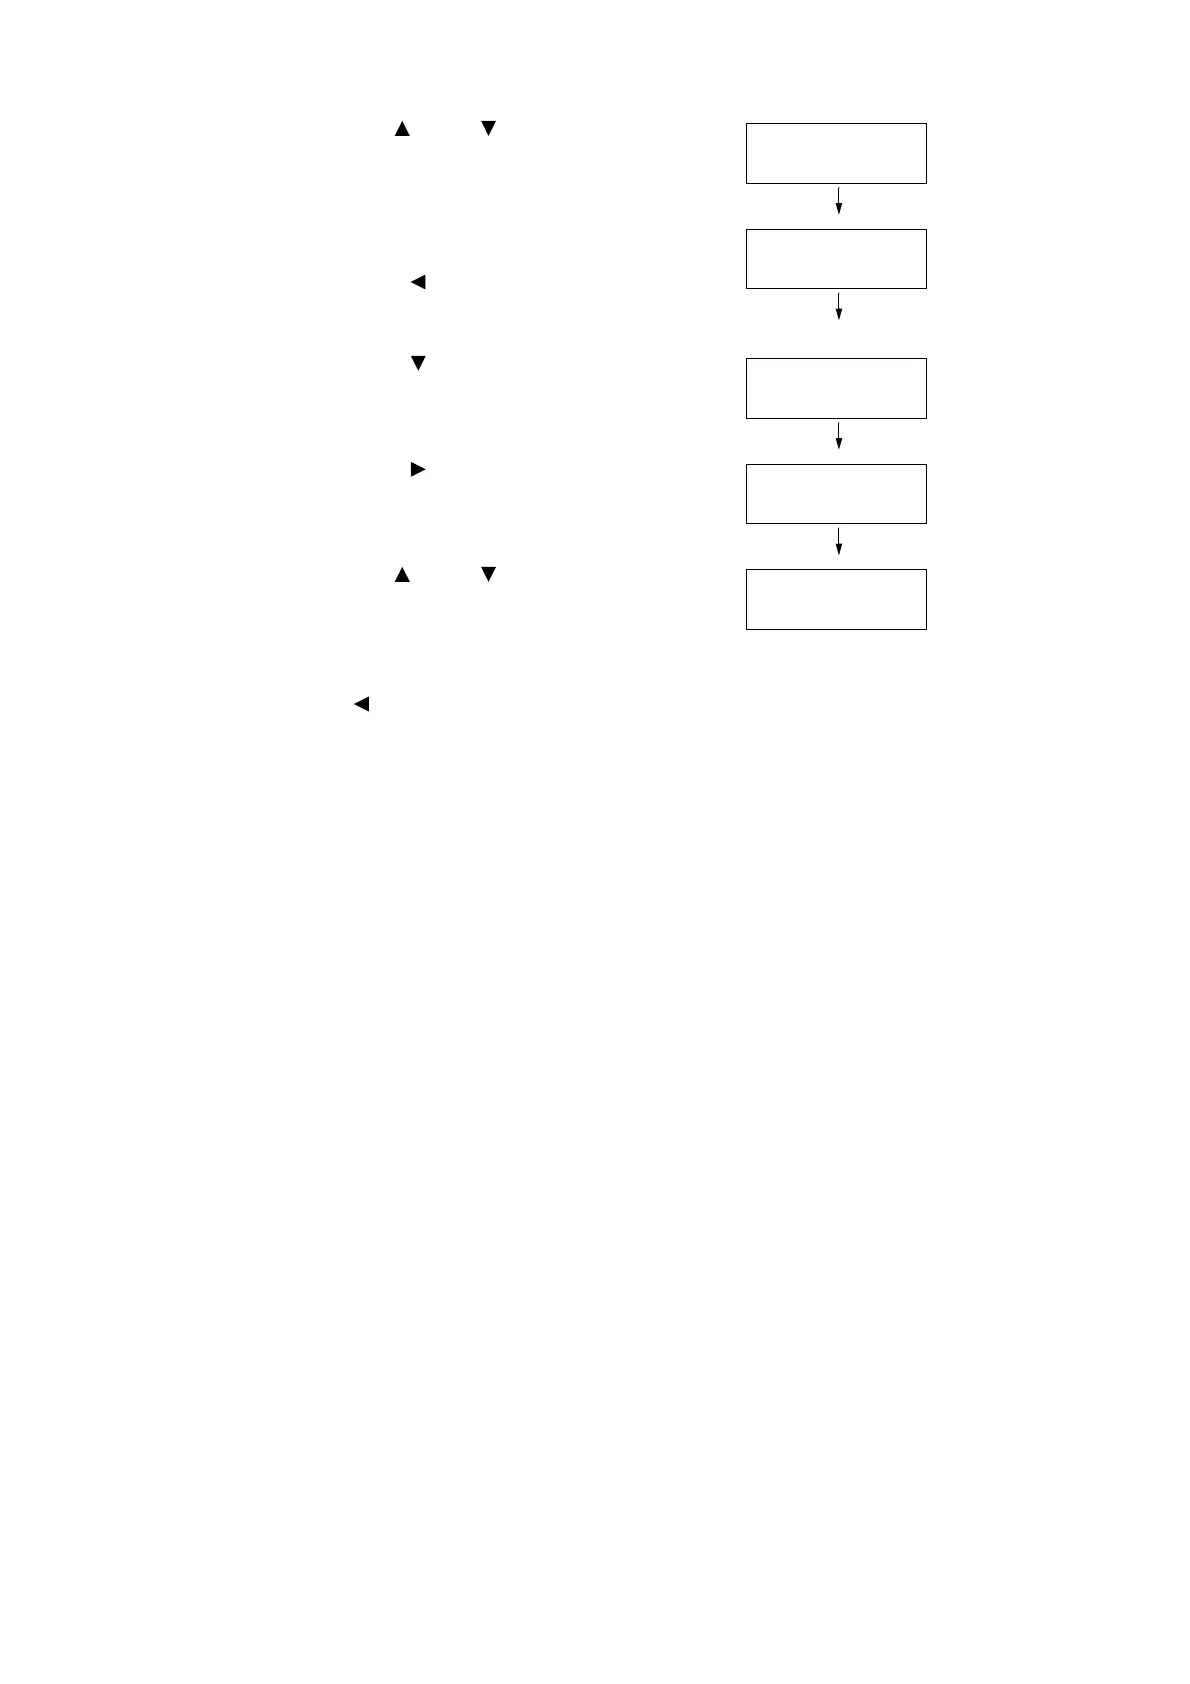
12. Use the < > and < > buttons to enter the
Portrait (Y) size and then press the <OK>
button to apply it.
(Example: 432 mm)
13. After setting the Portrait (Y) Size, set the
Landscape (X) Size.
Press the < > or <Back> button to return
to [Portrait (Y) Size].
14. Press the < > button.
[Landscape (X) Size] is displayed.
15. Press the < > or <OK> button to select.
The current set value is displayed.
16. Use the < > and < > buttons to enter the
Landscape (X) Size and then press the
<OK> button to apply it.
(Example: 297 mm)
17. To configure settings for other trays, press
the < > or <Back> button until the screen
in step 8 is displayed. Then repeat the
steps that follow.
To exit the setting operation, press the
<Printer Settings> button to return to the
[Ready to print] screen.
Note
• In the case of landscape (X) and Portrait (Y), sizes
from 76 mm to 297 mm, and sizes from 148 mm to
432 mm, respectively, can be set.
Tray 1 Custom
Portrait (Y) Size
Tray 1 Custom
Landscape (X) Size
Landscape (X) Size
•
210 mm
Landscape (X) Size
•
297 mm

 Loading...


