7.8 Enabling a RAM Disk 275
7.8 Enabling a RAM Disk
The following describes how to enable a RAM Disk.
If you enable a RAM Disk, Sample Set/Secure Print/Private Charge Print/Charge Print/
Delayed Print can be used without installing the HDD Extension Kit (optional).
Important
• When using a RAM Disk, if you turned on and off the machine, all the stored documents will be removed.
Note
• When printing a large amount of data using a RAM Disk, the data to be transferred is divided.
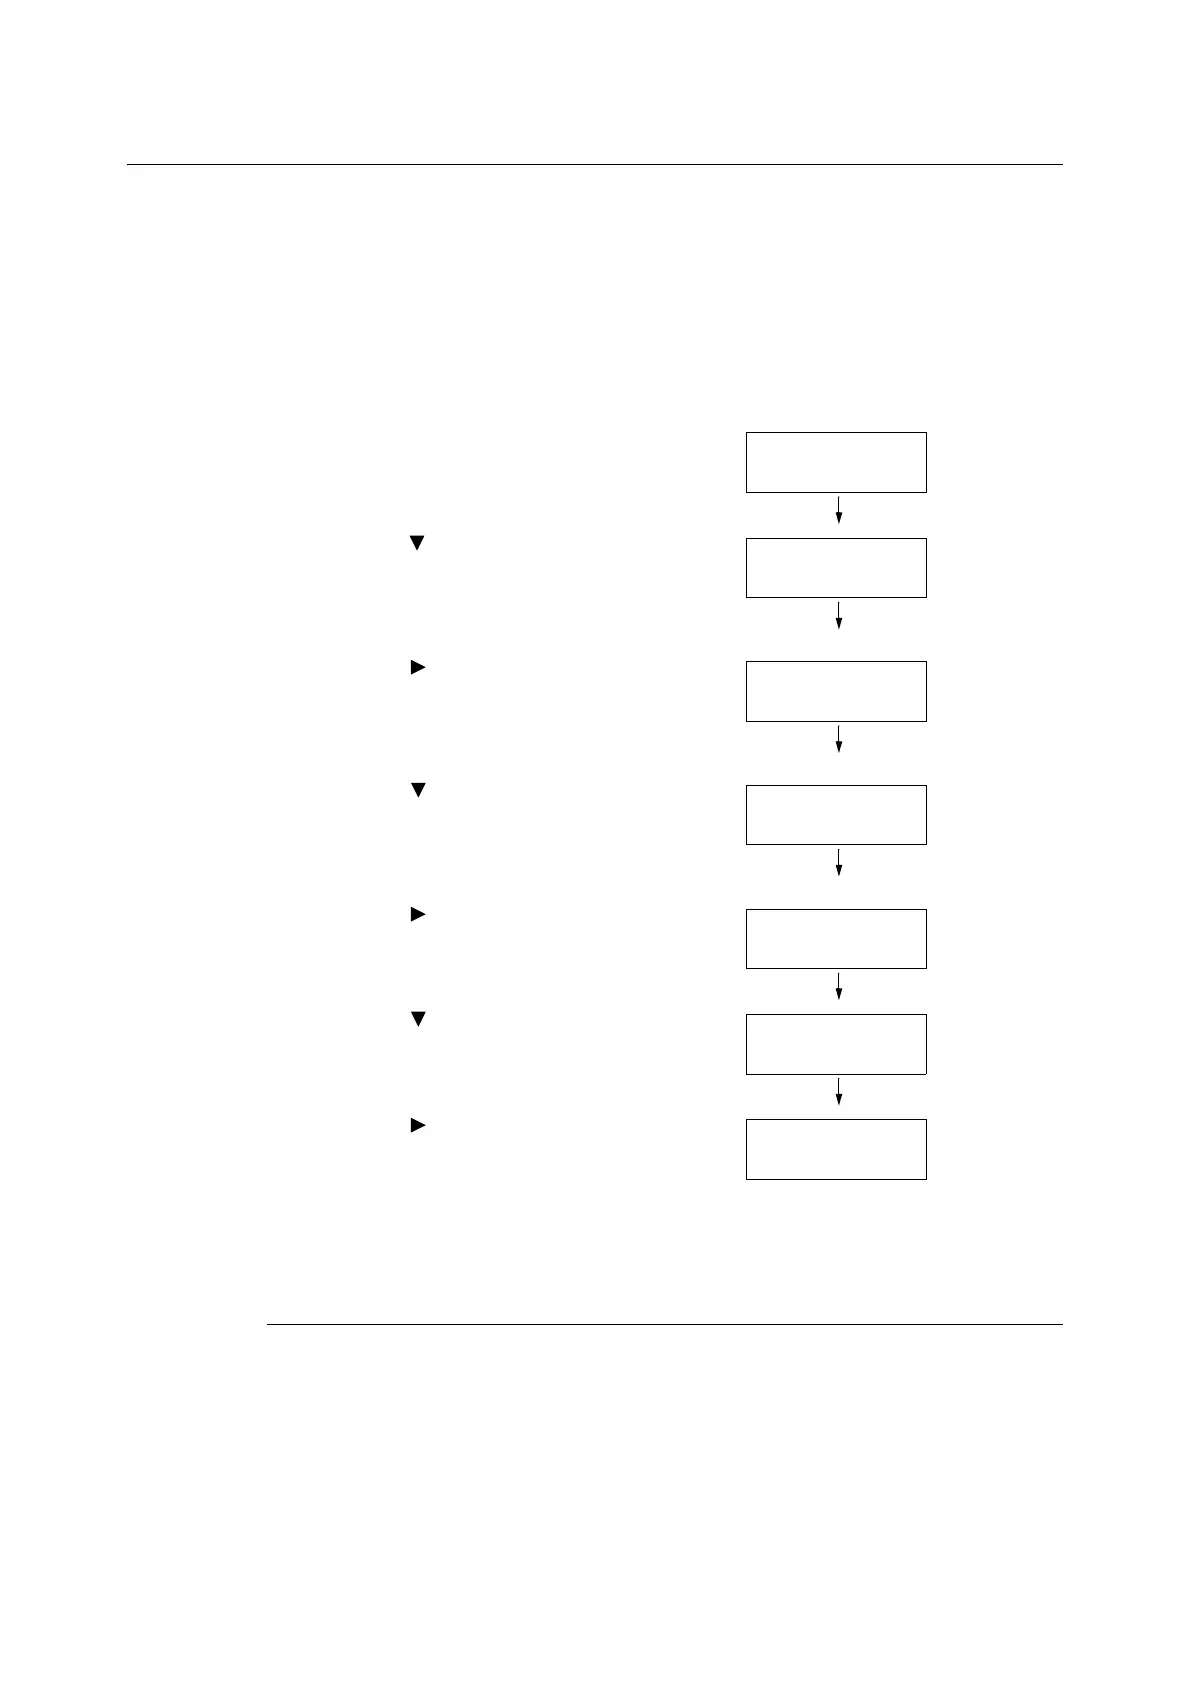
1. Press the <Printer Settings> button on the
control panel to display the menu screen.
2. Press the < > button until [Admin Menu] is
displayed.
3. Press the < > or <OK> button to select.
[Network / Port] is displayed.
4. Press the < > button until [System
Settings] is displayed.
5. Press the < > or <OK> button to select.
[RAM Disk] is displayed.
6. Press the < > button.
7. Press the < > or <OK> button to select.
[Enabled] is displayed.
8. Press the <OK> button.
Setting on the Print Driver’s Property (Computer Side)
The following setting is required on the print driver’s property page. You need to specify the
[RAM Disk] to [Installed]. This explains the case when using Windows XP as an example.
Refer to
• Refer to the print driver’s online help for more information on printerprint driver’s each menu.
1. From the [Start] menu, select [Printer and FAX] ([Printer] or [Devices and printer]
depending on the Operating System)].
Settings
LanguageEmulation
Admin Menu
Network / Port
Admin Menu
System Settings

 Loading...


