www.gateway.com
41
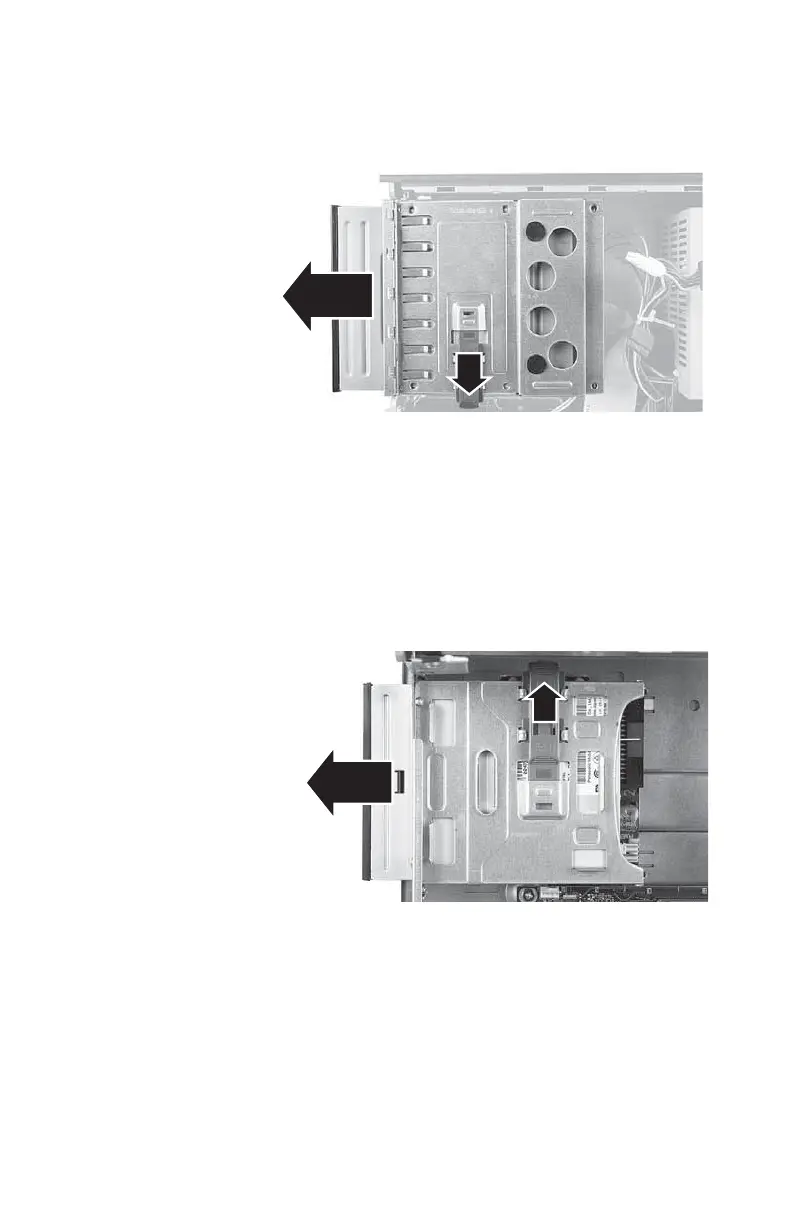
4 Pull down on the 5.25-inch bay’s release latch to the
Unlock position, then slide the component forward and
out of the bay.
5 If you are only replacing a 5.25-inch component, note
any jumper settings on the old drive and set the jumper
on the new drive to be the same, then go to Step 12.
- OR -
If you are replacing a 3.5-inch component, lift the
5.25-inch component bay out of the chassis.
6 Push up on the release latch on the 3.5-inch component
bay to move it to the Unlock position, then slide the
component forward and out of the bay.
7 Note any jumper settings on the old drive and set the
jumper on the new drive to be the same.
8512732.book Page 41 Thursday, September 27, 2007 11:33 AM