www.gateway.com
51
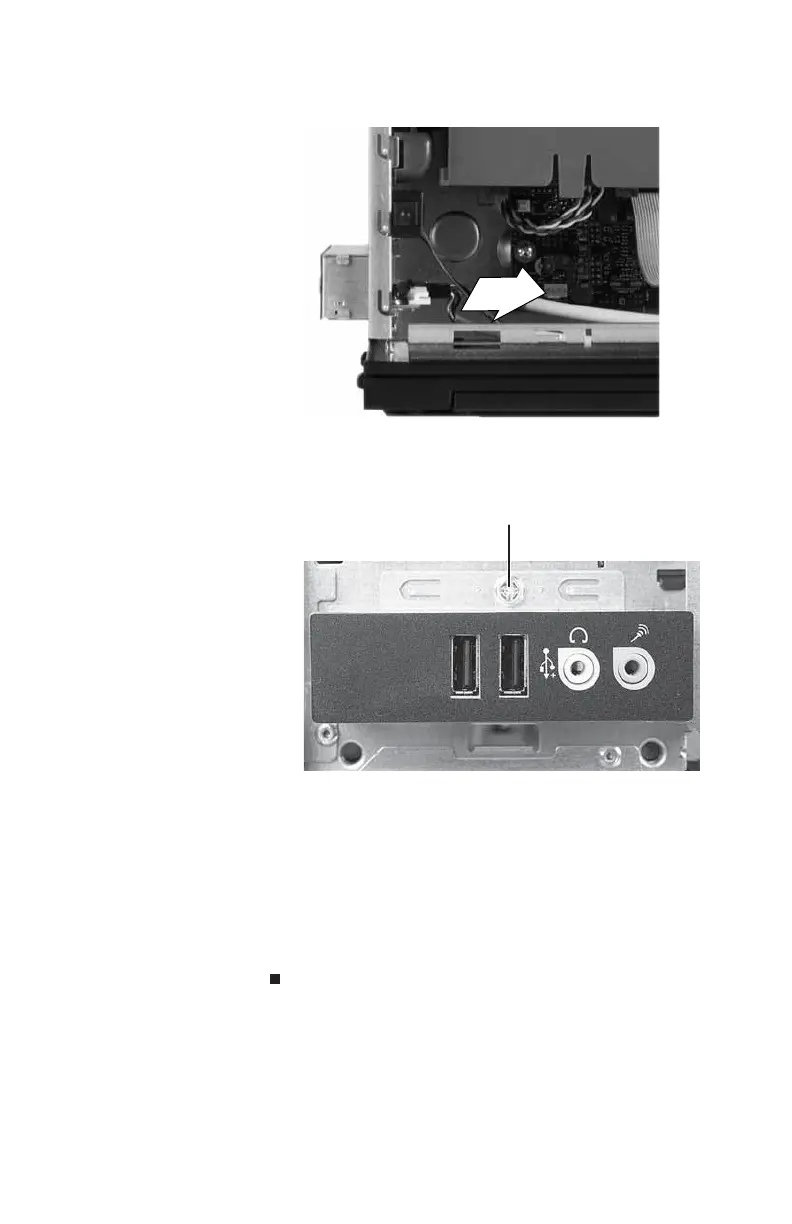
3 Disconnect the cable from the I/O panel.
4 Remove the screw that secures the I/O panel to the
computer, then remove the I/O panel from the
computer.
5 Position the new I/O panel on the front of the computer,
then replace the screw.
6 Connect the I/O panel cable to the new I/O panel.
7 Replace the front bezel, then replace the hard drive
bracket, being careful not to pinch or kink the hard drive
cables.
8 Replace the side panel.
Screw
8512732.book Page 51 Thursday, September 27, 2007 11:33 AM
 Loading...


