Chapter 5: Advanced setup
TruVision DVR 10 User Manual 49
• Solid white
• Not displayed
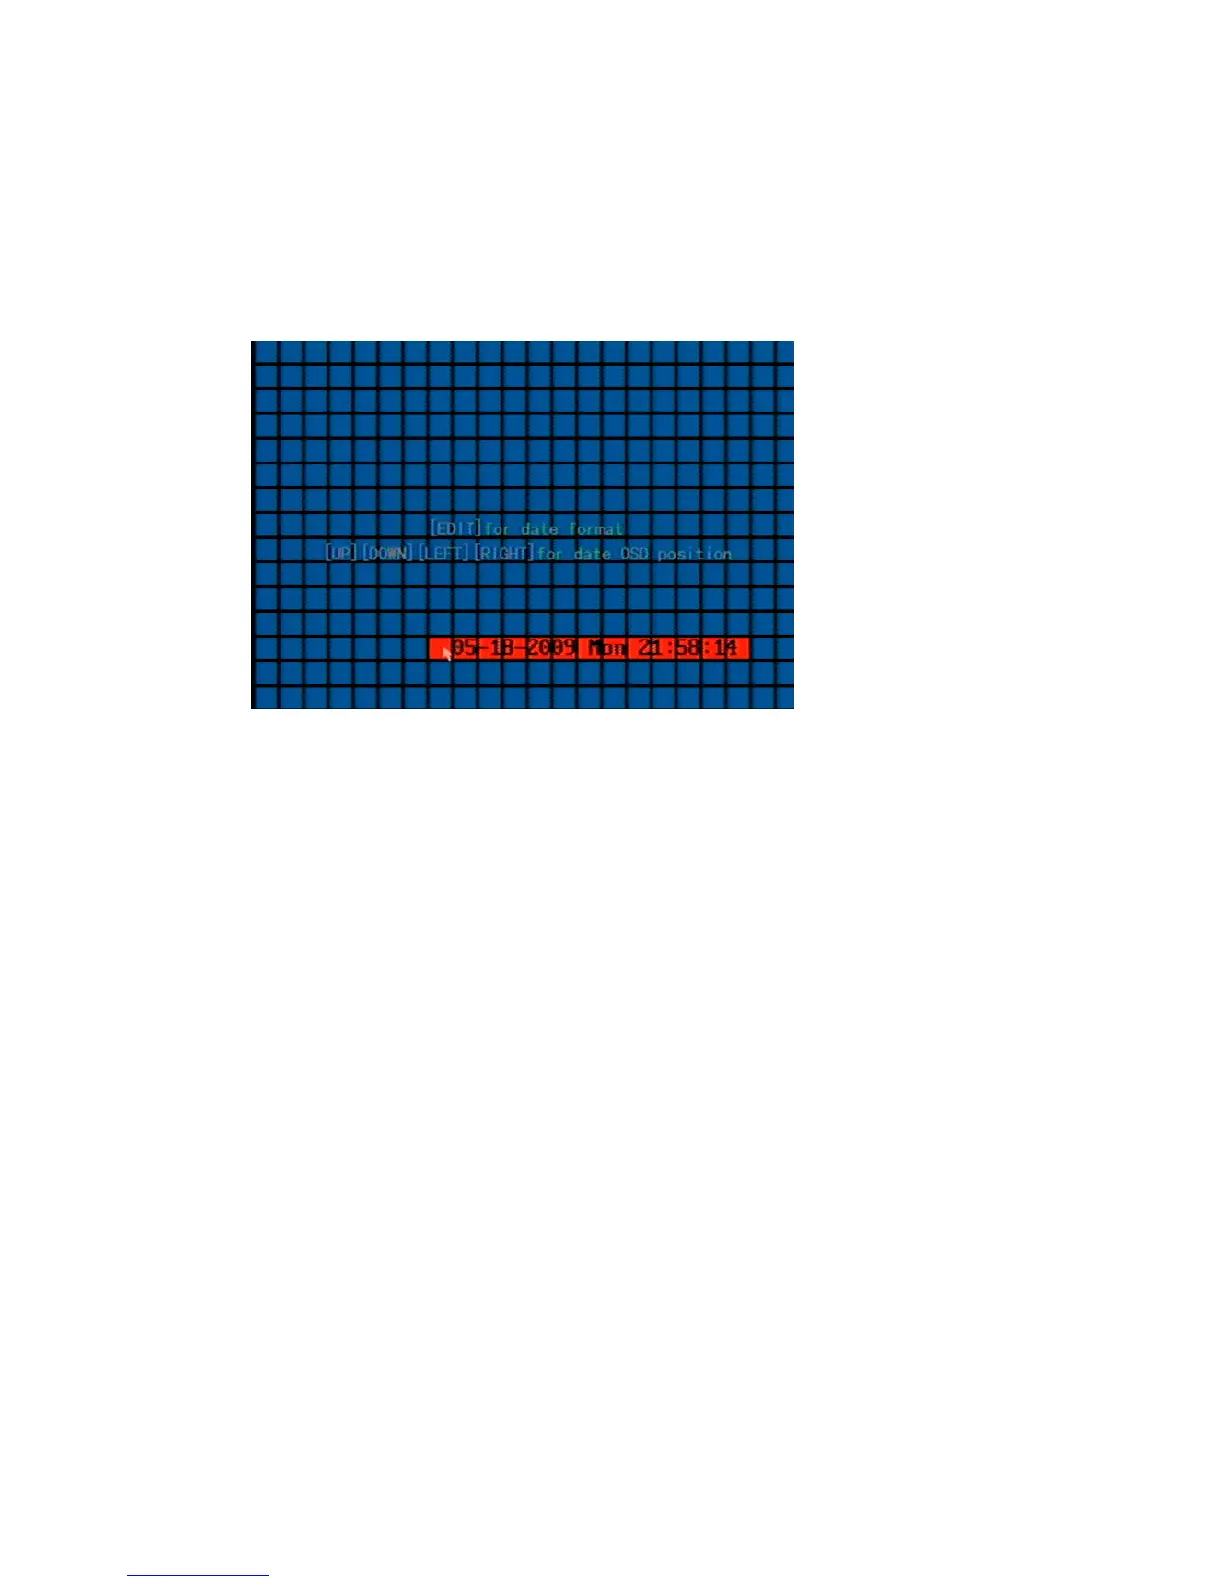
3. Enter the Date and Time Position Setup interface.
Click the Date & Time OSD Position button to enter the Date and Time Position
Setup interface as shown in the figure below.
4. Position the on-screen date and time.
The interface displays a grid with the date and time at the top center of the
screen. Drag the date and time grid or use the directional arrow buttons (Up,
Down, left, or Right) to move the date and time position. When you are satisfied
with the on-screen position, press ENTER to return the Camera Configuration
screen.
5. Click Confirm to save the camera position.
Adjusting the video image
In order to get the best image quality when capturing video, you may need to adjust
the video image settings including brightness, saturation, contrast, and hue. Use the
Adjust screen (as shown in Figure 17 on page 50) on the Camera Configuration
screen to modify these settings.
You can set up the video adjustments individually, and copy the video adjustments of
one camera to another.