Revision C 250cx Series Maternal/Fetal Monitor 3-7
2036947-001
Installation: J112 (External Display Connector)
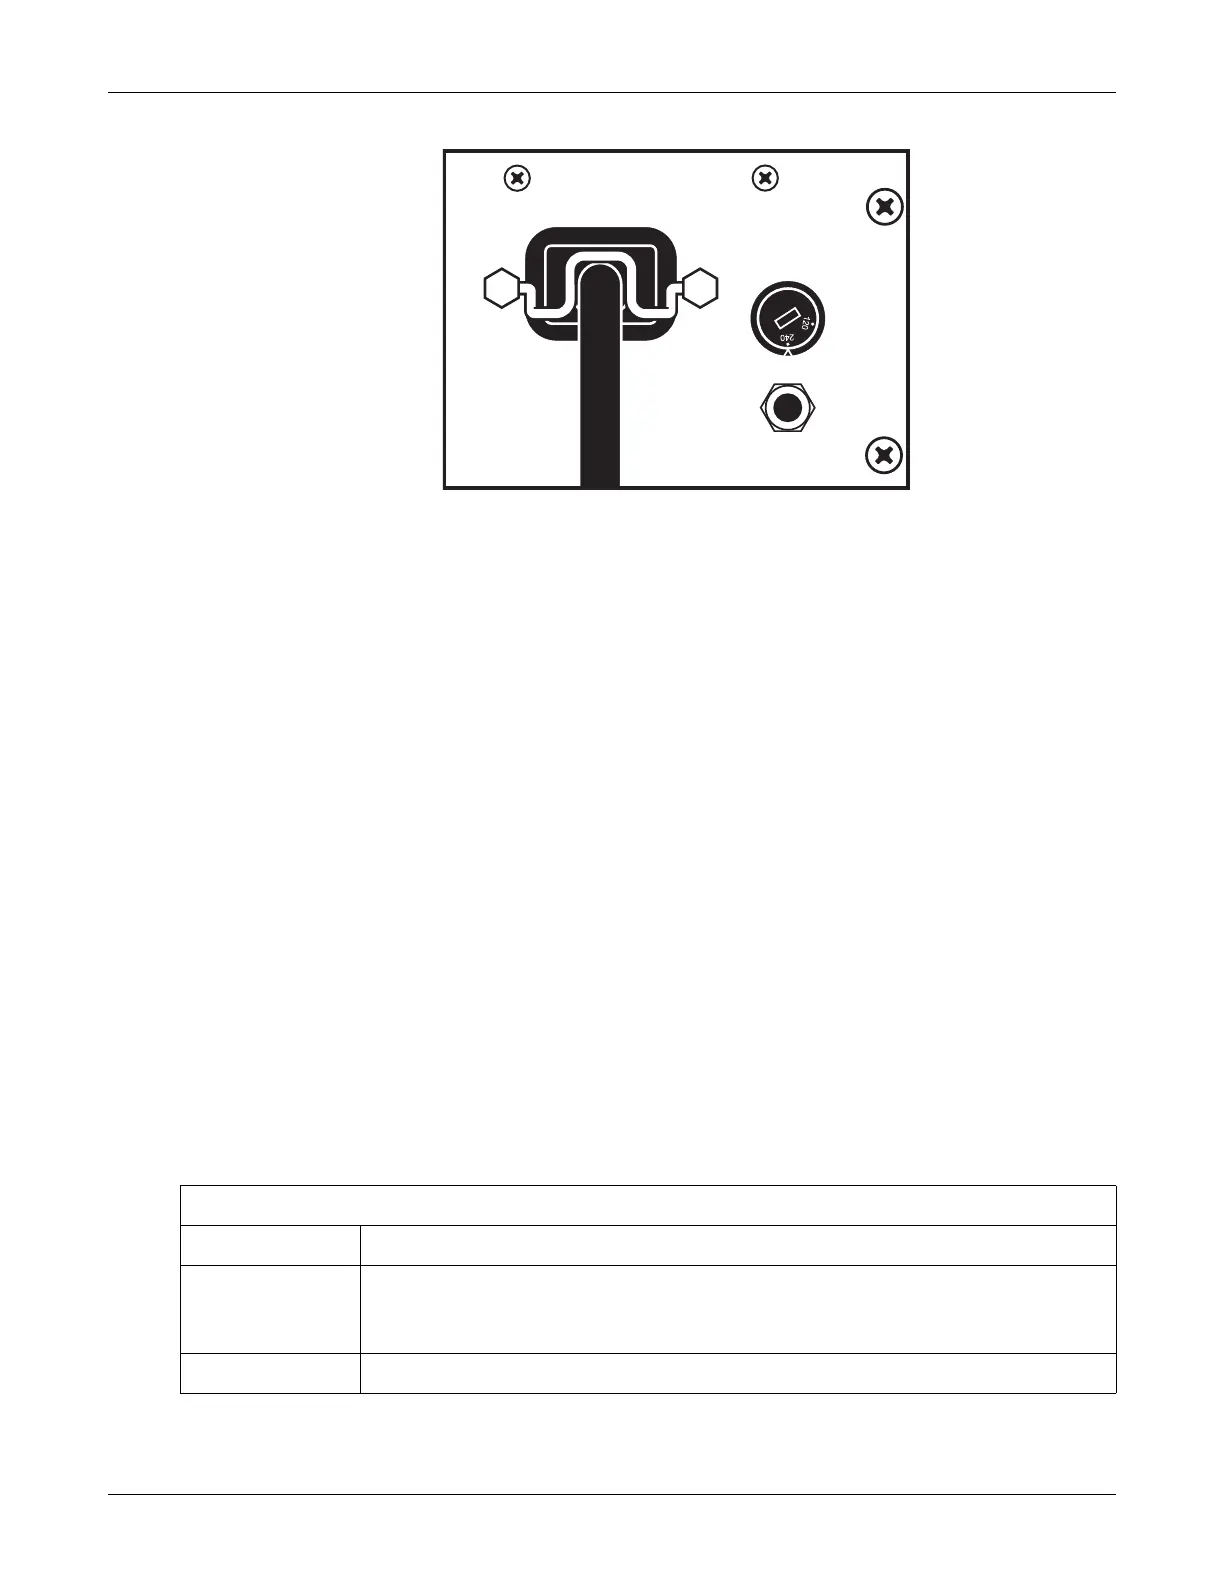
Attaching the Power Cord
3. Turn the monitor’s power on. The green indicator light, located near the upper
left-hand corner of the Light button, illuminates and a series of tones are heard,
indicating that the monitor has been turned on.
J112 (External Display Connector)
This 15-pin sub-D connector is designed for interfacing to an external video display.
Only connect external displays approved by GE Medical Systems Information
Technologies.
Self-Test Routine
The 250cx Series Monitor contains a self-test routine which checks the calibration
and internal circuitry of the monitor. Initiate the self-test routine at the beginning of
each monitoring session to print the results on the patient’s strip chart.
NOTE: To stop a self-test routine that
is in progress, press the Test button or
open the recorder door.
1. Press the Test button.
2. Refer to Table 7 and ensure the test results are produced as expected. At the
successful completion of the self-test routine, the monitor is ready for use.
Table 7. Monitor Self-Test Routines
Test Routine Description
Display Test All display pixels extinguish for 1 second and then all illuminate for 1 second. Afterwards, a horizontal
line (red) moves across the screen (blue) from top to bottom, followed by a vertical line (red) moving
from left to right across the screen (green).
Lamp Test The yellow Record indicator illuminates.

 Loading...


