– 40 –
Surface Burner Pan
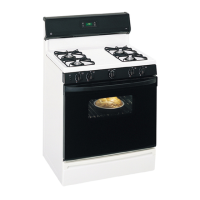
Ranges
The following procedure describes the removal of
the left-side surface burner pan on range models.
The procedure to remove the right-side burner pan
is similar.
Note: On the 36-in. six surface burner range, the
pan is one piece and will require the removal of one
side panel. (See Side Access Panel.) Then follow steps
#1 through #4, #6 and #7 to remove the burner pan
from under the remaining side panel.
To remove the left-side surface burner pan:
Place the control panel in the service position. 1.
(See Control Panel.)
Lift off all the grates.2.
Remove the burner bases from the pan. (See 3.
Surface Burner Base.)
Remove 4. the Phillips screws on the front of the
oven vent, then pull the vent toward the front to
release a tab at each end.
5. Remove the adjacent grill/griddle. (See
Grill
Assembly or Griddle Assembly.)
6. Remove the Phillips-head screws that attach the
burner pan.
Caution: The burner pan has a lip that is captured
under the left-side panel. To prevent scratching or
chipping the pan, use extreme care when removing
or installing the burner pan.
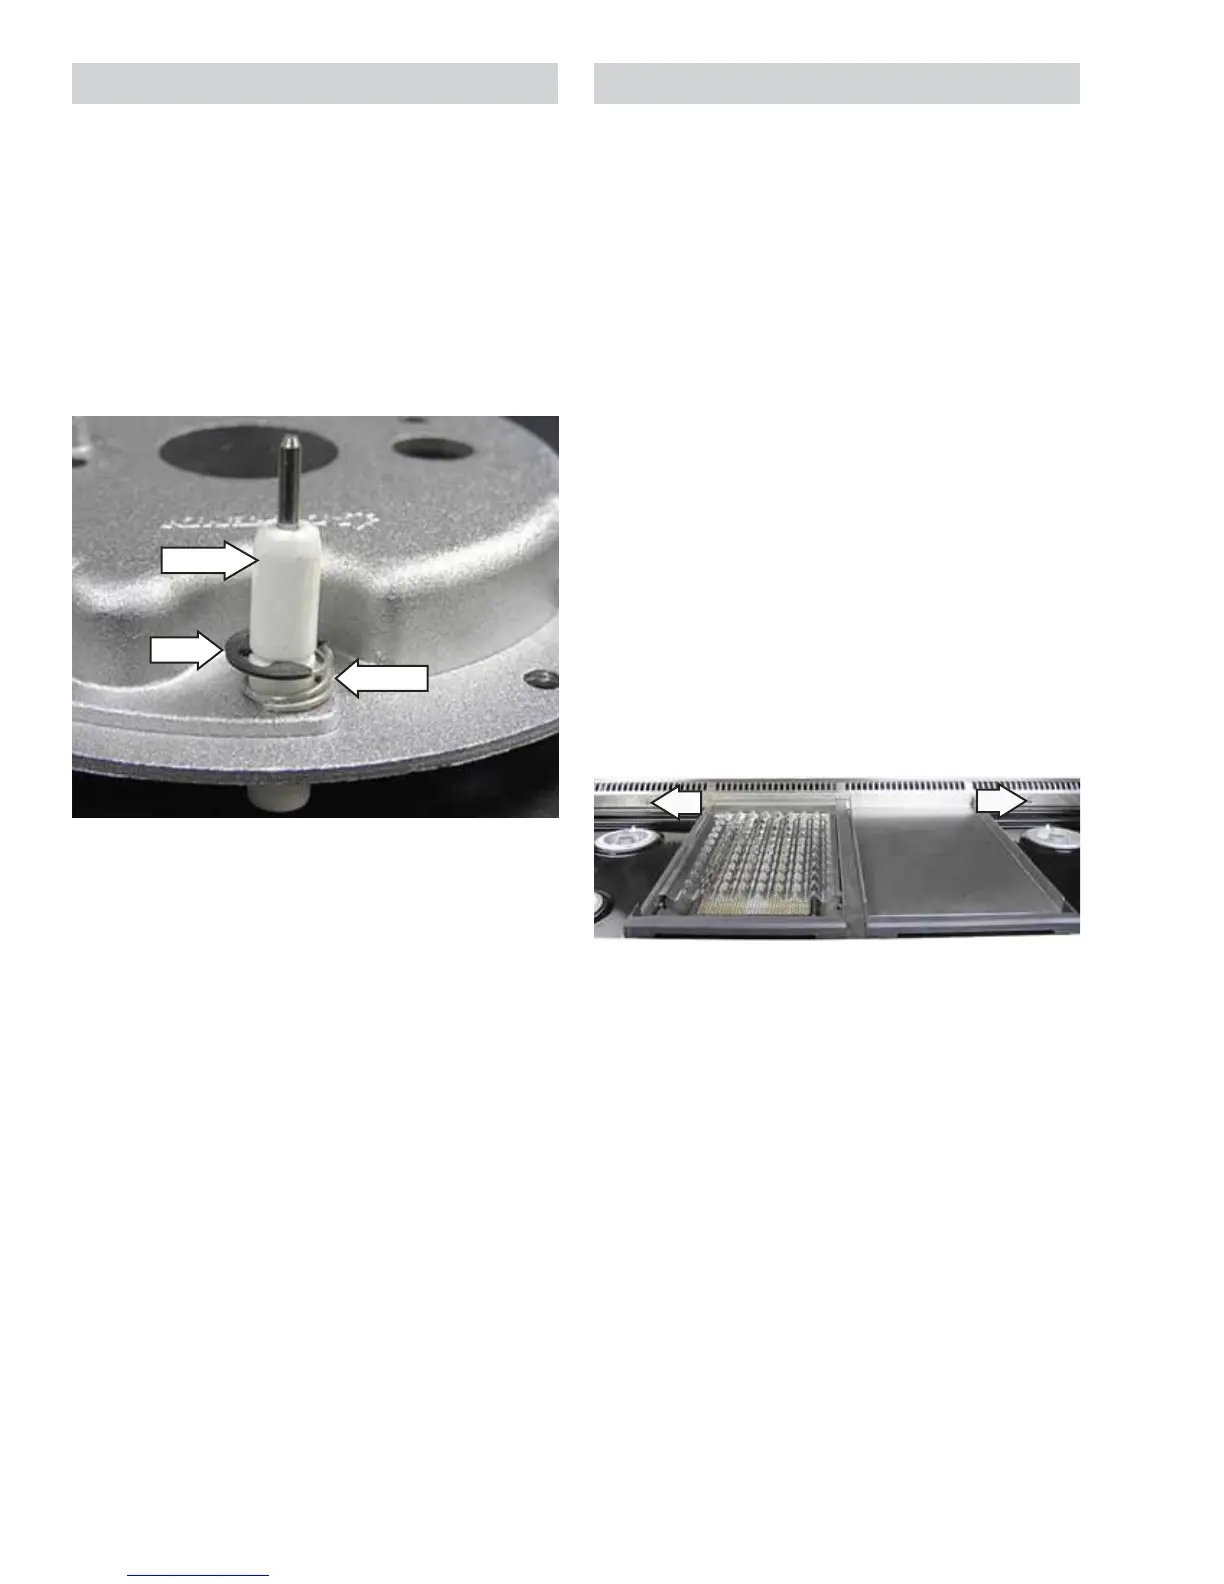
Clip
Spring
Surface Burner Igniter
Note: The following describes the procedure to
remove a single igniter. The procedure to remove the
remaining igniters is identical.
To remove the igniter:
Remove the burner base. (See 1. Surface Burner
Base.)
Use a small needle-nose pliers and remove the 2.
clip and spring from the igniter.
Pull out the igniter from the burner base. 3.
Igniter
(Continued next page)