– 41 –
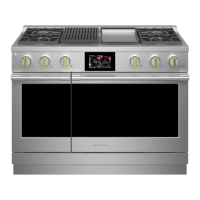
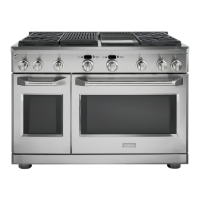
Rangetops
The following procedure describes the removal of a
surface burner pan on rangetop models.
Note: On the 36-in. six surface burner rangetop, the
pan is one piece and will require removal of all six
burner bases, side, and rear trims. Then, follow steps
#1 and #5, to remove the pan.
To remove the surface burner pan:
Place the control panel in the service position. 1.
(See Control Panel.)
Lift off the 2. adjacent grill/griddle grates.
Remove the burner bases from the pan. (See 3.
Surface Burner Base.)
Remove the Phillips-head screws, back trim, and 4.
side trim over the pan to be removed.
Remove the Phillips-head screws that attach the 5.
burner pan.
Caution: The burner pan has a lip that is captured
under the adjacent grill/griddle. To prevent
scratching or chipping the pan, it may be helpful
to loosen the adjacent grill/griddle burner box. (See
Grill Assembly or Griddle Assembly.) Use extreme care
when removing or installing the burner pan.
6. Lift and tilt the side opposite the adjacent grill/
griddle and slide it out from under the adjacent
grill/griddle.
7. Lift and tilt the right side of the burner pan, then
carefully slide it out from under the left-side
panel.
Surface Burner
Note: The following describes the procedure to
remove a single burner. The procedure to remove
the remaining burners is identical.
To remove the burner:
Remove the burner base. (See 1. Surface Burner
Base.)
Remove the surface burner pan. (See 2. Surface
Burner Pan.)
Remove the heat barrier by lifting it out of the 3.
burner box.
4. Remove the 9/16-in. nut and separate the main
gas tube from the burner.
5. Remove the 7/16-in. nut and separate the
simmer gas tube from the burner.
6. Remove the two 1/4-in. hex-head screws that
attach the burner to the burner bracket.
Burner
Simmer Gas Tube
Main Gas Tube
Heat Barrier
Heat barrier as viewed from side