CONTENT
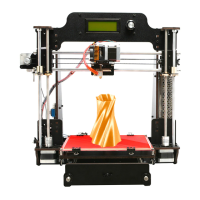
Assemble Instruction of Geeetech Acrylic .................................................................... 0
Prusa I3 Pro C ................................................................................................................ 0
Safety Instructions ......................................................................................................... 1
Preparation ..................................................................................................................... 2
1 Unfold the box and check the package ....................................................................... 1
2 Assemble the rods of a Y axis ..................................................................................... 3
3 Attach the front and rear Acrylic support plates of the rods. ...................................... 6
4 Assemble the Y idler ................................................................................................... 8
5 Mount the Y motor .................................................................................................... 14
6 Build the printing platform ....................................................................................... 18
7 Mount the Y –axis belt. ............................................................................................. 21
8 mount the End stop of Y-axis .................................................................................... 23
9 Assemble the right and left side panel ...................................................................... 24
10 Mount the fan .......................................................................................................... 26
11 Assemble the Z-axis bottom mount ........................................................................ 27
12 Assemble Y - Z axis ................................................................................................ 30
13 Mount the End stop of Z-axis ................................................................................. 32
14 Assemble the 2 Z motors......................................................................................... 33
15 Assemble the coupling. ........................................................................................... 35
16 Attach he heated bed. .............................................................................................. 37
17 Mount the X-axis motor end ................................................................................... 39
18 Assemble the right end of the X axis. (X idler end) ................................................ 44
19 Assembly of the extruder carriage .......................................................................... 47
20 Assemble the X&Z axis .......................................................................................... 50
21 Assemble the Z axis top mount ............................................................................... 57
22 Mount the extruder .................................................................................................. 59
23 X belt driving wheel................................................................................................ 61
24 Add the belt ............................................................................................................. 65
25 Mount the LCD panel frame. .................................................................................. 68
26 Mount the PSU ........................................................................................................ 71
27 Mount the control board.......................................................................................... 77
28 Wiring ..................................................................................................................... 78
29 Tidy out the wires.................................................................................................... 94
30 Mount the filament spool. ....................................................................................... 94
31 Tips .......................................................................................................................... 96