EasyManuals Logo

Geeetech Prusa I3 Pro C User Manual

Geeetech Prusa I3 Pro C
100 pages
To Next Page IconTo Next Page
To Previous Page IconTo Previous Page
Page #81 background imageLoading...
Page #81 background image
77
GEEETECH
Close the cover of the connector in case any electric shock.
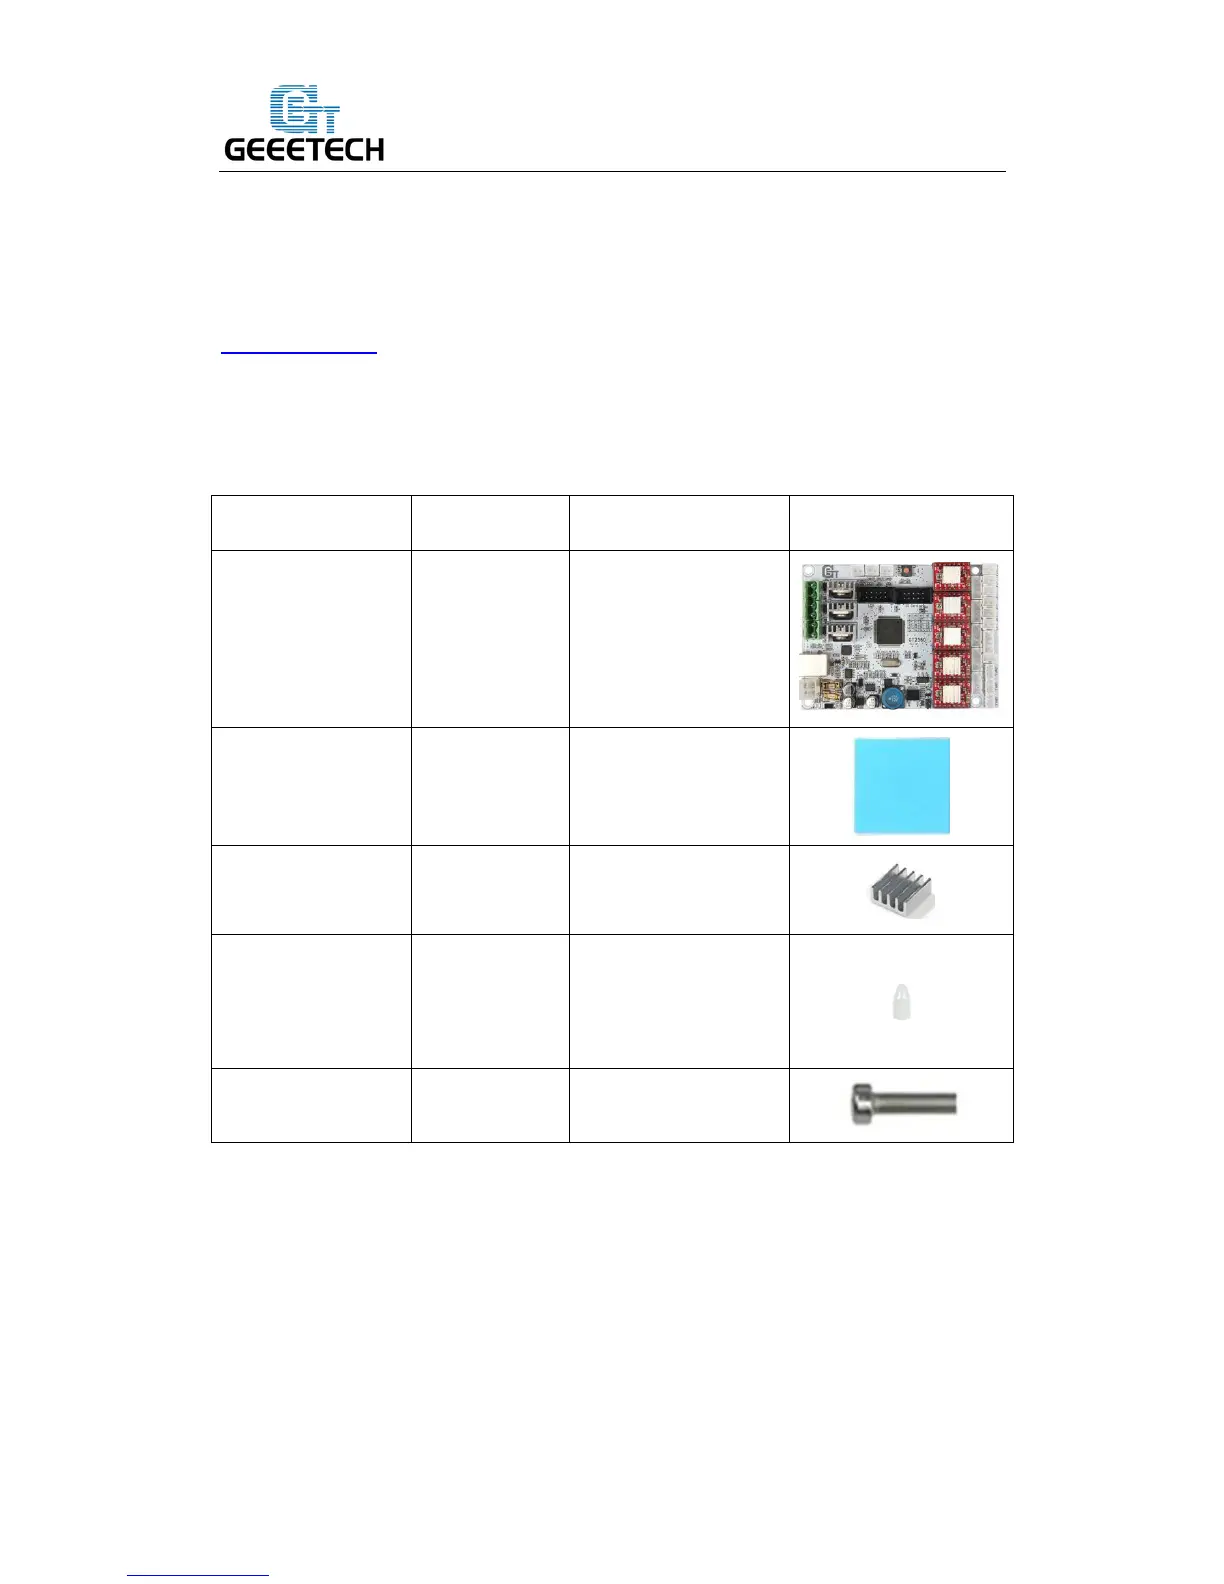
27 Mount the control board
Watch the video
This video shows the control board of proB, this step is the same. You can refer to the
pictures below. If you have any problems here, please feel free to contact us.
Part name
Part ID
Required number
pic
Control board kit
No.64
1
Sticker
No.50
1
Heat sink
No.49
1
Spacer
No.47
4
M3 x 12 mm screw
No.26
4
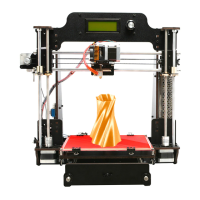
Step1. Cut the sticker into small pieces.
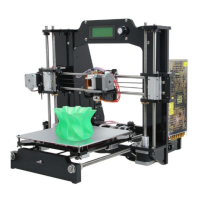
Step2. Past the heat sink onto the chip of the A4988 drivers (on the main board) . The
sticker is double sided adhesive.
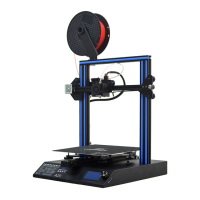
Step3. Insert the spacer into the holes of the board from back to front, Mount the
board kit on the left side panel with 4 M3 x 16mm screws and M3 washers on the side
panel.

Questions and Answers:

Question and Answer IconNeed help?

Do you have a question about the Geeetech Prusa I3 Pro C and is the answer not in the manual?

Geeetech Prusa I3 Pro C Specifications

General IconGeneral
BrandGeeetech
ModelPrusa I3 Pro C
Category3D Printers
LanguageEnglish

Related product manuals