45 50940193/DP0415
7. Use the lift control to raise the lift arm
until lift arm support (T, Figure 12) drops
over the end of the lift cylinder and around
the cylinder rod.
8. Slowly lower the lift arm until the free end
of the support device contacts the top end
of the lift cylinder (U).
9. Check the support device to ensure it is
secure against the cylinder end.
10. Stop the engine.
11. Move the lift control to verify the control
does not cause the lift arm to move.
12. Unfasten the seat belt, remove the ignition key and take it with you. Exit the machine
using the hand-holds.
Disengage Lift Arm Support
The safest method of installing and removing the
lift arm support device requires two people – one
person inside the loader and another person outside the loader to
disengage the support device.
1. Start the engine.
2. Raise the lift arm fully.
3. Stop the engine.
4. Verify that the lift arm is being held in the raised position by the safety interlock
system.
Important: With the key switch OFF and the solenoid valve working properly, the lift arm
will stay raised when the lift control is moved to lower the lift arm. If the valve does not
hold the lift am and it begins to lower do not leave the operator’s compartment. Instead,
lower the lift arm against the lift arm support and exit the machine. Then, contact your
dealer immediately to determine why the lift arm lowers while the key switch is OFF.
5. Have an assistant raise lift arm support (T,
Figure 13) until it contacts the lift arm.
Reinstall lynchpin (S) through post (V) on
the lift arm to secure lift arm support (T) in
the storage position.
6. Fold lynchpin ring (W) over post (V) to
lock lynchpin in place.
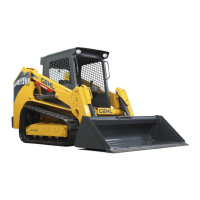
Figure 12 – Lift Arm Support
Engaged
T
U
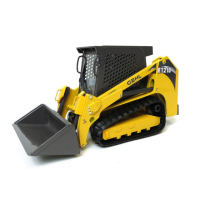
Figure 13 – Lift Arm Support Stor-
age Position
S
T
V
W

 Loading...