Omnia Maintenance Through USB Retrieving Logs
Page 6-6 MDE-5369G FlexPay™ IV (with Omnia V04.07) Programming and Service Manual · March 2021
4 Plug the USB drive into the Omnia board. Depending on the success or failure of the
operation, LEDs start glowing as follows:
• LED D32 goes Solid RED and LED D30 starts blinking slowly.
• LED D30 goes Solid GREEN, indicating that operation is completed successfully.
• LED D30 will start blinking fast, indicating that the operation failed.
If the operation is successful, LED D32 goes OFF. If the operation fails, LED D32 will start
blinking together with LED D30.
5 Remove the USB drive.
Log Retrieval Report and Checking Files on the USB Drive
To perform this operation, proceed as follows:
1 Insert the USB drive used to install packages on Omnia into your PC/Laptop.
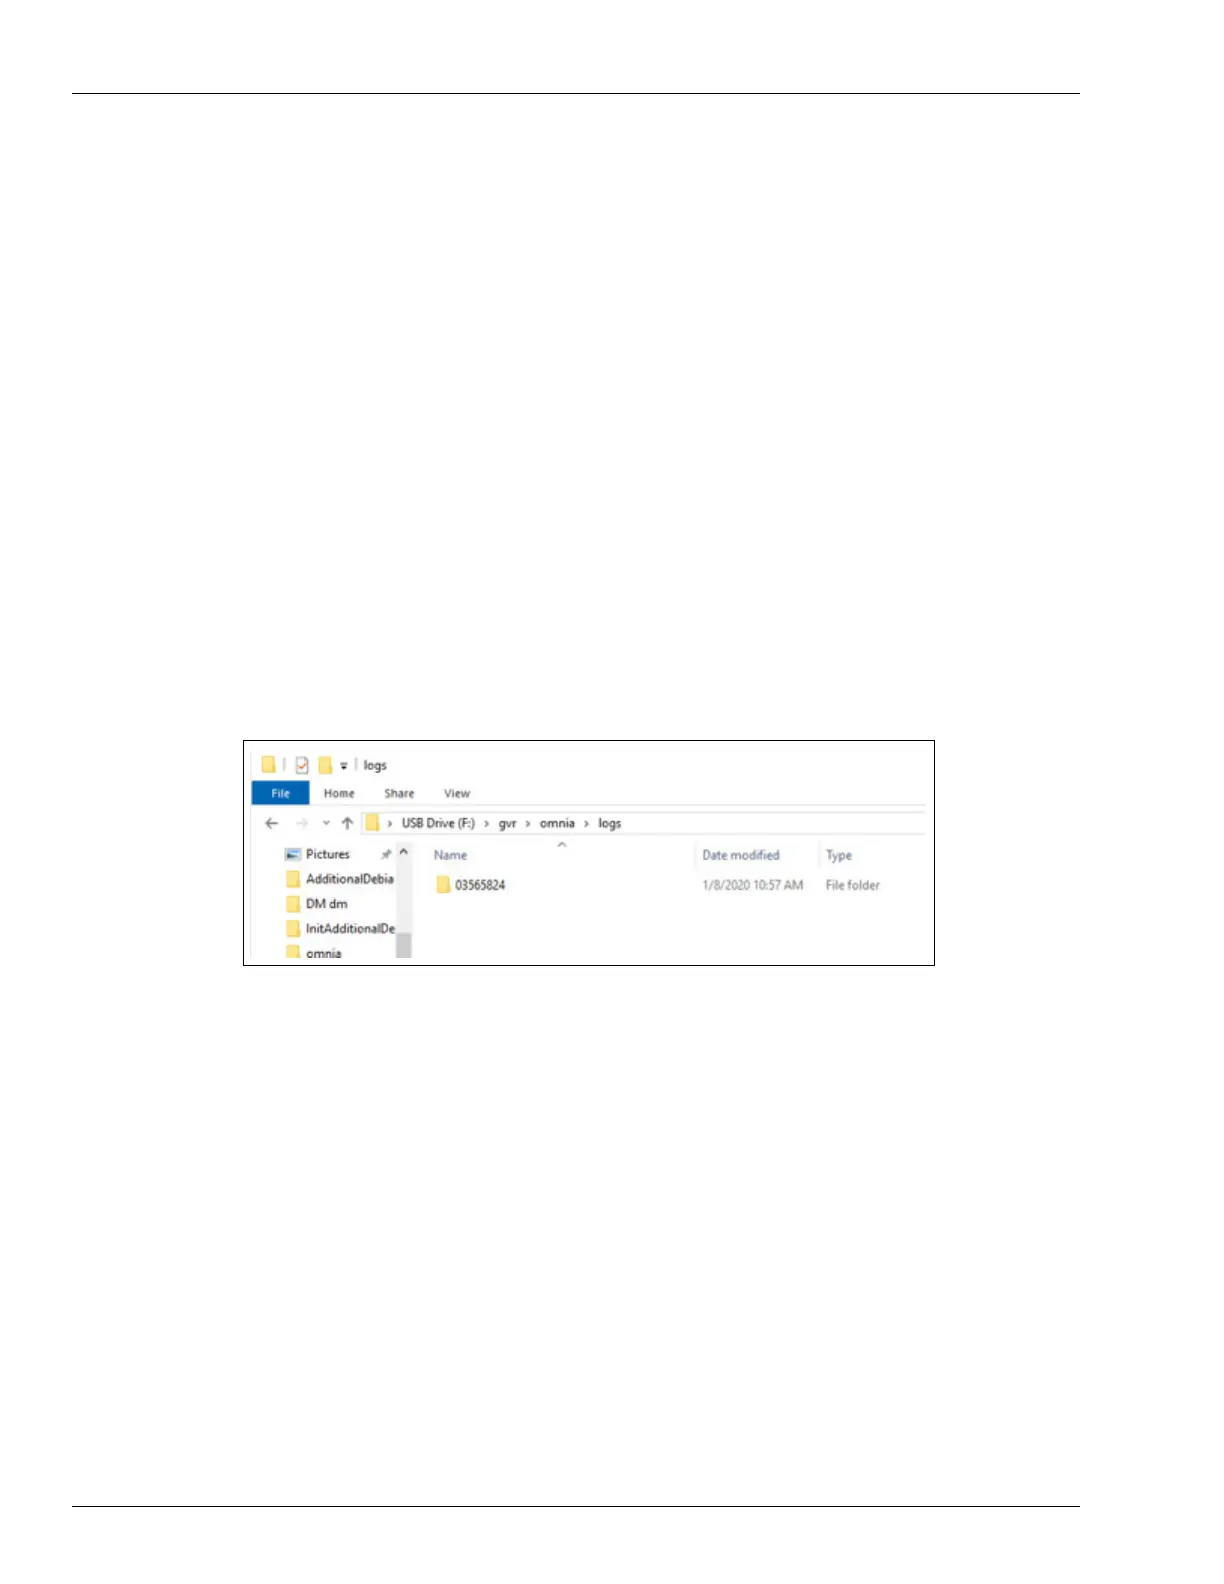
2 Go to gvr\omnia\logs. Open the folder with the name of the Omnia PPN, as shown in the
following figure:
Figure 6-8: Omnia PPN Log Folder
3 Open the file named “OmniaSession-YYYYMMDDhhmmss.txt” and all the log files retrieved
in the operation zipped by Unit and Date, for example,
“SYSTEM_YYYYMMDD000000_YYYYMMDD235959.zip”. The text file includes
information about all of the operations performed during maintenance session (until the USB
is attached to Omnia).
4 Check the file to validate the maintenance operations performed.
 Loading...