11
Installation
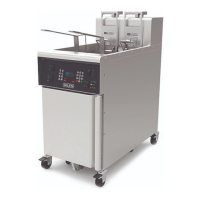
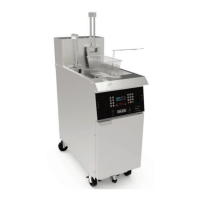
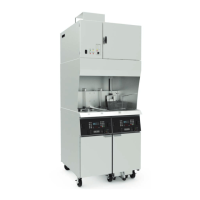
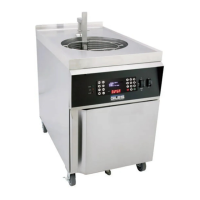
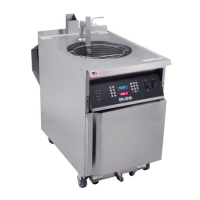
GBF-70 Fryer
2.09 Finalizing Installation
Every effort is made to ensure that new GILES units are in perfect operating condition when received; each one has
passed rigorous quality control testing prior to shipment. To ensure that it has been properly installed and will operate
as expected when placed into service, we recommend that after installation is completed, the following steps be
completed to check basic functionality of fryer systems and prepare the appliance for its first use.
Before proceeding, please refer to Section 3 to become familiar with various controls, fryer systems and
functions. After reading and fully understanding this information, follow these subsequent steps precisely to
avoid possibly damaging the equipment.
BEFORE BEGINNING:
• Perform these tests on each unit of a banked system.
• As necessary, remove baskets, crumb/support screen and filter pan from fryer.
• As applicable, on control panel(s) set switches (Power, Heat, Pump, Lift) in the [OFF] position
• Confirm that drain valve(s) are [CLOSED].
• If any ot these tests fail to produce indicated results, consult Section 6, Troubleshooting, or contact GILES
Technical Service at 800.554.4537 for assistance.
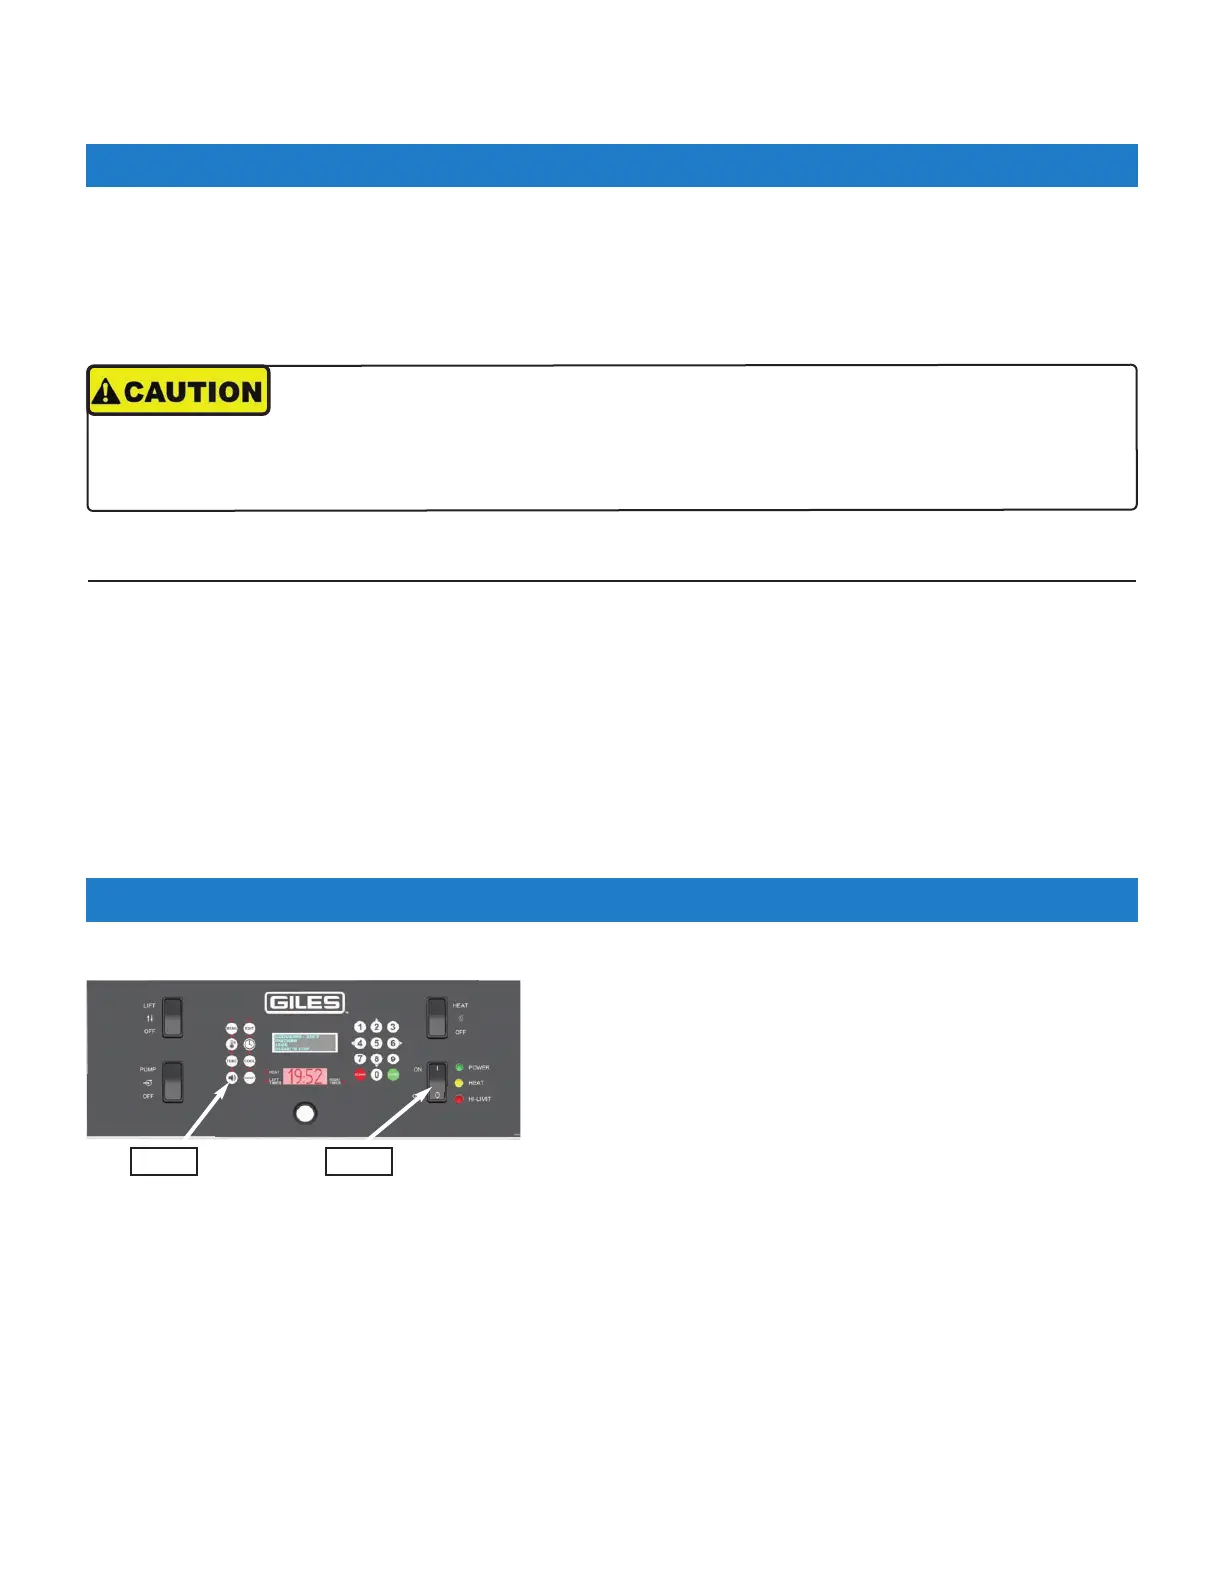
2.09.1 Power Test
1. Confirm that circuit breakers supplying power to unit are ON.
If disconnect switch box is installed between the main panel
and fryer, be sure that it is in the ON position.
2. Place the Power Switch in the [ON] position. The green Power
Light will illuminate. After controller powers up, an alarm
signal sounds. Press the [ALARM] key to silence, leave power
[ON] and proceed to Section 2.09.2.
If the power light does not turn ON and/or controller does not
power‐up, refer to Section 6.01, Troubleshooting Procedures.
POWERALARM
The following test confirms that the unit is receiving power. Perform test for each unit in a banked system.
 Loading...