48
Fryer Operation
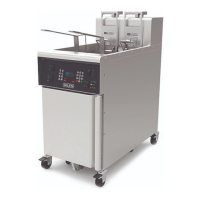
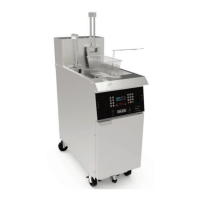
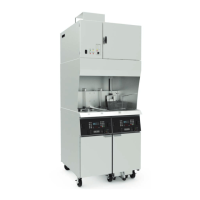
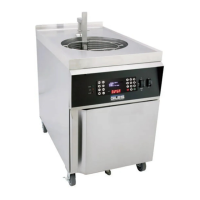
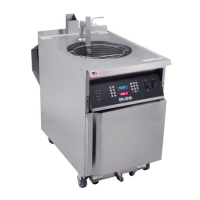
GBF-70 Fryer
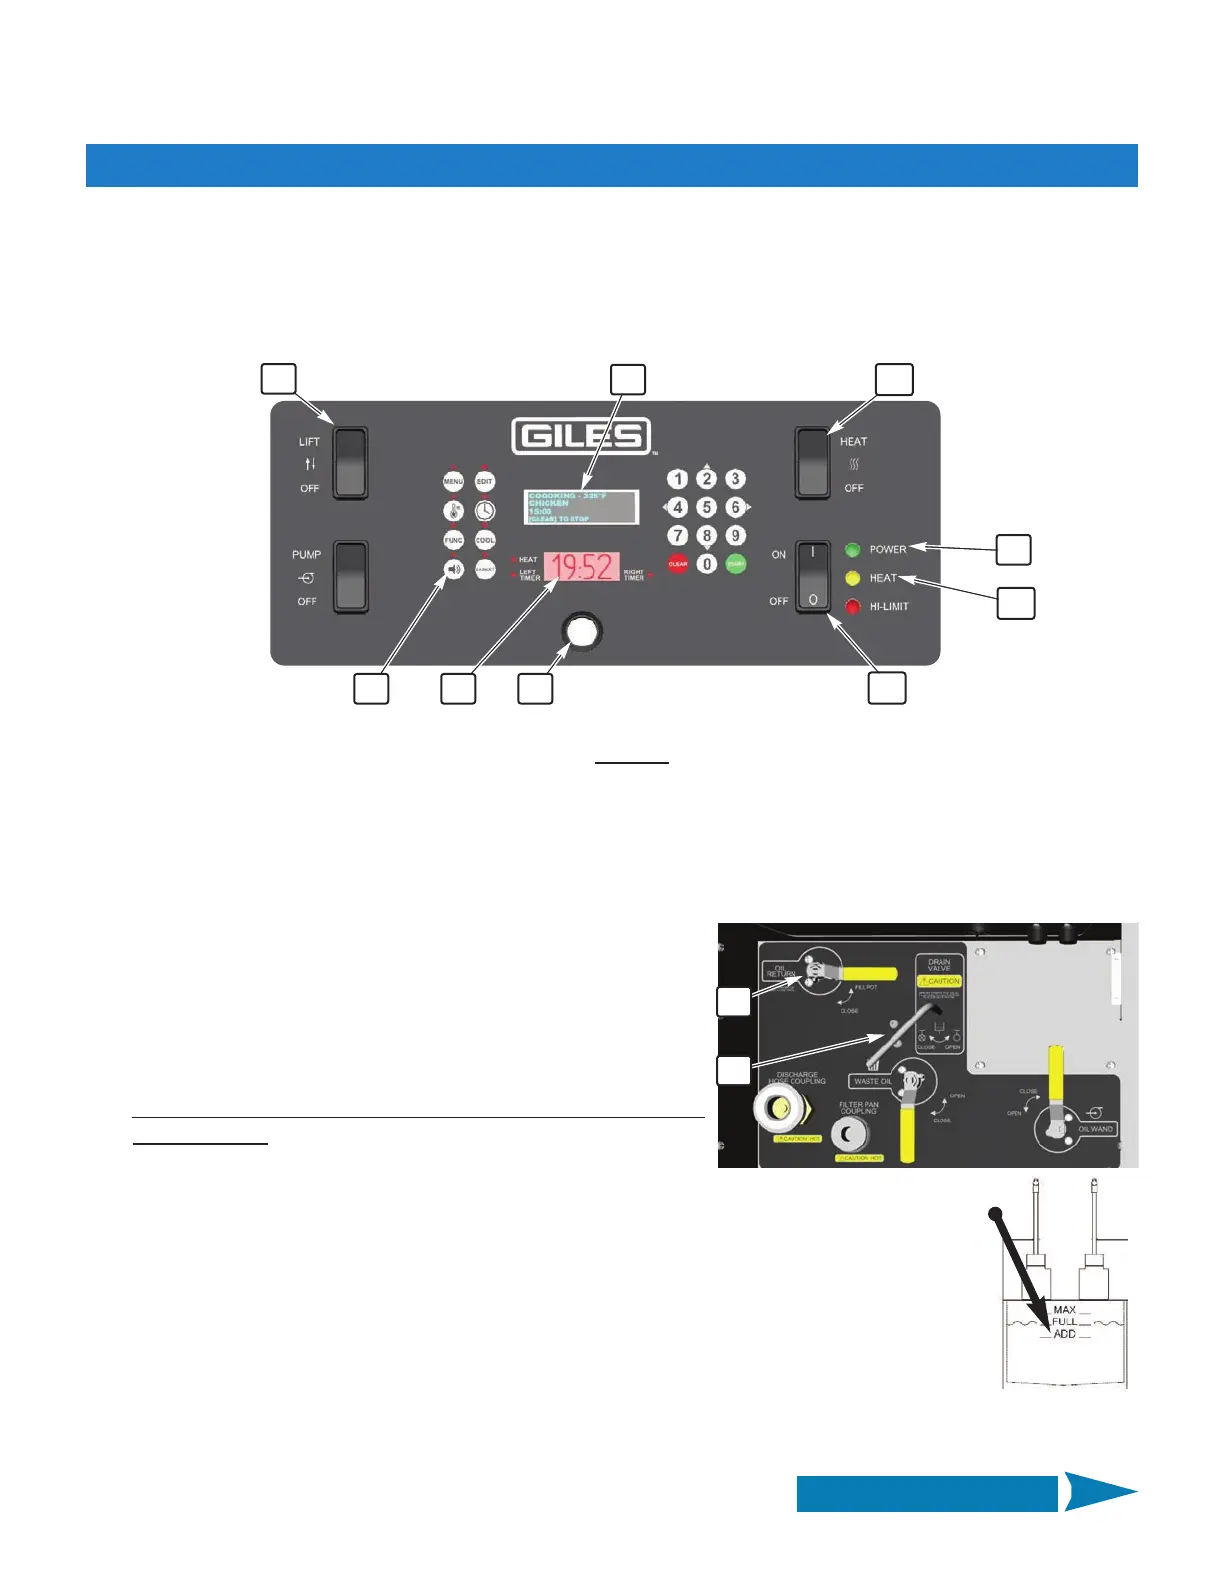
4. Confirm that the Drain Valve Handle ⑧ inside the cabinet is in
the [CLOSE] position (full left to a stop). IMPORTANT! Fryer will
not heat unless drain valve is fully closed.
5. Fill the fry vat with liquid frying shortening to the [ADD] mark
ONLY ... allows for expansion as oil is heated to the set
temperature.
◊ Using Optional Fresh Oil Supplies, On‐board (JIB/Saddle Tank)
or Bulk System: If fryer is equipped with either of these fresh
cooking oil supply options, follow the steps below:
• Position the OIL RETURN Valve Handle ⑨ into the [FILL POT] position. On a banked
system, only the valve of the well being filled should be set in this position; all others
must have this valve in the [CLOSE] position.
• The OIL FILL Pushbutton Switch ⑥ on control panel is directly connected to the bulk
system pump.
• Press and hold pushbutton to activate the system pump. While holding the switch,
observe vat filling from the bulk system. Switch must be held in until vat fills ... filling
stops if pushbutton is released.
• Release switch to stop flow when oil level reaches [ADD] mark.
• Return the OIL RETURN valve to the [CLOSE] position.
4.02 Cooking Procedures
1. Ensure that Heat Switch ③ is in the [OFF] position. DO NOT place switch in [ON] position at this time.
2. Place the Power Switch ① in the [ON] position, Power Light ② turns ON. Controller powers up as described in
Section 4.01.12. When the alarm sounds, press [ALARM] key ⑤ to silence, do not press [START] as prompted
by the controller.
3. While the “POWER FAILURE” message is displayed on Upper Display, set the desired cooking oil temperature as
described in Section 4.01.3, Setting the Cooking Temperature.
1
This section explains the details for cooking with a GBF‐70 Electric Fryer. The procedures assume starting with a
properly installed, clean, empty fryer. Owner/operator work practices and procedures must also be followed.
3
Continued on Next Page
5
4
2
6
11
12
13
8
9
 Loading...