62
Cleaning & Maintenance
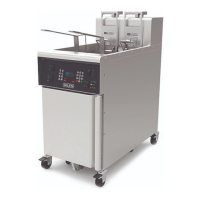
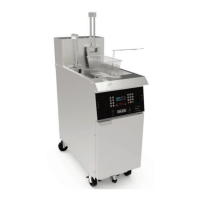
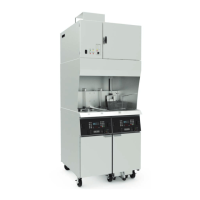
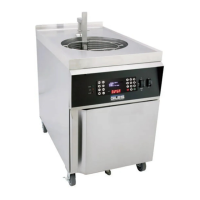
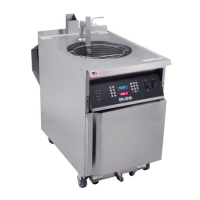
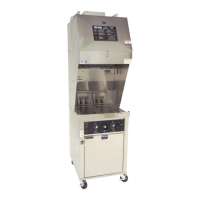
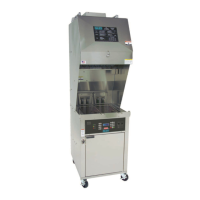
GBF-70 Fryer
6. On the unit being cleaned
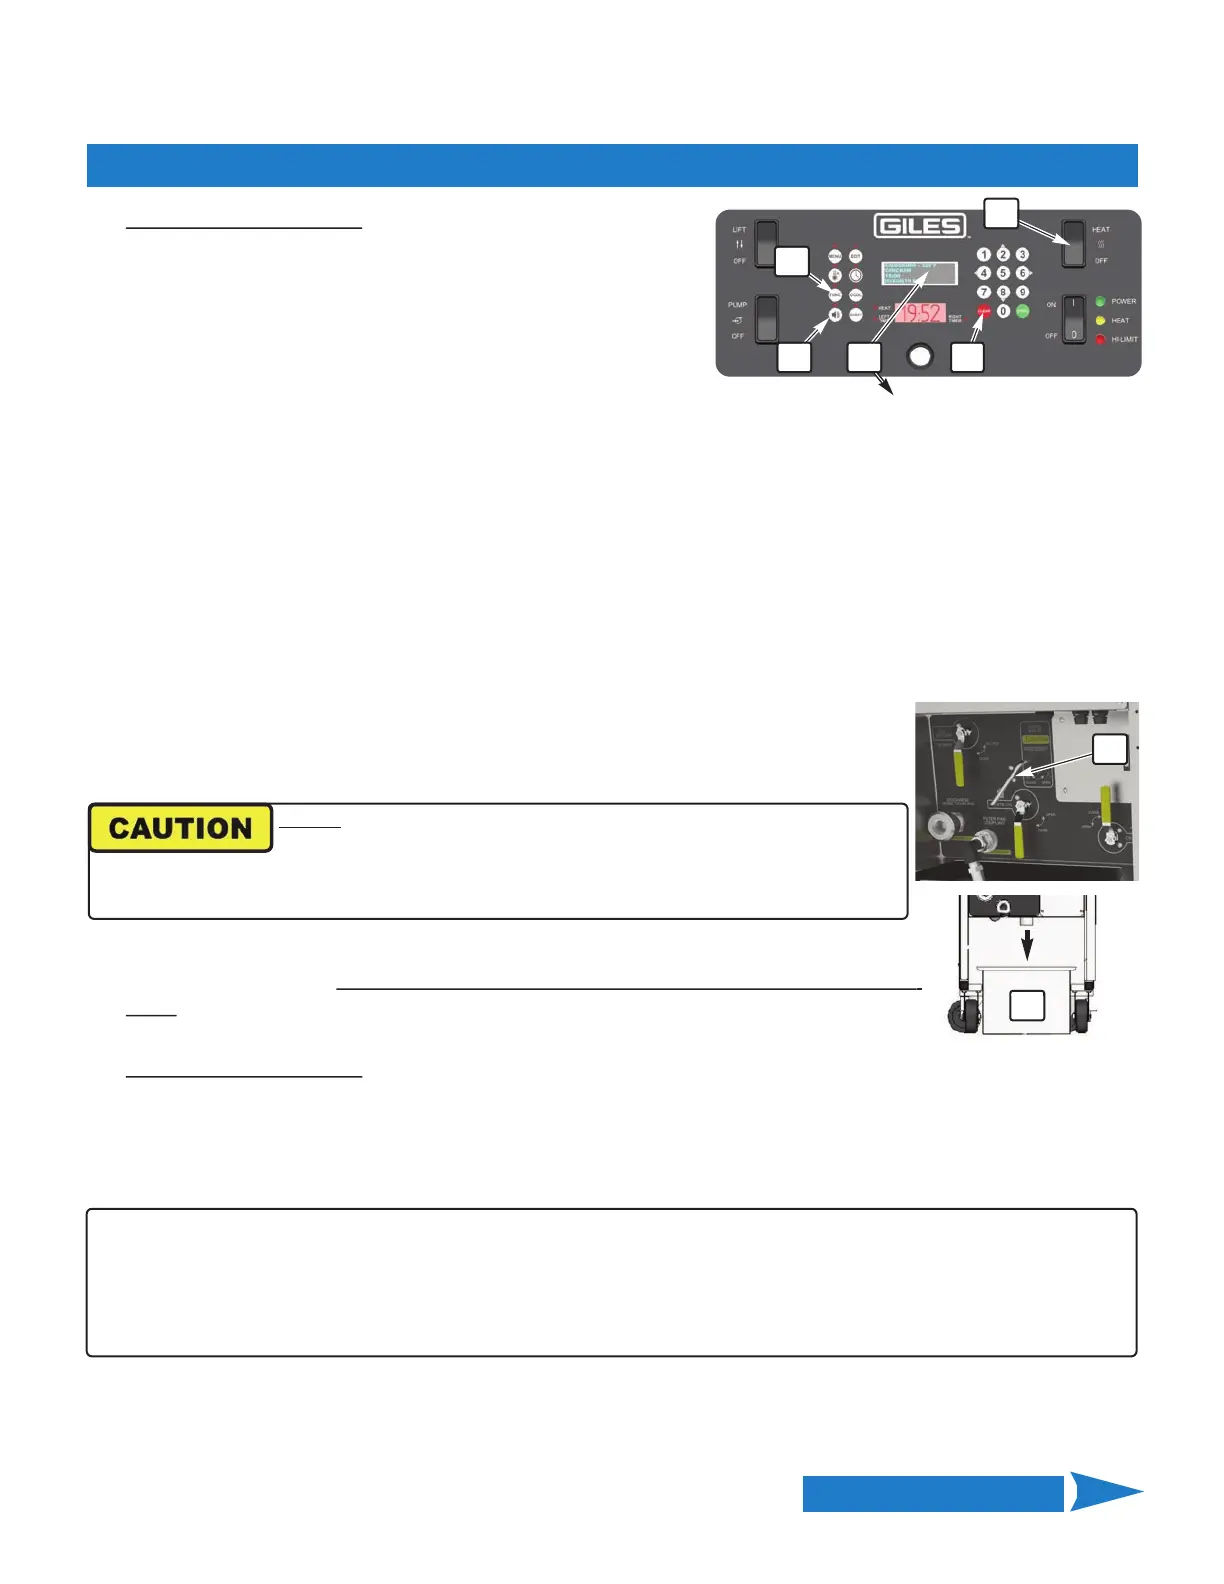
... Place the Heat Switch ① in the
[ON] position, unit should enter PREHEAT mode.
7. The Press the [FUNC/BOIL] key ②.
8. Controller will enter BOIL OUT MODE ... temperature setpoint
automatically changes to 200
°
F, boil‐out time begins counting
down from 30 minutes (displayed in the Lower Display), and
boil‐out solution begins to heat.
• Default Boil Out Temperature and Time are factory‐set at 200°F
& 30 mins. If a different temperature or
time is required, settings can be changed in User Settings, Section 4.01.10 ... [BOIL TEMP] is variable between
185° ‐ 208°F. [BOIL OUT TIME] is variable between 1 ‐ 45 minutes.
• If necessary, the boil‐out process can be stopped by pressing the [CLEAR] key ④ ... a confirmation prompt is
displayed on the Upper Display. Press keypad [<4] to stop or press [CLEAR] again to continue the process.
9. At the completion of the boil‐out time, an alarm sounds and the Upper Display shows message “ALARM ‐
COOKING DONE”. Press the [ALARM] key ⑤ to silence alarm and exit BOIL OUT MODE
NOTE: As a safety measure, the controller automatically resets the temp setpoint to 50°F when boil out mode
is concluded. Setpoint must be reset to a cooking temp after refilling vat with fresh oil.
10. Place the Heat Switch ① in the [OFF] position.
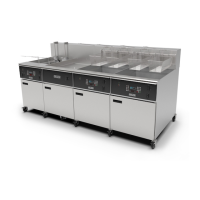
11. Disconnect filter pan hose ⑥ and remove the filter pan from the unit.
On banked
systems, filter pan is located in the left‐hand unit cabinet
.
12. Place a suitable heat‐resistant container ⑧ (not provided) beneath the fryer drain in
place of the filter pan. Plastic containers are generally not suitable, as they may melt or
break
. NOTE:
Banked fryer systems have multiple drain tubes; be certain container is
positioned so that it will properly capture the used boil‐out solution when drained.
13. On the unit being cleaned
, slowly turn the drain valve handle ⑨ to the [OPEN]
position (to right fully to a stop) ... completely drain used boil‐out solution into the catch container.
14. As needed, use the provided heat‐resistant brushes to scrub vat sides, bottom, and heating elements to remove
loosened residue. Rinse and flush the vat thoroughly with warm clean water. Take care not to damage
temperature probes protruding through the front vat wall.
15. After draining and thoroughly rinsing vat, return drain valve to the [CLOSE] position.
NEVER drain spent boil‐out solution into the filter pan or run it
through the filter system using the pump. Some fryer cleaning
products may be caustic and will damage the pump and/or other system components.
Doing this will void the factory warranty!
5.02 Boil-Out Procedure - Cleaning the Fry Vat - continued
Continued on Next Page
1
2
3 4
5
9
NOT THE FILTER PAN!
8
IMPORTANT!!
• Closely monitor the catch container. Close drain valve and empty container as often as needed to avoid overflow
while draining and rinsing.
• If a floor drain is located near the fryer it should be acceptable to slowly drain solution onto floor and squeegee it
into the drain (a helper may be needed to assist with this option).
16. Use sanitized absorbent towels, or clean paper wipes, to completely dry the cook vat and heating elements.
Properly dispose of the used boil‐out solution.
 Loading...