Using the Scheduling Panel Setup Wizard
23
AMX RoomBook Scheduling Touch Panels - Instruction Manual
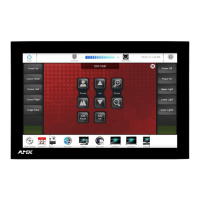
Note that if the selected field requires numeric entry, the on-screen keypad is opened instead. The example in FIG. 23 shows the
cursor in the IP Address field, and the on-screen keypad displayed:
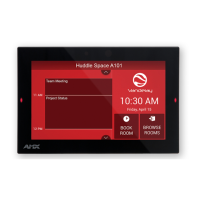
Setup Wizard: Step 2 - NETWORK
Use the options in the NETWORK page to configure the scheduling panel’s connection to the network (FIG. 24):
FIG. 23
On-Board Keypad (Network page)
FIG. 24 Setup Wizard: Step 2 - NETWORK
Setup Wizard - NETWORK page options
DHCP/Static Select how to assign an IP Address to this panel:
• DHCP (default setting): Select this option to use DHCP to automatically assign an IP address to the panel. Note that
when DHCP is selected, the other fields on this page are disabled.
• Static: Select to manually configure the IP address for this panel using the fields provided on this page.
IP Address Enter a valid IP Address for this panel.
Subnet Mask Enter a valid Subnet Mask address for this panel (as required).
Gateway Enter a valid Gateway address for this panel (as required).
Hostname Enter a valid Hostname for this panel (as required).
DNS Server 1 Enter a valid DNS Server #1 address for this panel (as required).
DNS Server 2 Enter a valid DNS Server #2 address for this panel (as required).
Domain Name Enter a valid Domain Name for this panel (as required).
MAC Address This read-only field provides the MAC Address associated with this panel.
Proxy Setup Press to configure this scheduling panel to connect to a proxy server (only if necessary), via options in the Proxy
Settings page. For information on Proxy Settings, refer to the Proxy Setup section on page 37.
Press to close the on-screen keypad
Press move the cursor to
the next editable field
 Loading...