Acendo Book Scheduling Panels - User Guide
68
AMX RoomBook Scheduling Touch Panels - Instruction Manual
5. If prompted. enter the Meeting PIN Code (FIG. 138):
6. Press Submit to reserve the meeting.
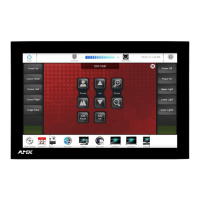
7. Once the meeting has been added to the calendar, it is represented on the Room page (FIG. 139):
Browse Rooms for Scheduling
If this panel is part of a Group, the BROWSE ROOMS option allows you to browse other Acendo Book panels in the same Scheduling
Group to check for availability. Other panels/rooms in the Group that are available can be scheduled from any panel in the group.
BROWSE ROOMS Button
The BROWSE ROOMS button is always displayed on panels that are configured as a Member panel of a Scheduling Group
(see Viewing/Editing Group Settings on page 40 for details on Scheduling Groups).
If the device is conf igured as the Master panel of a Scheduling Group, the BROWSE ROOMS button is automatically removed
if no Member panels have communicated with the Master panel for 5 minutes.
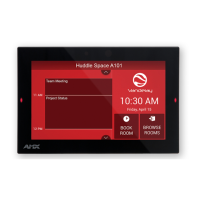
1. In the Room page, press BROWSE ROOMS (FIG. 140):
2. The AVAILABLE ROOMS page displays a list of the other Acendo Book panels in the Scheduling Group that are available for
booking immediately.
FIG. 138
ENTER PIN CODE
FIG. 139 Room page
FIG. 140 BROWSE ROOMS button
Note: The Meeting PIN Code is only required if
the "Meeting PIN Code" option is enabled in the
Security setup page.
The Meeting PIN Code is set on the Security
Setup page as well (see page 33 for details).
 Loading...