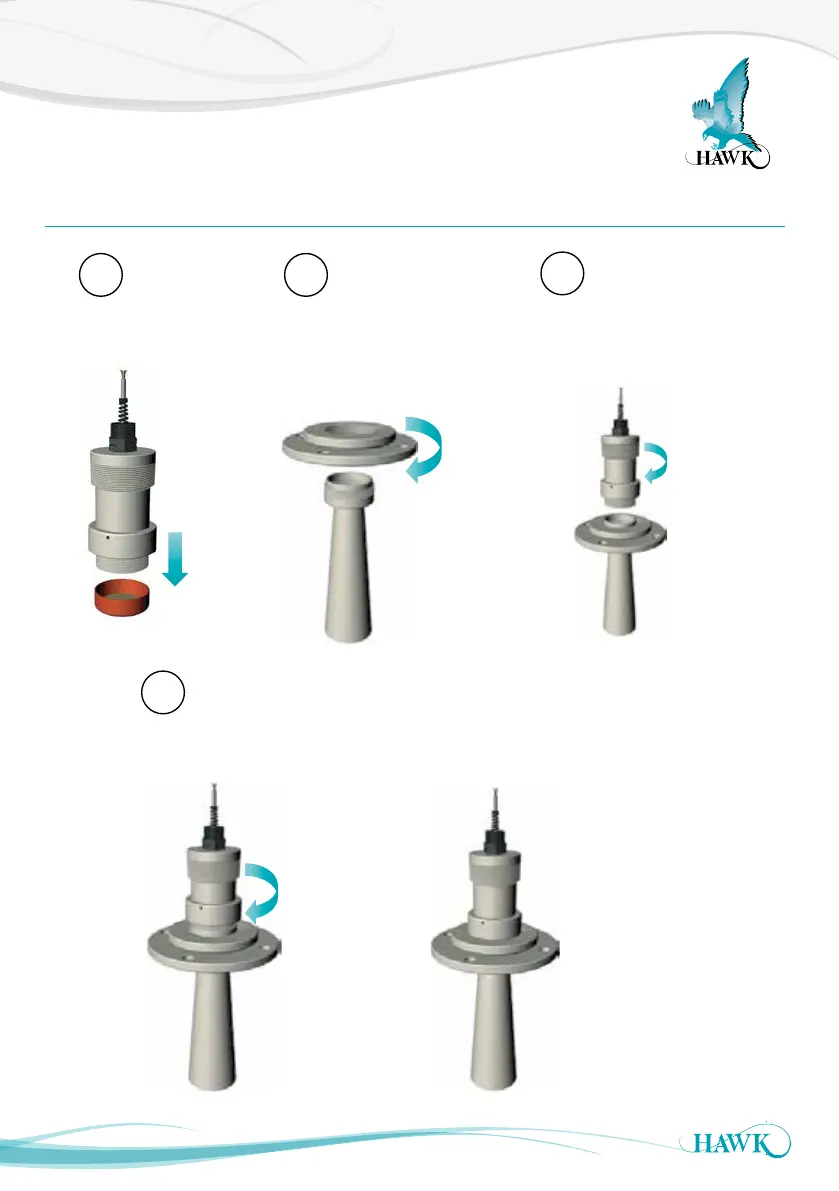
Flange and Cone Assembly
4
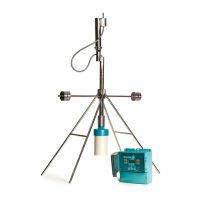
AWR234 Remote Amplier
Sultan Acoustic Wave Series
4
Tighten the locking ring down to
the flange to fix the
components in place.
2
Screw the flange assembly fully
down onto the cone (as far
down as it will go until the parts
are tightly fastened).
COMPLETE ASSEMBLY
1
Remove red cap
(including cardboard).
3
Screw the transducer tightly
down onto the flange and cone
assembly.
Note! Direction of
flange, smallest ring
this way up
↑
(appearance above flange may differ for
integral and smart units).
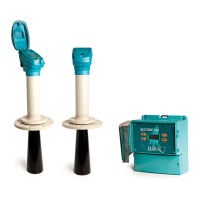
User mountings should only
connect to the larger (lower)
isolated mounting flange.
No other part of the sensor
assembly should touch any
other structure or object.