SecurView DX Workstation V12.0 Quality Control Manual
Chapter 5: Manually Calibrating Displays
Page 36 MAN-09466 Revision 001
4. On the Workstation > Status window, select Run next to ‘Auto-calibration’.
Note
When you manually run the Auto-calibration Test, you may be prompted for a
password. By default, the password is advanced.
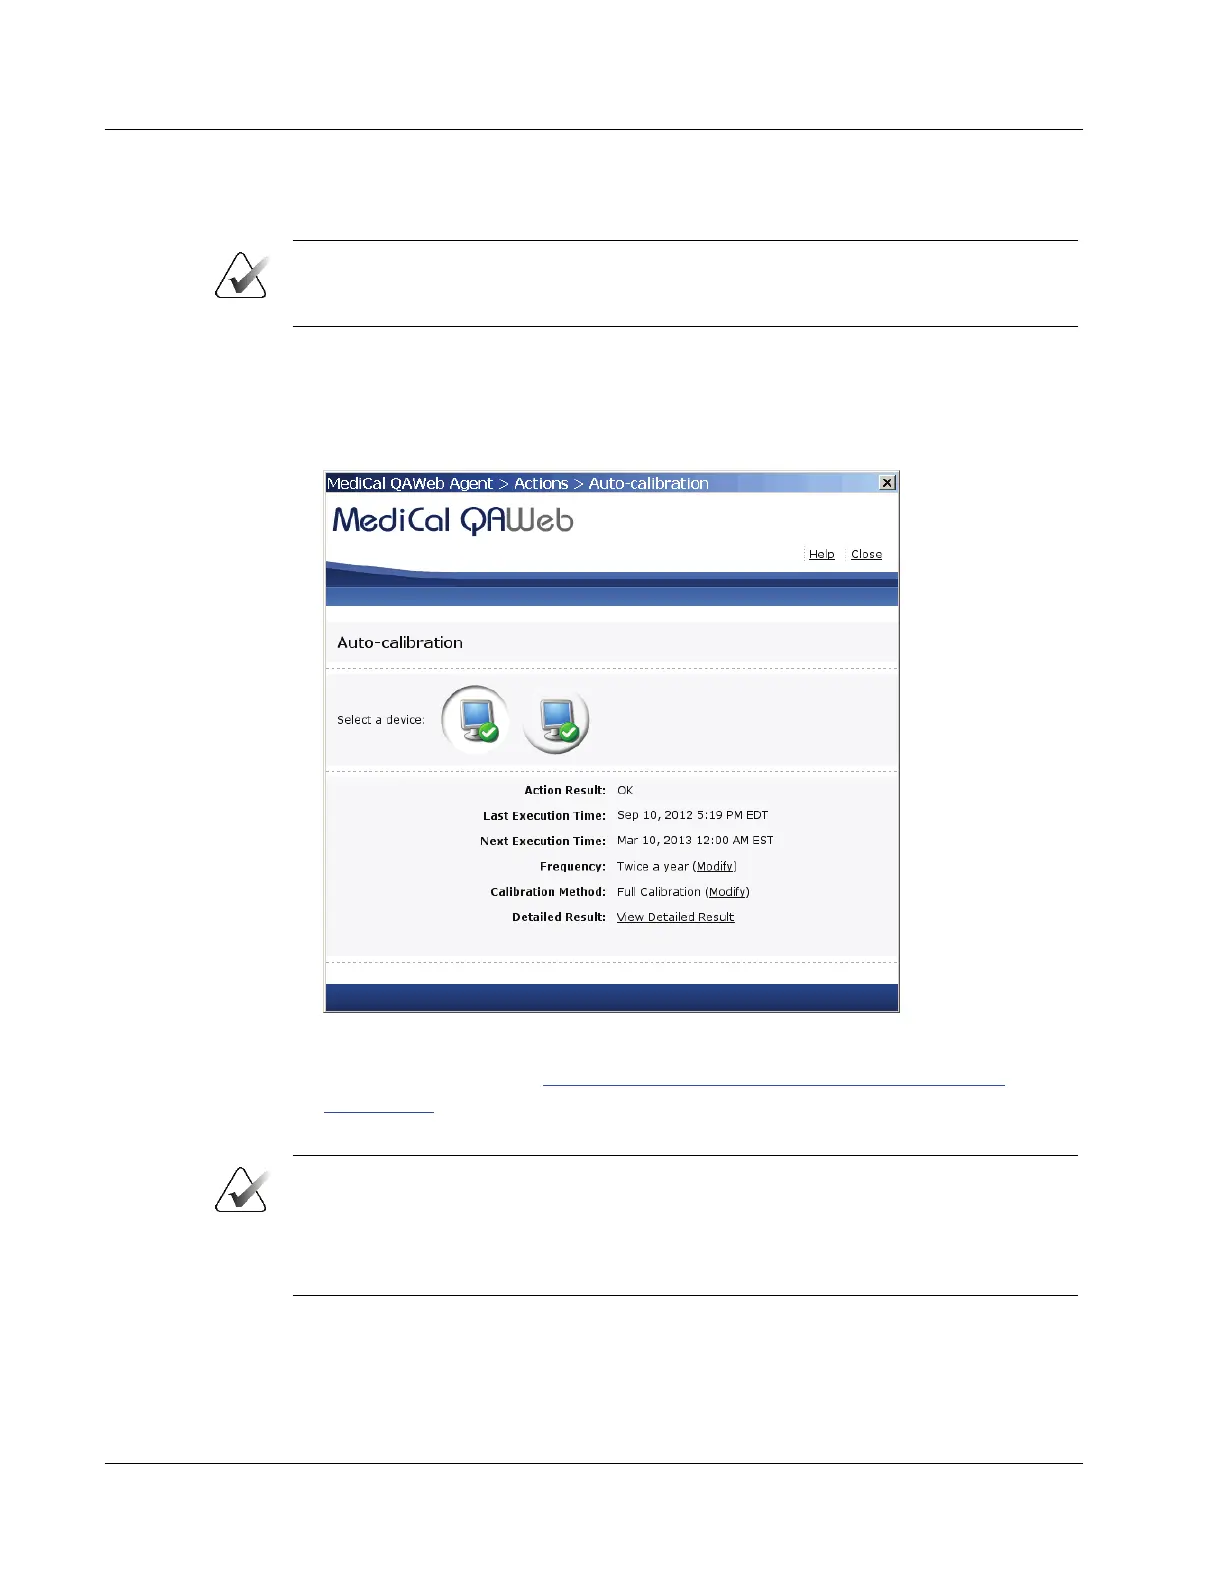
5. Follow the on-screen instructions. Repeat for the second display. When the
calibration procedure ends, the results display as shown in the following example.
The check mark next to each display icon indicates that the calibration ran
successfully.
Figure 23: Auto-Calibration Window
6. Record the results in the
Appendix B: SecurView Weekly QC Form for Radiologic
Technologists on page 43.
7. Close all open MediCal QAWeb windows.
Note
The Next Execution Time for the Auto-calibration will be six months after the last day
the test was manually run. It is important to continue monitoring the dates the tests are
due for semi-annual documentation. The monitors may require calibration in between
the six-month time frames if the Hologic Compliance Test fails.