perating and Installation
Loading a Configuration with the Programming Cable
automatically resets the unit and clears all
Make sure the proper COM port is selected (see the beginning of this chapter).
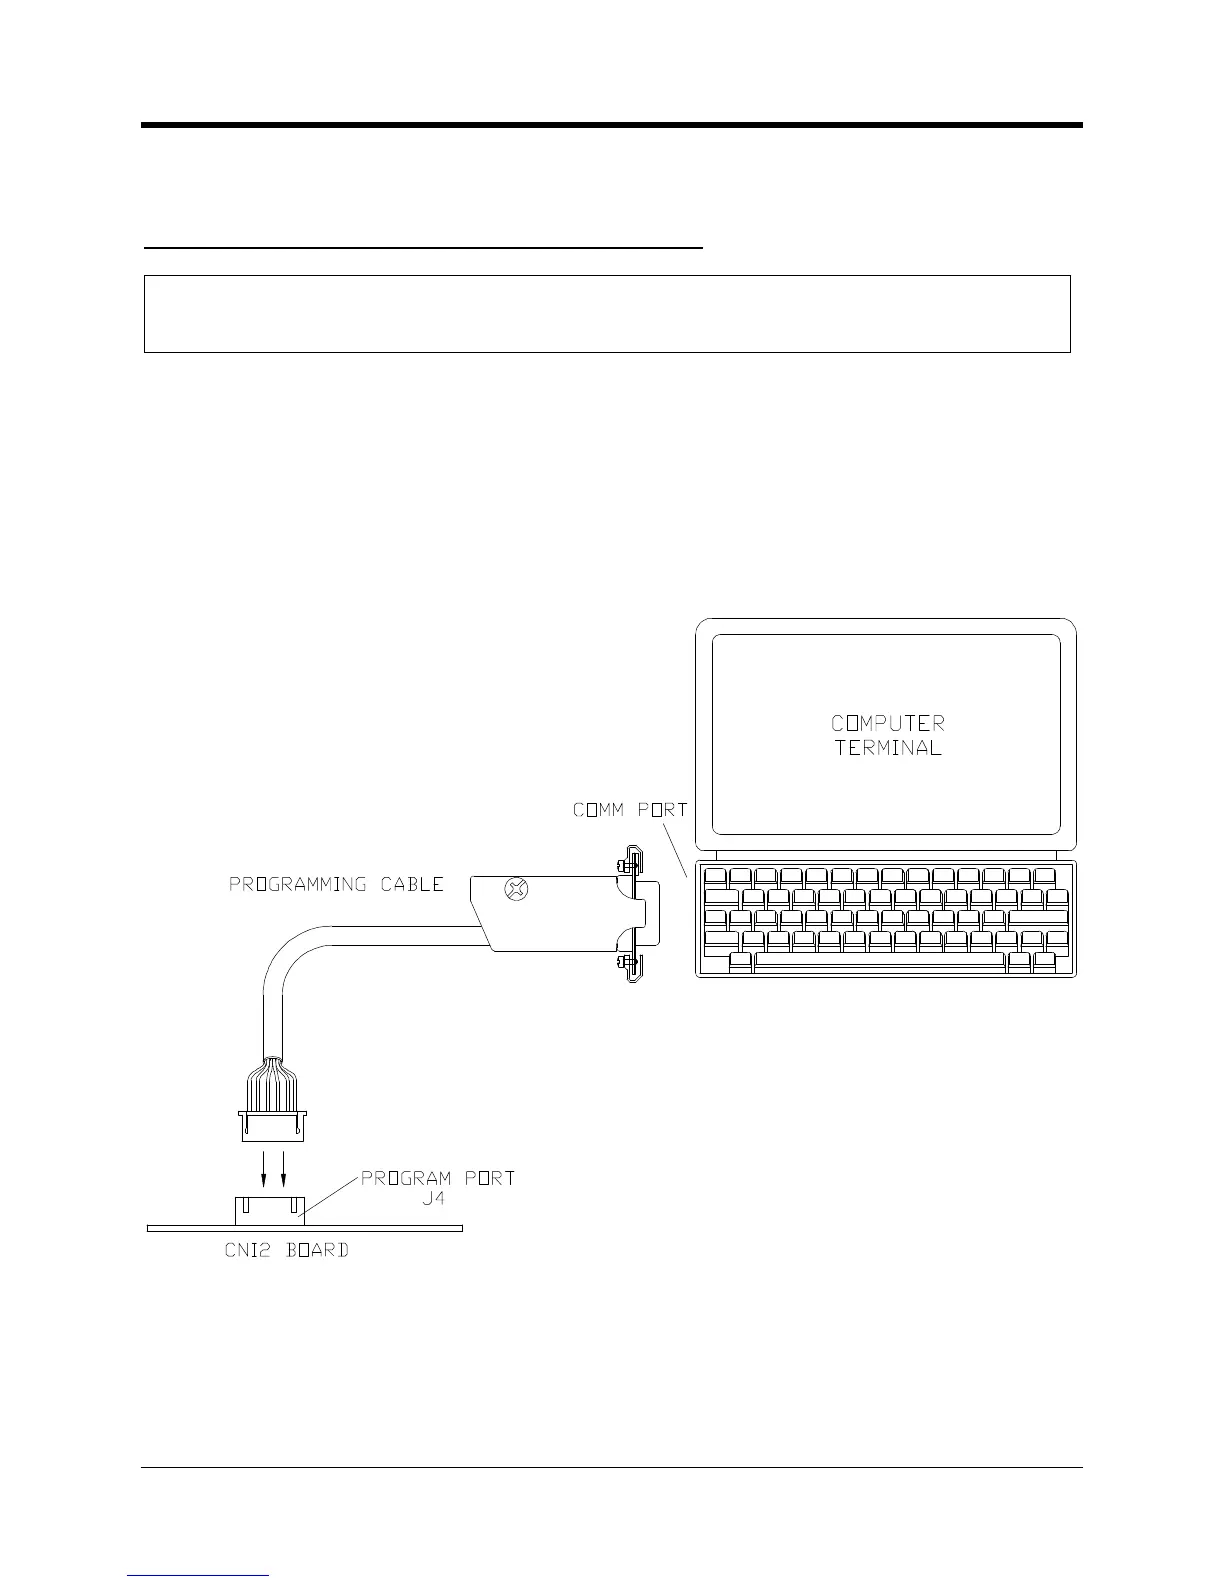
pin end of the programming cable (Figure 4
communications port on the computer, such as COM1, or if the cable is a USB type
2), then simply attach it to your USB port.
Attach the opposite end of the interface cable to the 6
position connector (J4) on the
or is keyed and can only insert in one direction.
Attaching the Programming Cable
button to start programming the
hand corner of the screen and shoul
Successful” message. If an error occurs check your cable and serial port settings.
 Loading...