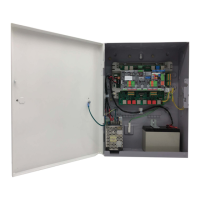
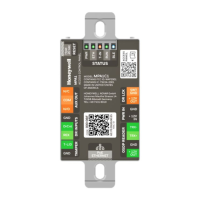
MPA2C3 Installation Guide 81
1. Output selection for Normally Open (NO - by default) or Normally Closed (NC)
operation. Jumpers are available to select the desired operation, depending on
the type of lock connected.
If a lock is a power-to-unlock type (normal door strike – for fail secure installations)
then this jumper needs to be set to NO.
If a lock is a power-to-lock type (fail safe door strike or magnetic lock – for fail safe
installations) then this jumper needs to be set to NC.
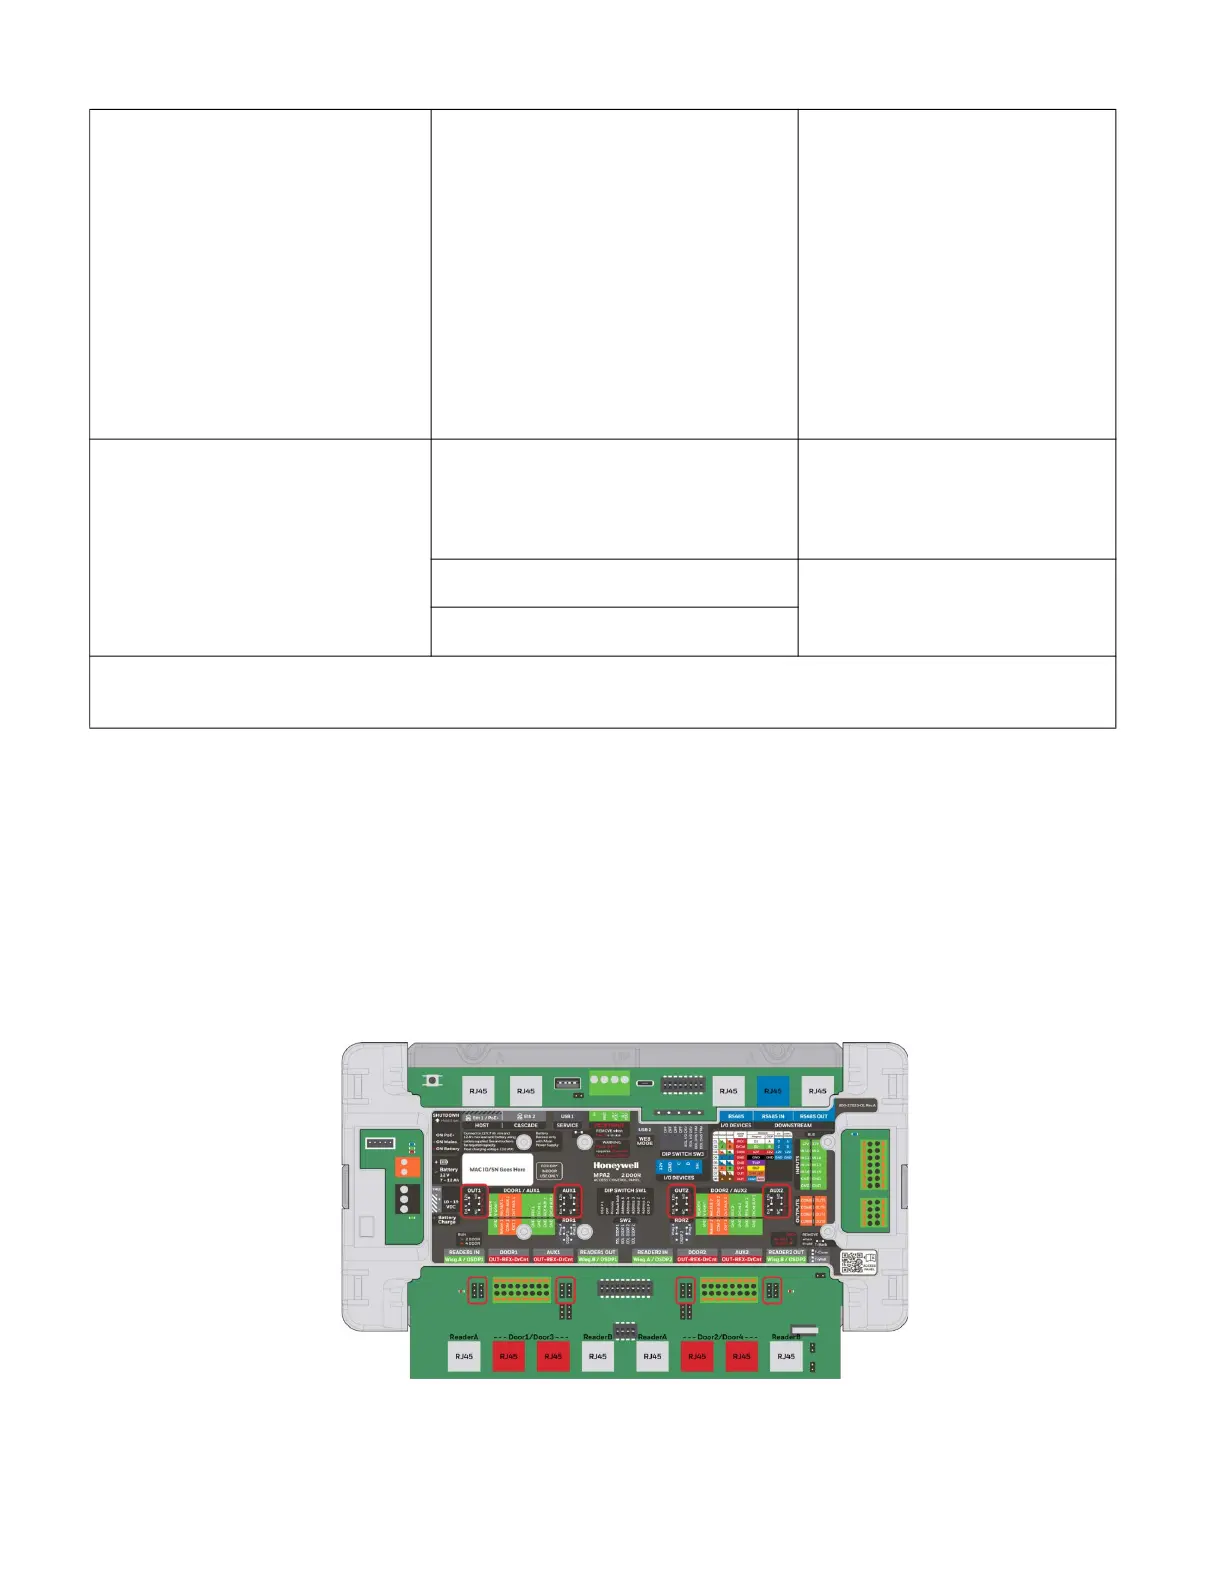
Figure 3-19 Indicate the location of the Jumpers.
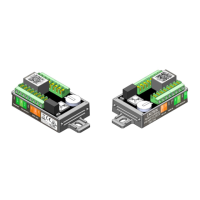
Max output Voltage at Door1/AUX1 output
when OUT2, AUX2 jumper onboard "12V” is
used (wet contact)
OUT 2 @ RJ45 or
OUT 2 @ push in terminal block**,
AUX 2 @ RJ45 or
AUX 2 @ push in terminal block**
10VDC ~ 14VDC
Max output current at Door2/AUX2 output
when OUT2, AUX2 jumper onboard "12V” is
used (wet contact)
OUT 2 @ RJ45 **,
AUX 2 @ RJ45 **
500mA per RJ45, limited to 750mA @
12VDC combined over both door output
contacts
OUT 2 @ push in terminal block**, 750mA @ 12VDC combined over both door
output contacts
AUX 2 @ push in terminal block**
** Connect either RJ45 or push in terminal block; do not connect same Door output on both RJ45 and push in terminal block.
 Loading...