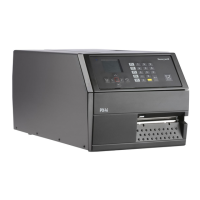
Chapter 2: Connecting the Printer
User Instructions for PC42d Desktop Printer 19
Connecting the printer to the network
If your printer is equipped with factory-installed optional Ethernet port, you can connect
it to the network. The printer’s default setting is for obtaining IP address through DHCP.
If your network uses other means to distribute IP address, you would have to use the
printer configuration software to configure the IP address distribution method using
USB or optional serial port connection.
1. Switch on the printer;
2. Connect one end of the Ethernet cable to the printer and the other end to the
network;
3. Print a configuration label to find the printer’s IP address. Please refer to Page 14
“Testing Labels”.
When the printer’s LED turns steady green, wait for about 10 seconds to obtain the
printer’s IP address. If the test label shows the printer’s IP address as 0.0.0.0, wait
for another 10 seconds before printing another test label.
4. Use the printer portal or simple diagnostic tools to configure the necessary
Ethernet setting.
Connecting to USB devices
You can use the USB port on the printer to connect to the keyboard, bar code scanner
or USB thumb drive.
1. When connecting to the USB thumb drive please ensure that it is equipped with a
single drive and formatted (FAT16 or FAT32);
2. Connect the device to the USB port.

 Loading...