Chapter 3: Printer Troubleshooting and Maintenance
32 User Instructions for PC42d Desktop Printer
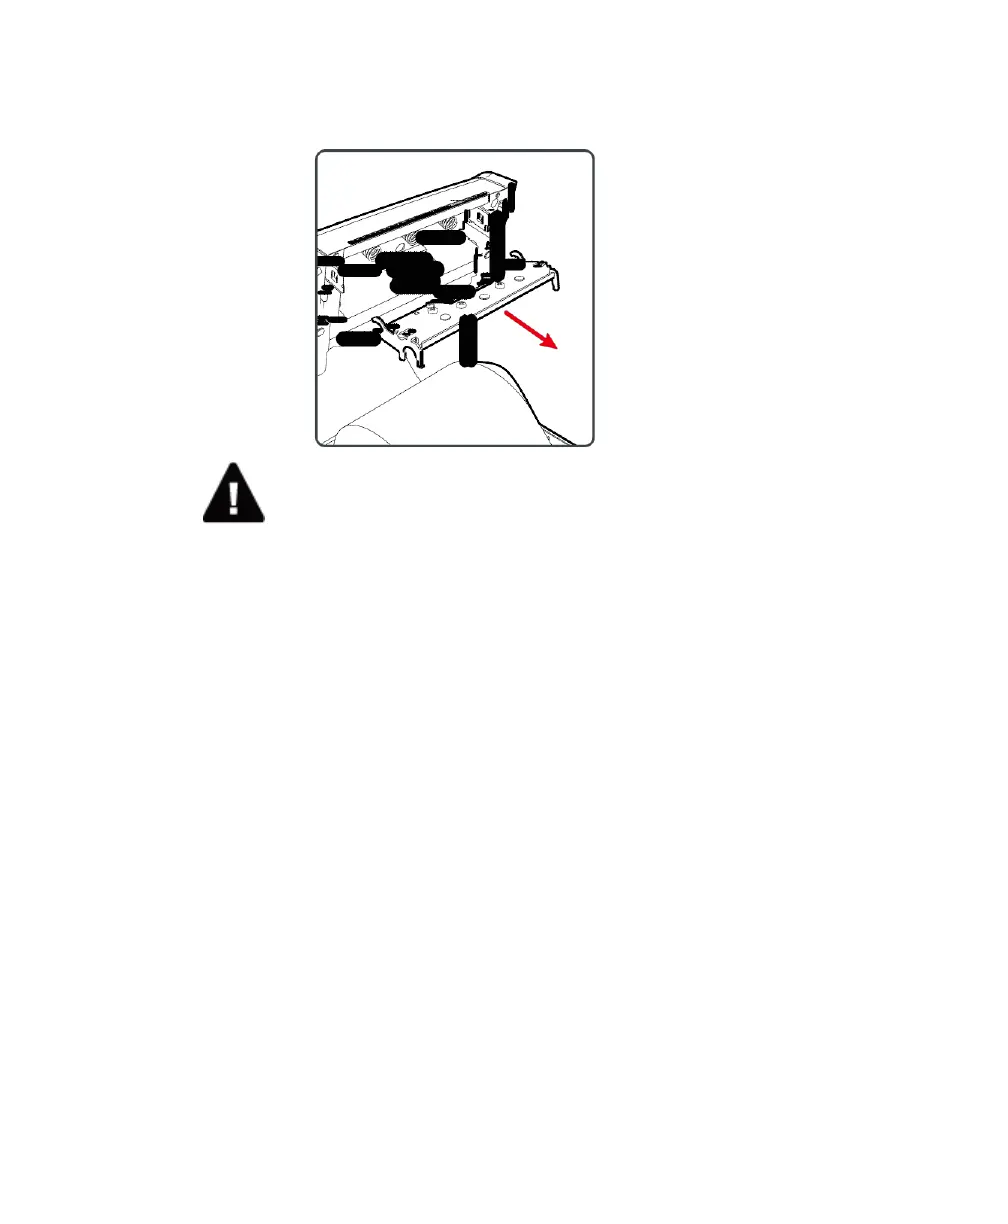
6. Severe the electric cable connection to the printer head, and remove the printer
head from the printer.
Warning: Do not touch the surface of the printer head.
7. Re-insert the ground screw into the lug of the ground cable, before screwing it
tightly onto the new printer head;
8. Connect the electric cable to the new printer head;
9. Push the new printer head into the supporting base of the printing mechanism;
10. Slightly incline the printer head upwards such as to enable it to enter the printer
cover, before pressing it in place;
11. Once the printer head is in the correct position the printer head flexible locking
mechanism will lock it on both sides;
12. Close the printer's cover until you hear a ‘click’ sound;
13. Print test label.

 Loading...