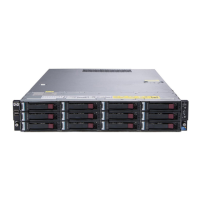
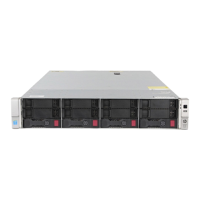
Installing the server into the rack
Procedure
1. Observe the following alert:
CAUTION: Always plan the rack installation, so that the heaviest item is on the bottom of the
rack. Install the heaviest item first, and continue to populate the rack from the bottom to the top.
2. Install the server and cable management arm into the rack. For more information, see the installation
instructions that ship with the 2U Quick Deploy Rail System.
3. Connect peripheral devices to the server. For information on identifying connectors, see Rear panel
components.
WARNING: To reduce the risk of electric shock, fire, or damage to the equipment, do not plug
telephone or telecommunications connectors into RJ-45 connectors.
4. Connect the power cord to the rear of the server.
5. Install the power cord anchors.
6. Install the rack rail hook-and-loop strap:
a. Hold the rear panel cables against the rack rail, and then wrap the strap around the rack rail.
CAUTION: Prevent the thermal or mechanical obstruction on full-length servers installed in
the rack. Ensure that the extra length and buckle part of the strap must be facing the outside
of the rack rail.
b. Loop the end of the hook-and-loop strap through the buckle.
32 Removal and replacement procedures

 Loading...