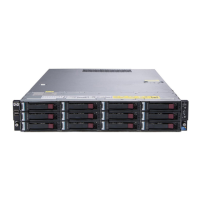
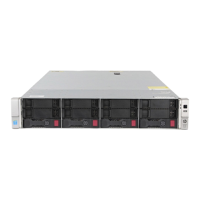
Removing and replacing the system board
Prerequisites
Before you perform this procedure, make sure that you have the following items available:
• T-15 Torx screwdriver
• System board handle tool
• Processor-heatsink dust cover
Procedure
1. If installed, remove the front bezel.
2. Power down the server.
3. Remove all power:
a. Disconnect each power cord from the power source.
b. Disconnect each power cord from the server.
4. Remove the server from the rack.
5. Remove the inner rail to loose side screws on the redundant power supply cage.
6. Remove the access panel.
7. Remove the air baffle.
8. Remove all fans.
9. Disconnect all cables from system board.
10. Remove the power supply.
11. If installed, remove the redundant power supply cage.
12. Remove the primary riser cage.
13. If installed, remove one of the following:
• Rear 2-bay SFF drive cage
• Secondary riser cage
•
Secondary riser cage blank
14. Remove the Media Module.
15. Remove the Smart Storage Battery holder.
16. Remove the DIMM guard.
17. Remove all DIMMs.
18. Remove the processor-heatsink assembly installed on the system board.
19. Install the dust cover.
Removal and replacement procedures 91

 Loading...