1. Turn off the system and disconnect all cables.
2. Remove the cover. See “Removing and Replacing the Cover” (page 30).
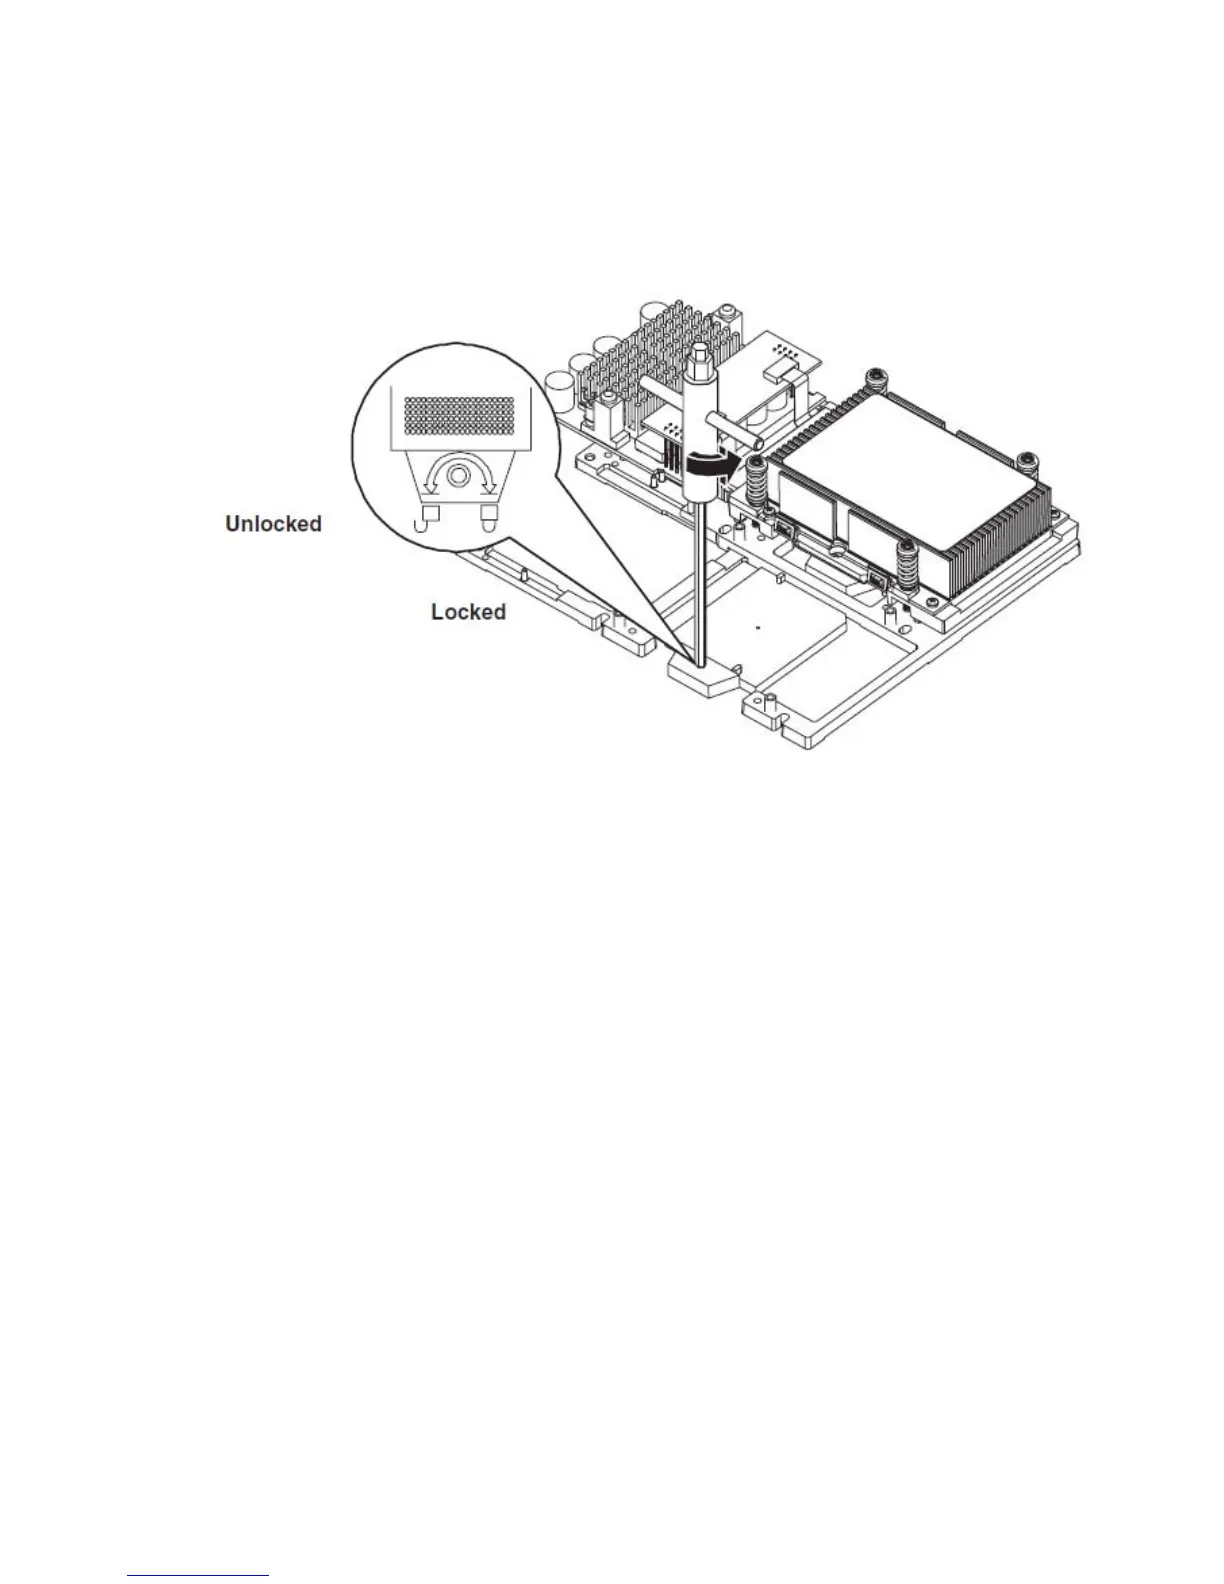
3. Unlock the processor-locking mechanism using the special processor tool shipped with your
replacement processor assembly. Insert the tool into the socket and rotate the special processor
tool 180 degrees counterclockwise. Verify that the processor-locking mechanism is rotated
into the unlocked position.
Figure 36 Aligning the Processor Assembly
4. Remove the pin cover and protective caps for the captive screws on the processor.
5. Place the processor and heatsink assembly over the processor socket. Use the four locator
posts on the assembly to align with the locator holes on the system board.
40 Removing and Replacing Components

 Loading...


