To replace the component, reverse the removal procedure.
Removing and replacing the front I/O board
CAUTION: To prevent damage to electrical components, take the appropriate anti-static precautions before beginning
any installation, removal, or replacement procedure. Improper grounding can cause electrostatic discharge.
Prerequisites
Before you perform this procedure, make sure that you have the components included with the hardware kit.
Procedure
1.
Power down the system (Power down the system).
2.
Remove all power:
a.
Disconnect each power cord from the power source.
b.
Disconnect each power cord from the system.
3.
Remove the system from the rack (
Remove the system from the rack).
4. Place the system on a flat, level surface.
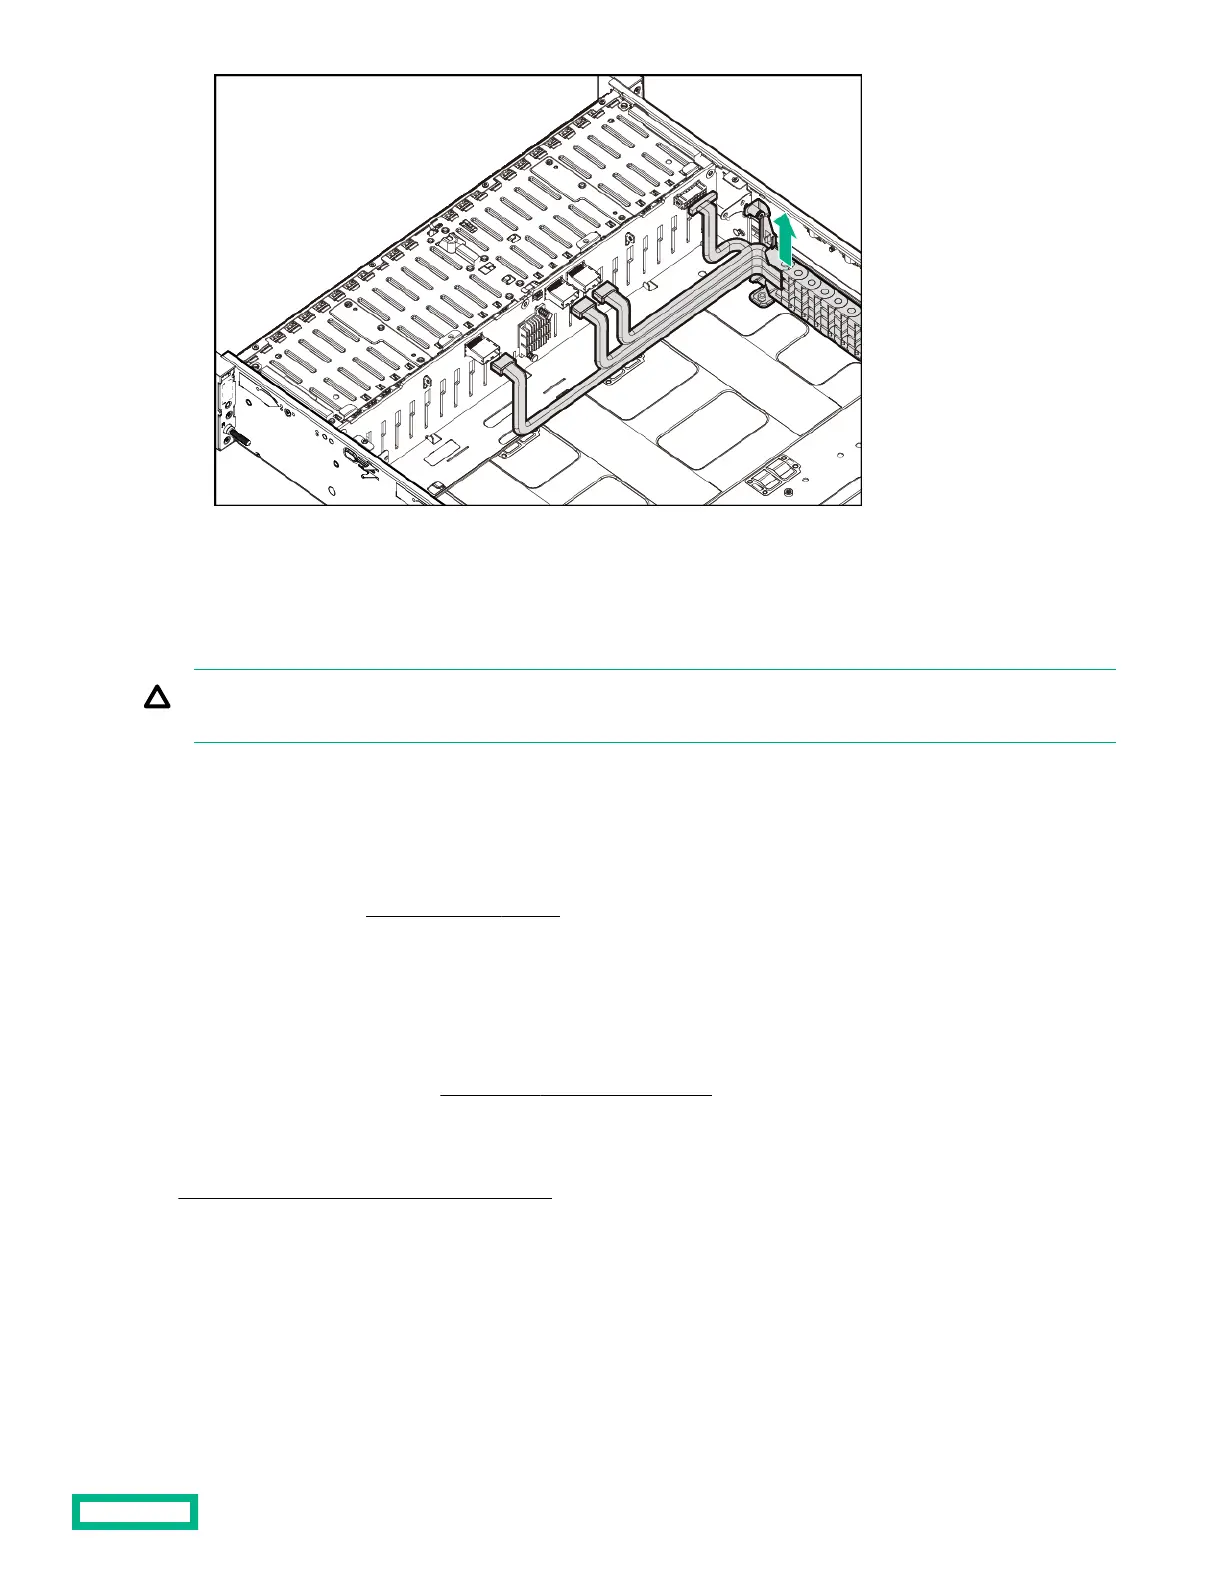
5. Pull down the front drive cage release latches and use them to completely extend the front drive cages from the chassis
(
Extend the front drive cages out of the chassis).
6. Remove the right rack ear assembly:
a. Remove the screws behind the right rack ear.
b. Carefully open the right rack ear from behind, and then disconnect the front I/O cable.
This action releases the right rack ear assembly from the chassis.
Removal and replacement procedures
114
 Loading...