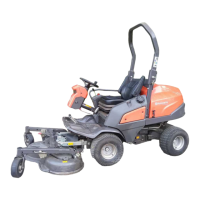
English – 57
10. Remove the driver seat. For more information,
refer to “5.1.2 Driver’s seat” on page 18.
11. Remove the frame section under the driver seat
by removing the 6 screws. In order to lift away
the frame section, the cable retainers must also
be loosened by removing 2 screws.
12. Loosen the PTO button connection from the
circuit board.
13. Loosen the circuit board by dismantling the nut.
14. Move the circuit board out of the way.
15. Dismantle the securing plate for the PTO button.
16. Remove the knobs from the throttle control,
choke control and the height adjustment control.
17. Dismantle the lever for the valve block from
below by loosening the nut.
18. Move the control panel out of the way.
19. Remove the side panel by removing the 4 nuts
on the back and the 2 nuts on the front of the
panel.
20. Lift the loosened hydraulic tank straight up.
Assembling
Assemble in reverse order.
Hydraulic system

 Loading...