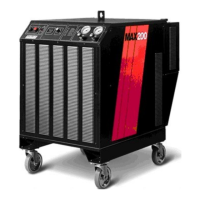
3-14 MAX200 Instruction Manual
SETUP
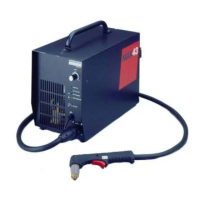
Connecting the Torch Lead Assembly
Connecting the Work Cable
Connect the WORK CABLE (black) to the bulkhead. (See Figure 3-7.)
WARNING
Press the OFF (O) pushbutton switch on the power supply and place the wall mounted
disconnect box switch to OFF before working on the torch or torch leads!
To connect the PAC200T/E torch lead assembly to the MAX200, proceed as follows (see Figure 3-7):
1. Connect the torch COOLANT RETURN lead (red w/red band for 25' leads; blue w/red band for extended leads)
to the bulkhead adapter.
2. Connect the torch COOLANT SUPPLY lead (blue w/green band) to the bulkhead adapter.
3. Connect the SHIELD GAS lead (grey w/blue band for 25" leads; blue for extended leads) to the high-frequency
coil.
4. Connect the PLASMA GAS lead (red) to adapter 2. This connection is left hand-threaded; it tightens in a
counter-clockwise (ccw) direction.
5. Connect the CAP SENSE lead (grey) to adapter 1.
6. Connect the shielded PLASMA START SWITCH LEADS (red and black) to terminal block TB2.
Note: The 90° hand torch lead assemblies are not interchangeable with the PAC200T/E lead
assembly.
If removing the 90° hand-torch leads from the power supply, reverse the Connecting the Torch
Lead Assembly procedure. The connection locations and descriptions of each lead are
otherwise identical to the PAC200T/E leads.
Note: If changing the length of the torch leads, refer to Increase or Decrease Torch Lead Length on
page 5-9.