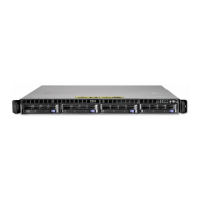
3. Remove the two thumbscrews, and remove the top cover from the drawer.
4. Determine the slot from which you are removing the adapter.
5. Disconnect any cables that are connected to the adapter being removed.
6. Turn the locking latch and lift the plastic stop for the adapter.
7. Carefully grasp the adapter by the edges and pull it straight out from the I/O board.
8. If you are installing another adapter in this slot, follow the instructions given under
″Replacement″ below.
9. If you are not installing another adapter in this slot, place a blank slot cover in the
adapter slot and then lower the plastic stop over the adapter bracket. Rotate the
locking latch clockwise until it clicks into the locked position.
10. Install all covers that you removed earlier and return the drawer to the normal
operating position.
Replacement
To replace an adapter, perform the removal steps in the reverse order.
432 Service Guide

 Loading...


