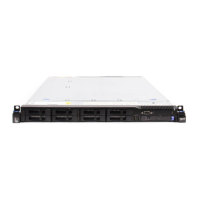
5. Pull the front video connector assembly out slightly until it disengages from the
chassis and set it aside.
Replacing the front video connector assembly
Use this information to replace the front video connector assembly.
About this task
To install the front video connector assembly, complete the following steps:
Procedure
1. Read the safety information that begins on “Safety” on page vii and
“Installation guidelines” on page 33.
2. Turn off the server and peripheral devices and disconnect the power cords and
all external cables, if necessary.
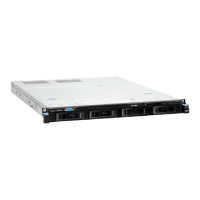
3. Insert the front video connector assembly into the holes on the chassis.
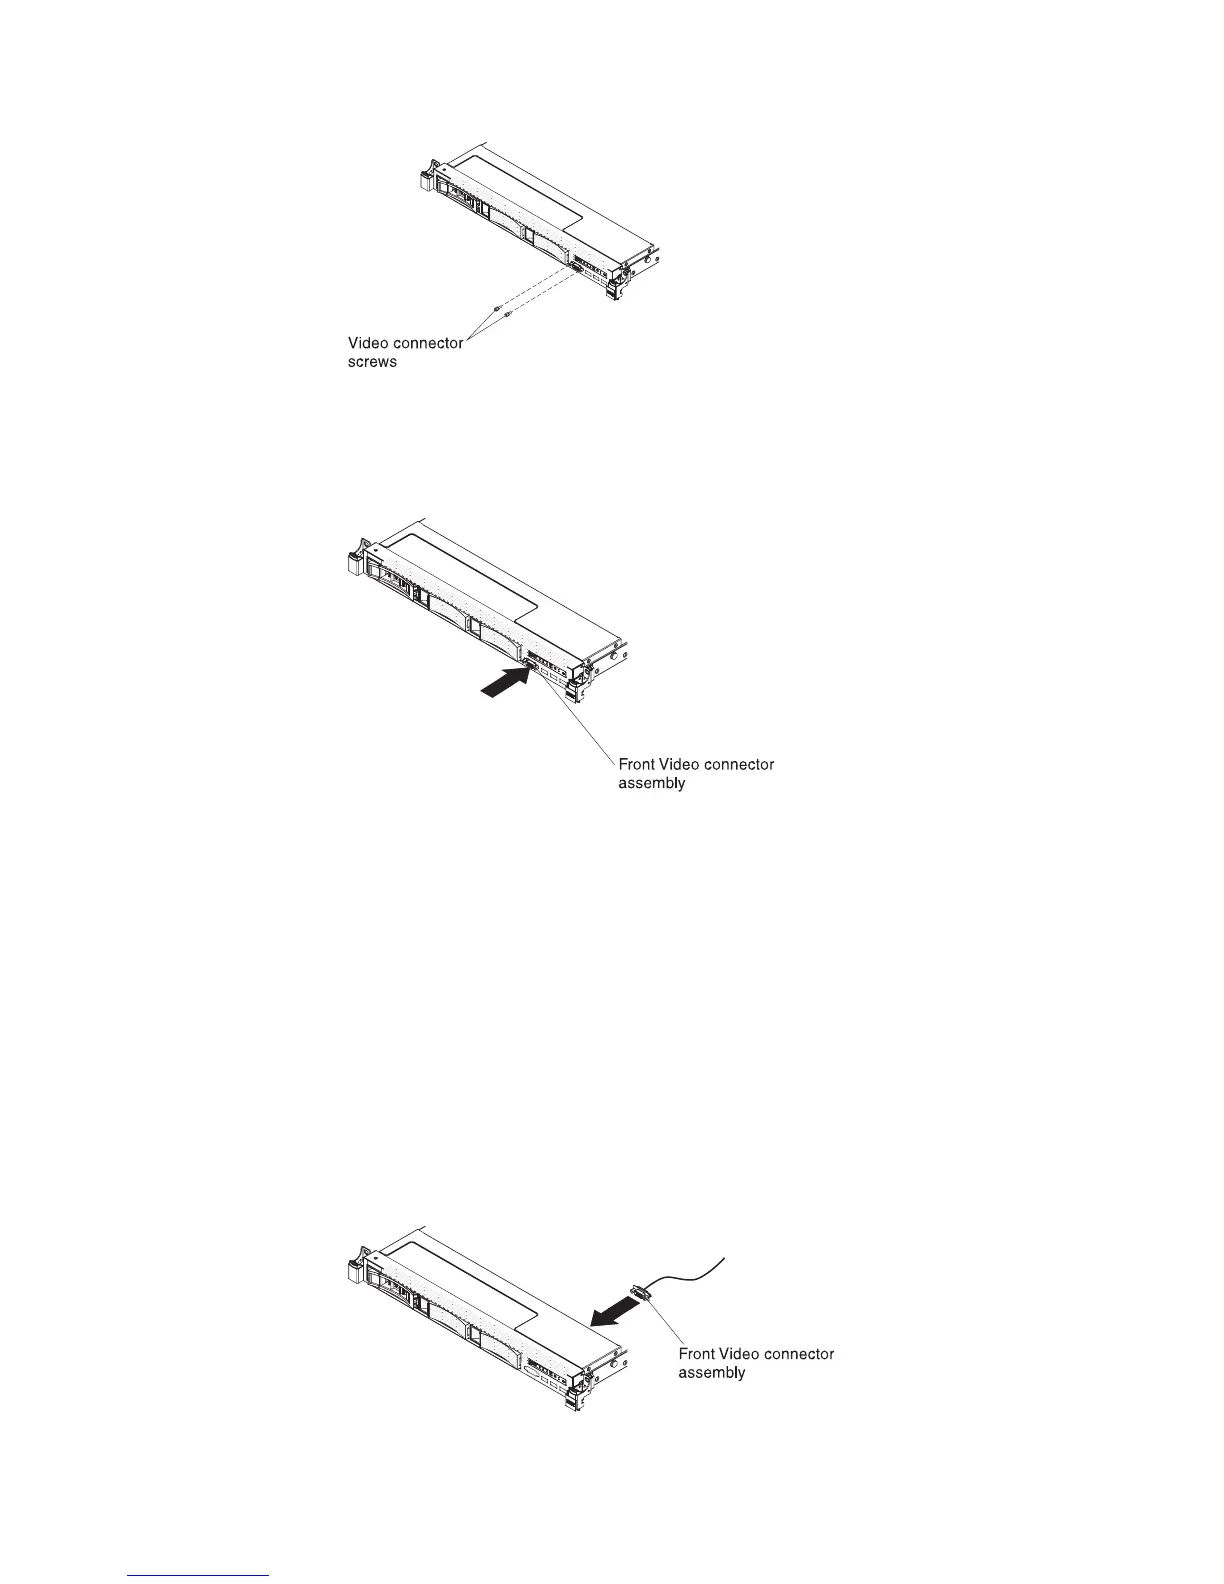
Figure 205. Video connector assembly screws removal
Figure 206. Front video connector assembly removal
Figure 207. Front video connector assembly installation
Chapter 6. Removing and replacing components 305
 Loading...


