Automotive Data Solutions Inc. © 2014
2
ALPRRSRGMS05DSOGEN
TABLE OF CONTENTS
WELCOME
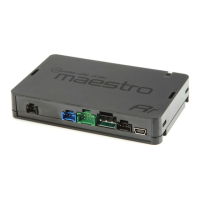
Congratulations on the purchase
of your iDatalink Maestro RR Radio
replacement solution. You are
now a few simple steps away from
enjoying your new car radio with
enhanced features.
This guide is a great addition to both
the vehicle owner’s guide and the
aftermarket radio owner’s guide.
We recommand having both these
documents handy as they cover all
the functionality that the Maestro
RR retains.
Please note that all the retained
functionalities must be initially
available in the vehicle.
USING YOUR STEERING WHEEL CONTROLS
Print Your Quick Reference Card 3
Retaining Onstar 3
USING YOUR FACTORY SYSTEMS
OnStar 4
OEM XM Satellite Radio 4
Rear Seat Audio Controls 5
Rear Seat Video System 5
USING MAESTRO FEATURES
Gauges 6
Parking Assist 7
Vehicle Info 8
CHANGING THE SETTINGS
Chime Volume 9
Mute During Chime 9
Turn Signal Reminder 9
OnStar Turn-By-Turn Info Screen 9
Vehicle Amplifi er 10
Rear Seat Audio Controls 10

 Loading...