ADS-RR(SR)-SUB01A-DS
subaRu legacy base 2010-2014
Automotive Data Solutions Inc. © 2018
4
2
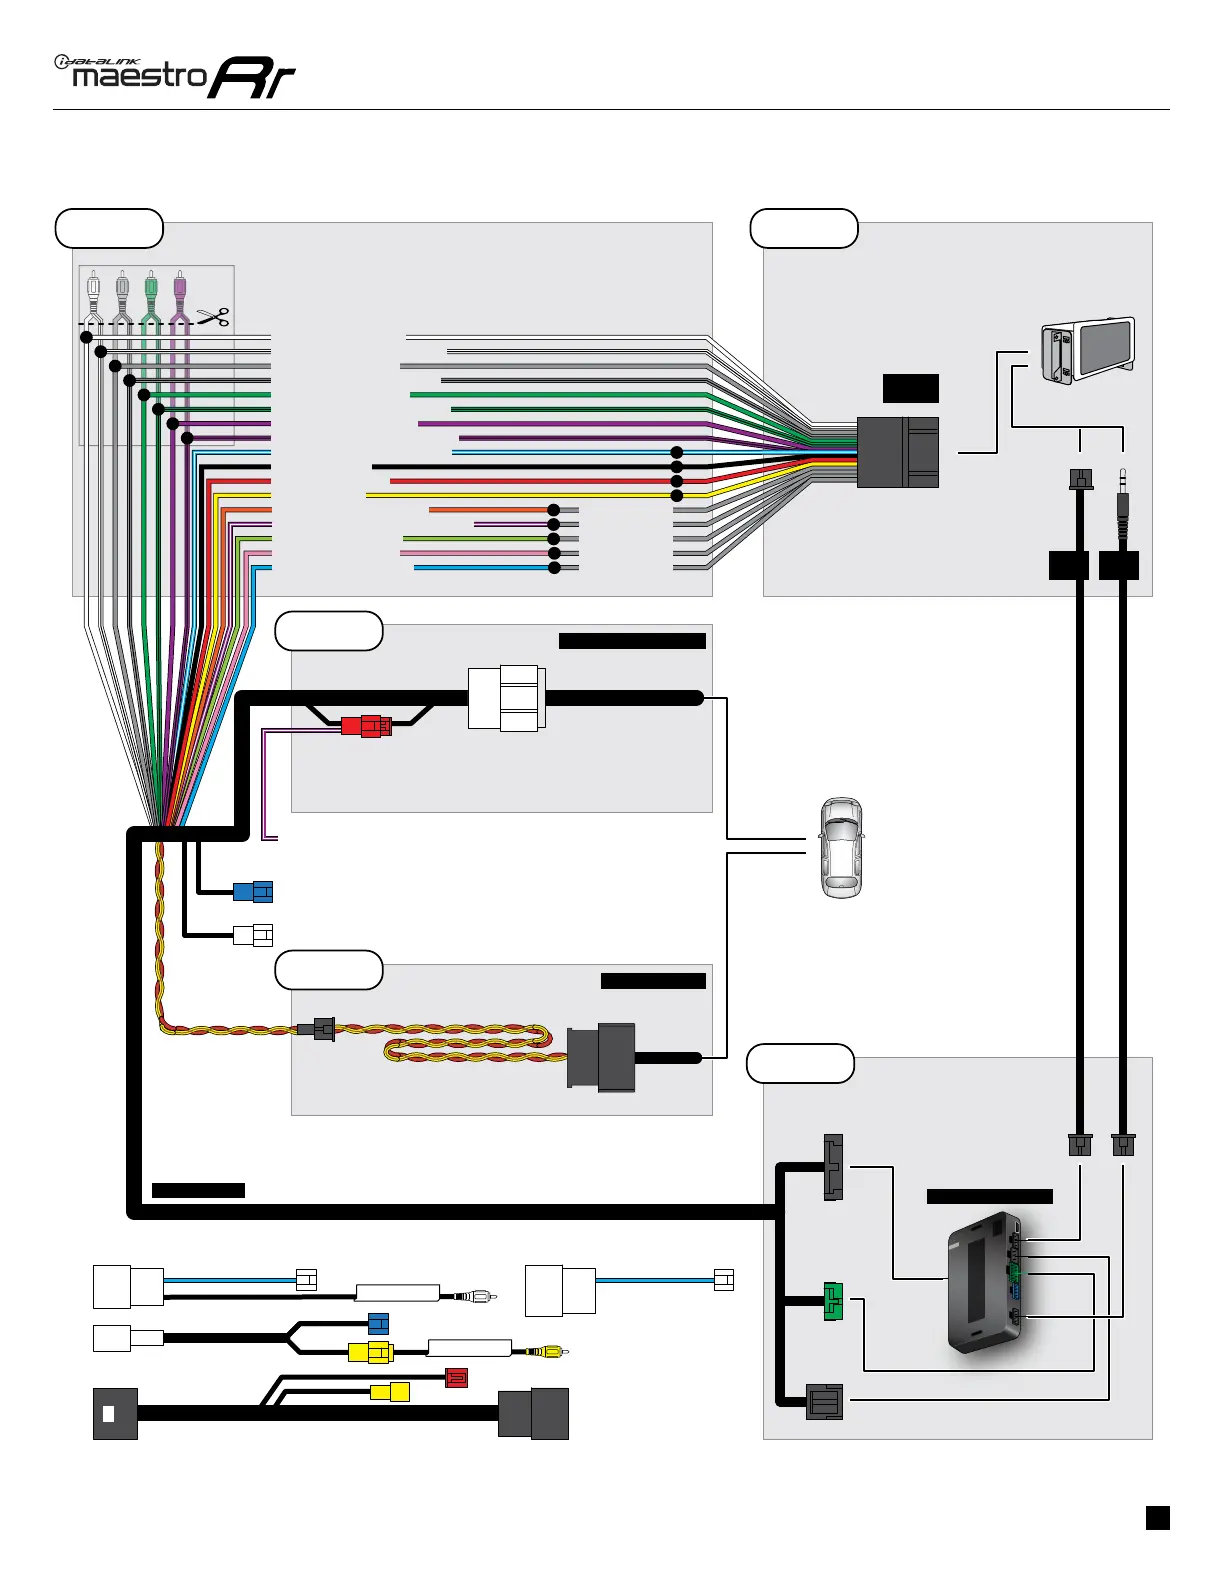
BACKUP CAMBACKUP CAM
SUB INSUB IN
CC
BB
D
AA
CUT AND REMOVE
THE RCA JACKS
STEP 1
MAIN
HARNESS
SU1 T-HARNESS
WHITE - LF SPEAKER (+)
WHITE/BLACK - LF SPEAKER (-)
GRAY - RF SPEAKER (+)
GRAY/BLACK - RF SPEAKER (-)
GREEN - LR SPEAKER (+)
GREEN/BLACK - LR SPEAKER (-)
PURPLE/BLACK - RR SPEAKER (-)
YELLOW - 12V (+)
BLACK - GROUND
RED - ACCESSORY (+)
BLUE/WHITE - AMP. TURN ON (+)
PURPLE - RR SPEAKER (+)
STEP 4
STEP 5
ORANGE - ILLUMINATION (+)
PURPLE/WHITE - REVERSE LIGHT (+)
LTGREEN - E-BRAKE (-)
BLUE - POWER ANTENNA
PINK - VEHICLE SPEED
WIRING DIAGRAM
WIRES FROM
VEHICLE
FACTORY RADIO HARNESS
STEP 2
STEP 3
OBDII CONNECTOR
SEE RADIO WIRE
REFERENCE
CHART
FOR RADIO WIRE
COLORS
DATA
CABLE
AUDIO
CABLE
CONNECT TO
AFTERMARKET RADIO
RED
BLUE (NC)
WHITE (NC)
PURPLE/WHITE (NC)
CONNECTIONS NOT REQUIRED
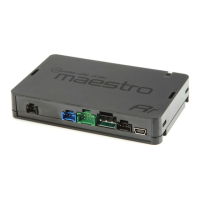
MAESTRO RR MODULE

 Loading...