16
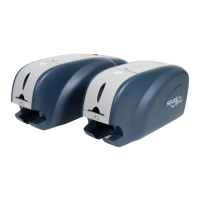
(4) Install a ribbon into the ribbon
cartridge as the right picture.
Figure 12 Loading the ribbon 1
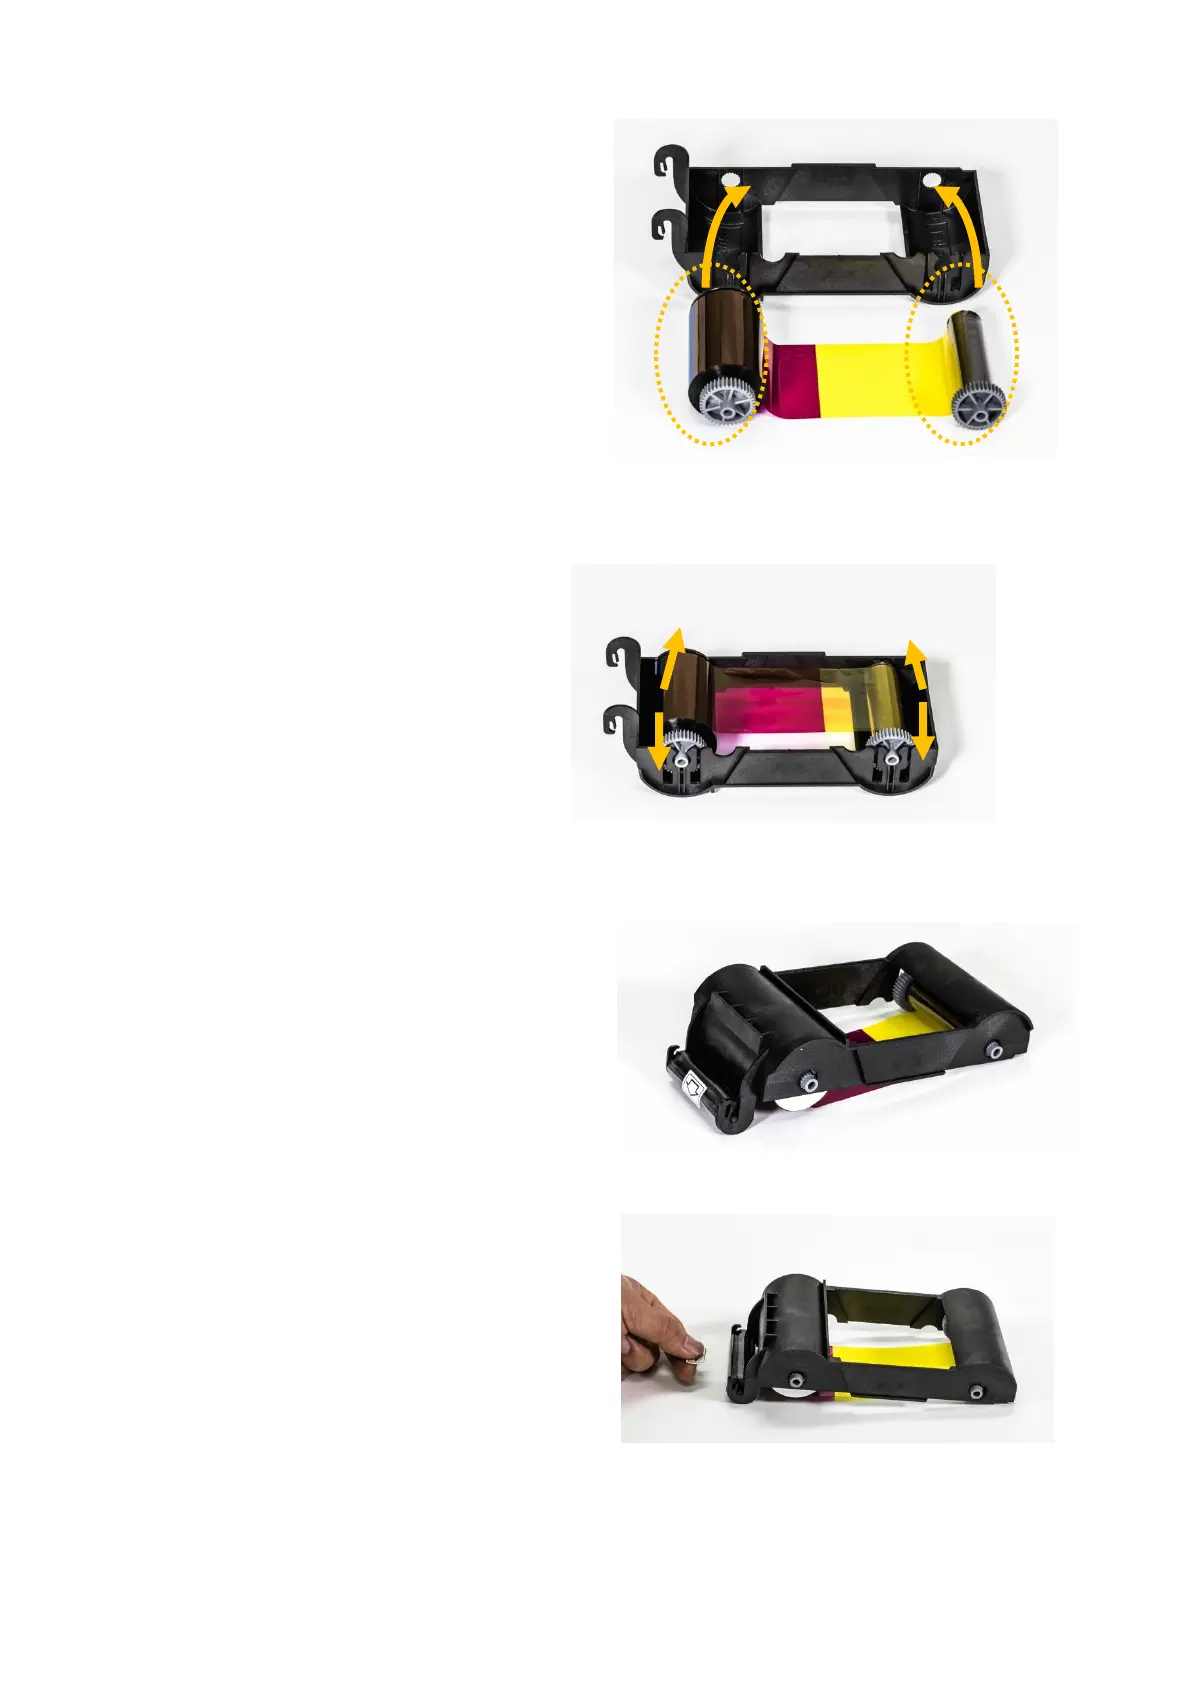
(5) Insert the supply side of the
ribbon to no.1 hole and press the
opposite (no.2). Insert the take-up
side of the ribbon same method to
no.3 and no.4. After inserting,
tighten the ribbon.
(Caution! If the ribbon is not tightened, a
rolling up error might be happened.)
Figure 13 Loading the ribbon 2
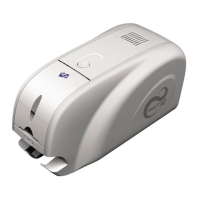
(6) Install the disposable cleaning roller
to the ribbon cartridge.
Figure 14 Installing the cleaning roller
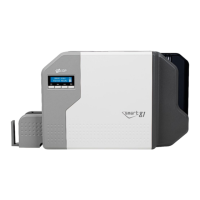
(7) Peel the protective wrapper from the
cleaning roller.
After removing the protective wrapper, the
cleaning roller should be kept clean from
fingerprints, dust and foreign substances
to avoid contamination because it is
adhesive.
(Caution! Do not use without peeling off
the protective wrapper because the
cleaning roller cannot perform its function.)
Figure 15 Peeling the protective wrapper