Manual Page 67
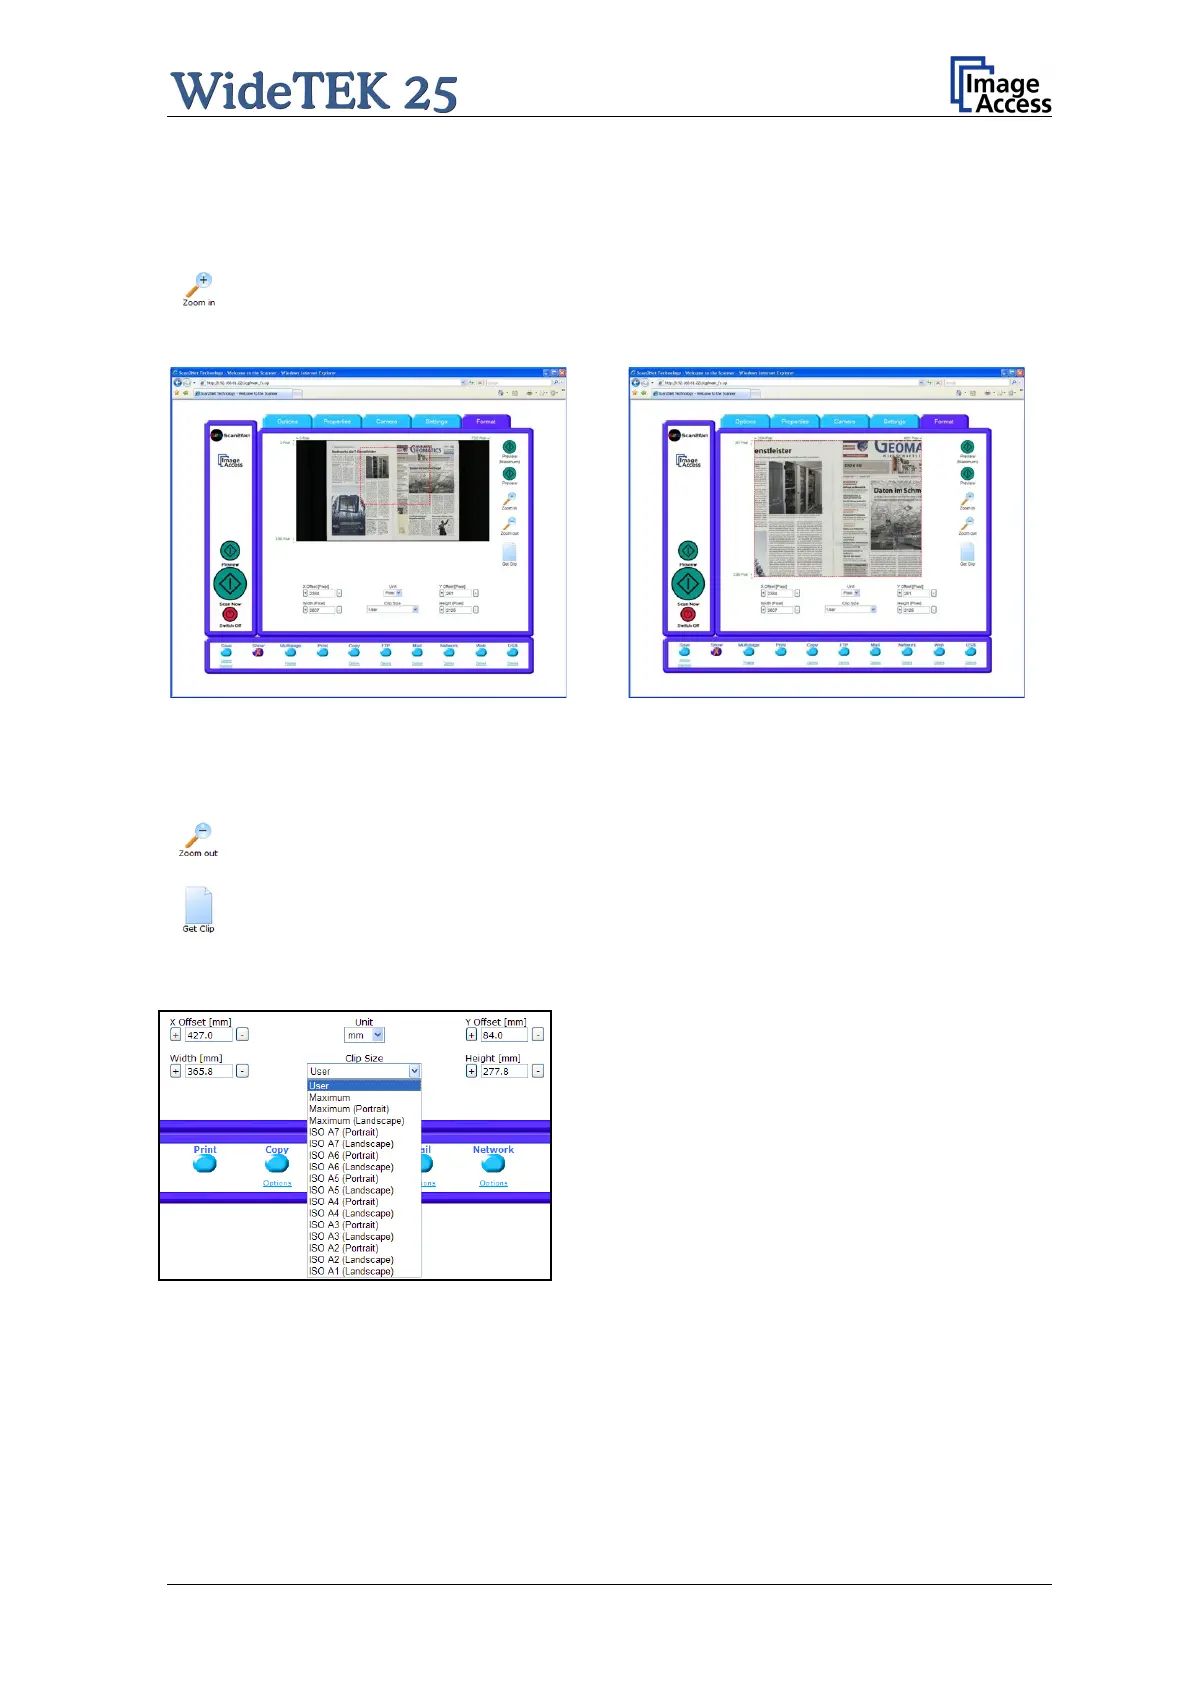
To select a specific area of the image, click with the mouse in the preview area and drag a
rectangle. Dragging the rectangle with the mouse starts in the upper left corner and ends
in the lower right corner.
Click the Zoom in button to display the selected area of the image in detail.
Picture 61: Rectangle dragged with mouse
Picture 62: "Zoom in" result
Click the Zoom out button to return to the previous dimension of the image.
Click the Get Clip button to get the selected area of the image in full resolution
in a separate window.
The control fields X Offset and Y Offset define
to position the rectangle.
The control fields Width and Height set the
dimension for the rectangle of the specific area.
The control field Unit allows selecting from a list
the unit of measurement for the specification of
the rectangle.
The control field Clip Size offers a list of formats
for the specific area. The content of the list
depends on the size of the preview scan area.
That means the smaller the preview scan area,
the shorter the list of available formats.
Picture 63: List of available formats