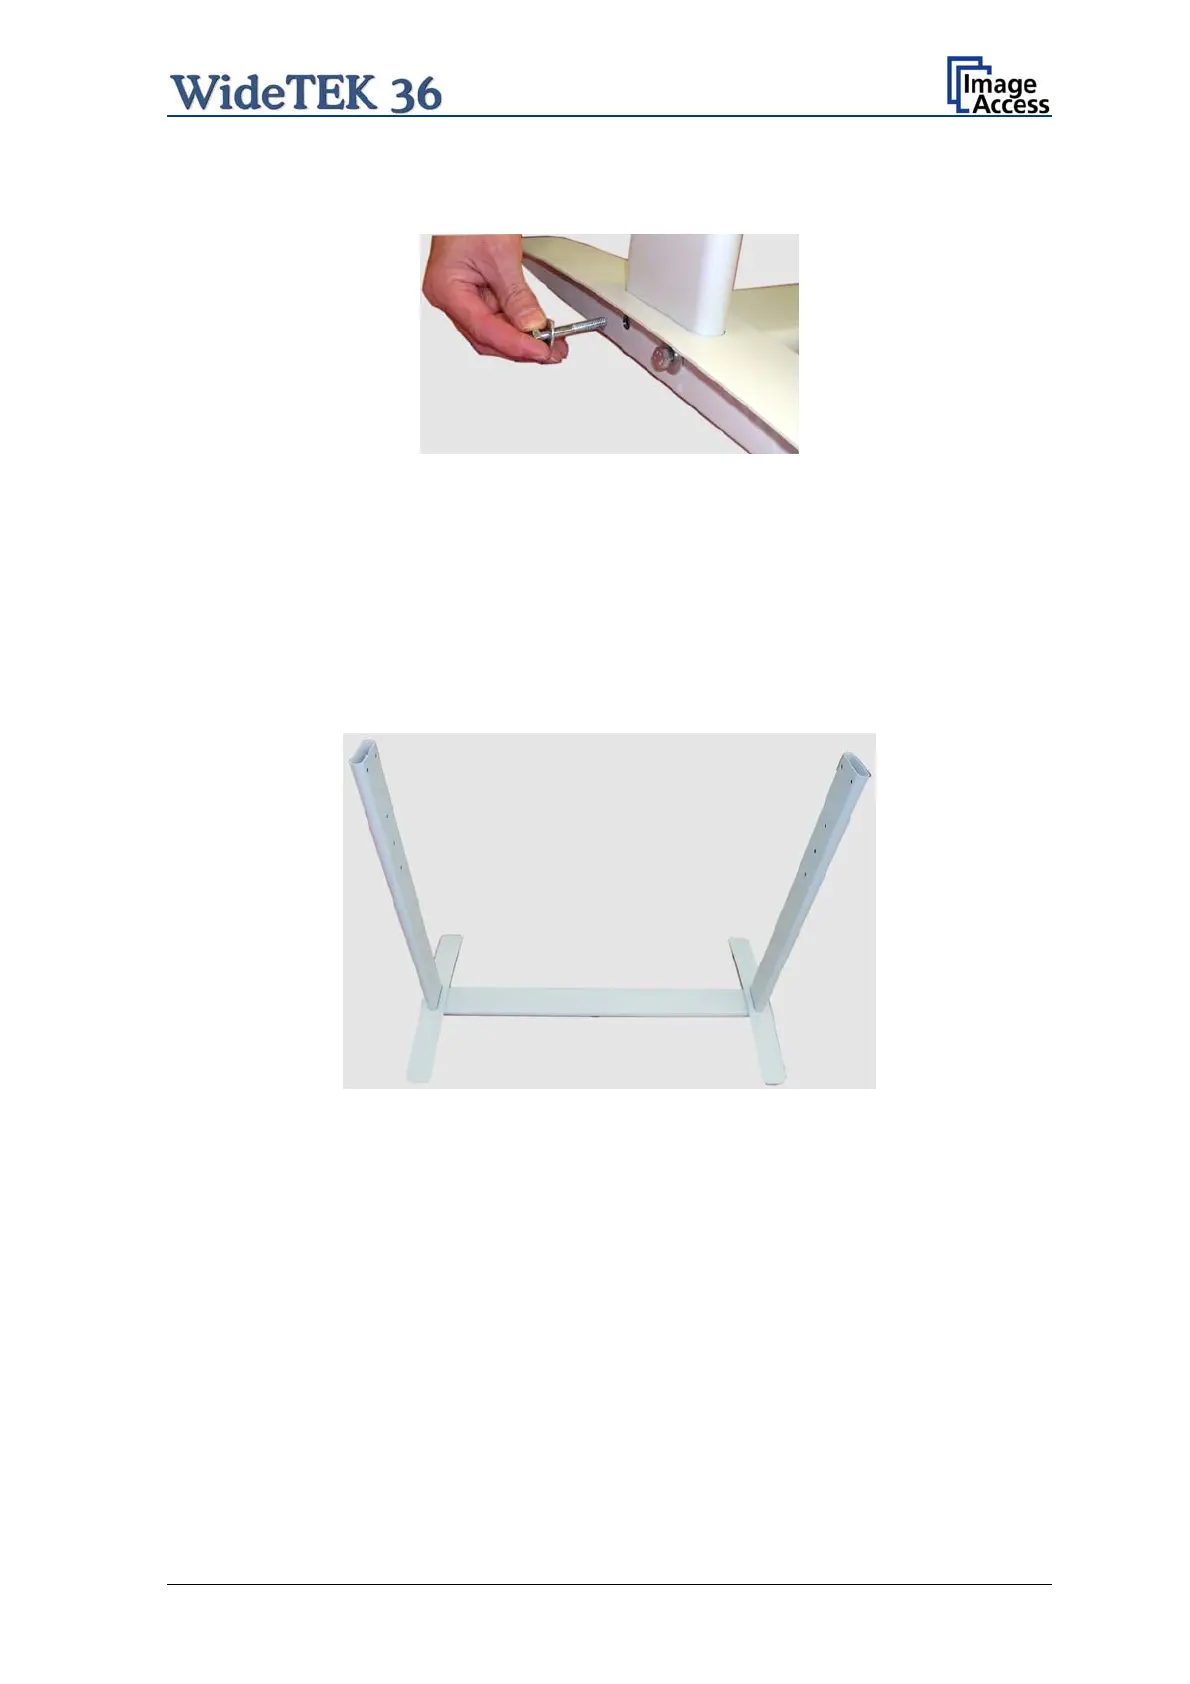
Fasten the three components with two screws ISO 4016 – M8x50x22-WS. Place a washer
on each screw.
Picture 8: Inserting screws with washer
Tighten the screws with the combination wrench, size 13, which comes with the floor
stand.
Note: All screws should only be hand-tightened at first. The components should have a
little play until all parts are assembled.
Repeat the steps described above with the second foot bracket and the second vertical
leg.
Upon completion, the floor stand should look as shown in the picture below.
Picture 9: Bottom and side components assembled
Setup and Assembly Manual Page 19

 Loading...