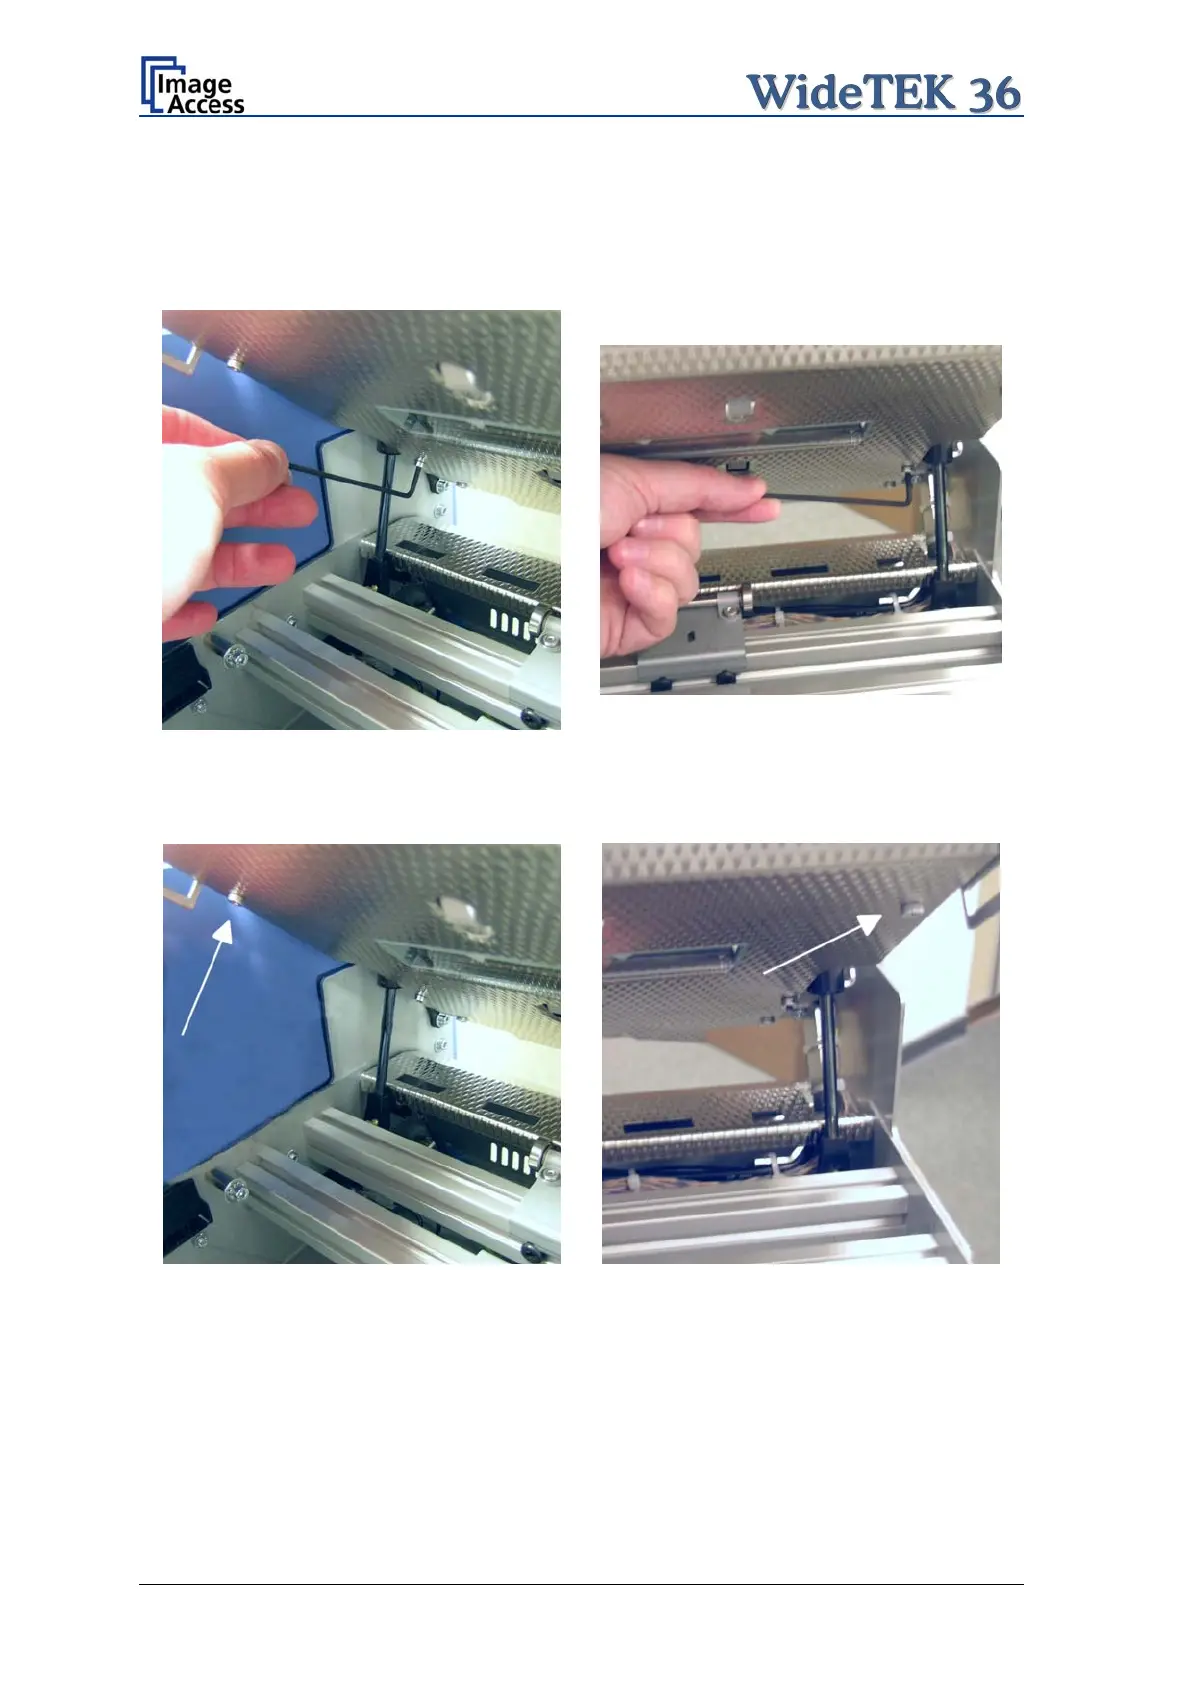
For the following step use an Allen wrench, size 2,5 mm.
The upper unit must be opened to reach the four screws which hold the glass plate rack.
It is recommended to begin with the two screws at the back. The next two pictures show
the position of the screws at the glass plate rack back.
Picture 62: Screw at back, left side
Picture 63: Screw at back, right side
At next remove the screws on the front side of the glass plate rack.
Picture 64: Screw at front, left side
Picture 65: Screw at front, right side
Page 56 Setup and Assembly Manual

 Loading...