EasyManuals Logo

Image Access WideTEK 36 Setup And Assembly Manual

Image Access WideTEK 36
69 pages
To Next Page IconTo Next Page
To Previous Page IconTo Previous Page
Page #63 background imageLoading...
Page #63 background image
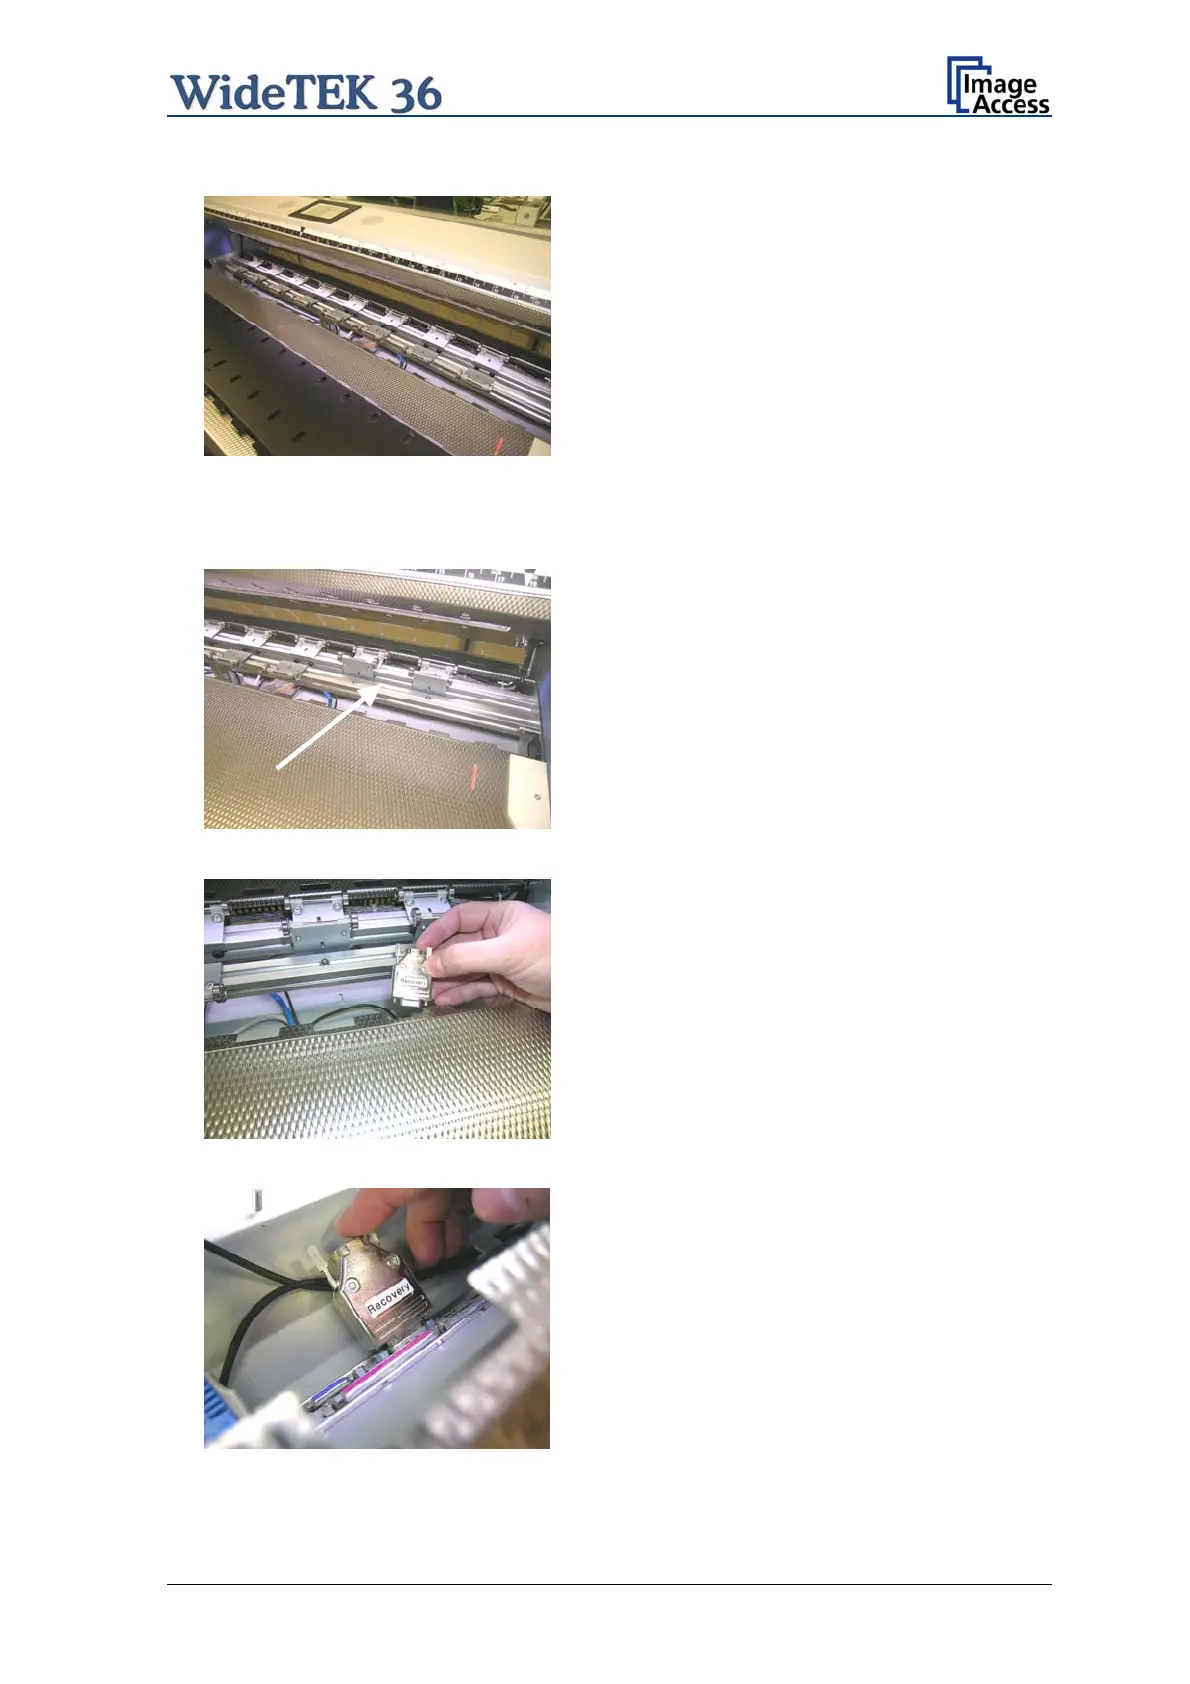
Picture 76: Compensator plate on
document table
and place it on the document table.
In the next step, lift up two of the
compensators at the ri
ght side. Because of
the elastic rubber elements in the
compensator it could be necessary to fasten
them temporarily.
Picture 77: Compensators lifted
Picture 78: Inserting recovery key
Now the recovery key can be inserted.
Picture 79: Connectors on rear panel
Plug the recovery key into the serial port at
the connectors panel.
Setup and Assembly Manual Page 63

Table of Contents

Other manuals for Image Access WideTEK 36

Questions and Answers:

Question and Answer IconNeed help?

Do you have a question about the Image Access WideTEK 36 and is the answer not in the manual?

Image Access WideTEK 36 Specifications

General IconGeneral
BrandImage Access
ModelWideTEK 36
CategoryScanner
LanguageEnglish

Related product manuals