CUSA
®
Clarity Ultrasonic Surgical Aspirator System Operator’s Manual
6-2
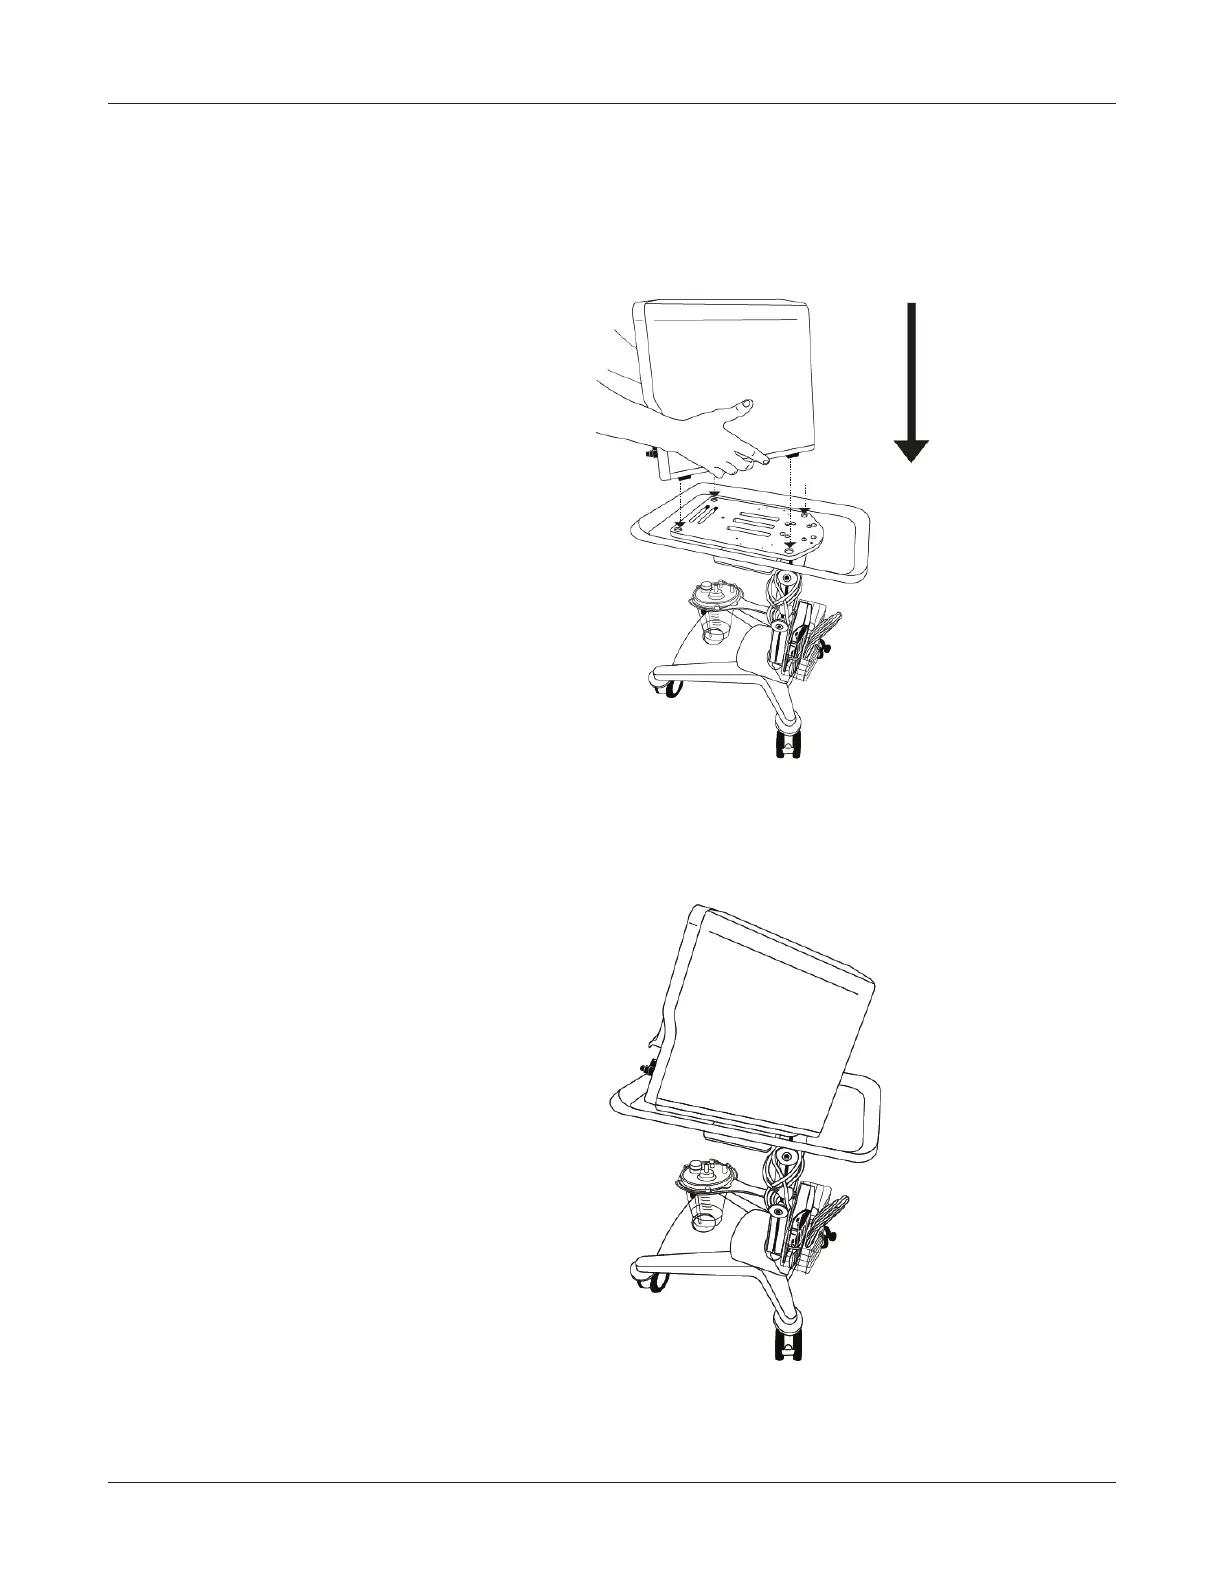
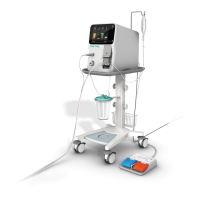
Assembling the Console and Cart
Assembling the Console and Cart
1. Place the console on the cart by aligning the four (4) feet on the
bottom of the console with the four (4) indentations on the cart.
2. Make sure the console is seated on the top of the cart.