Intermec EasyCoder PC4—Service Manual 73
Chapter 11—Firmware Upgrading
11.2 Step-by Step Instructions
Using a PC
1 Install the Intermec ESim Config Tool in your PC.
2 Run the ESimConf.exe program.
3 Set up the parameters for the firmware download (select printer type
etc.). Use the on-line help for instructions.
4 Start the Firmware download wizard and follow the instructions.
Using a Memory Cartridge
1 Switch off the printer.
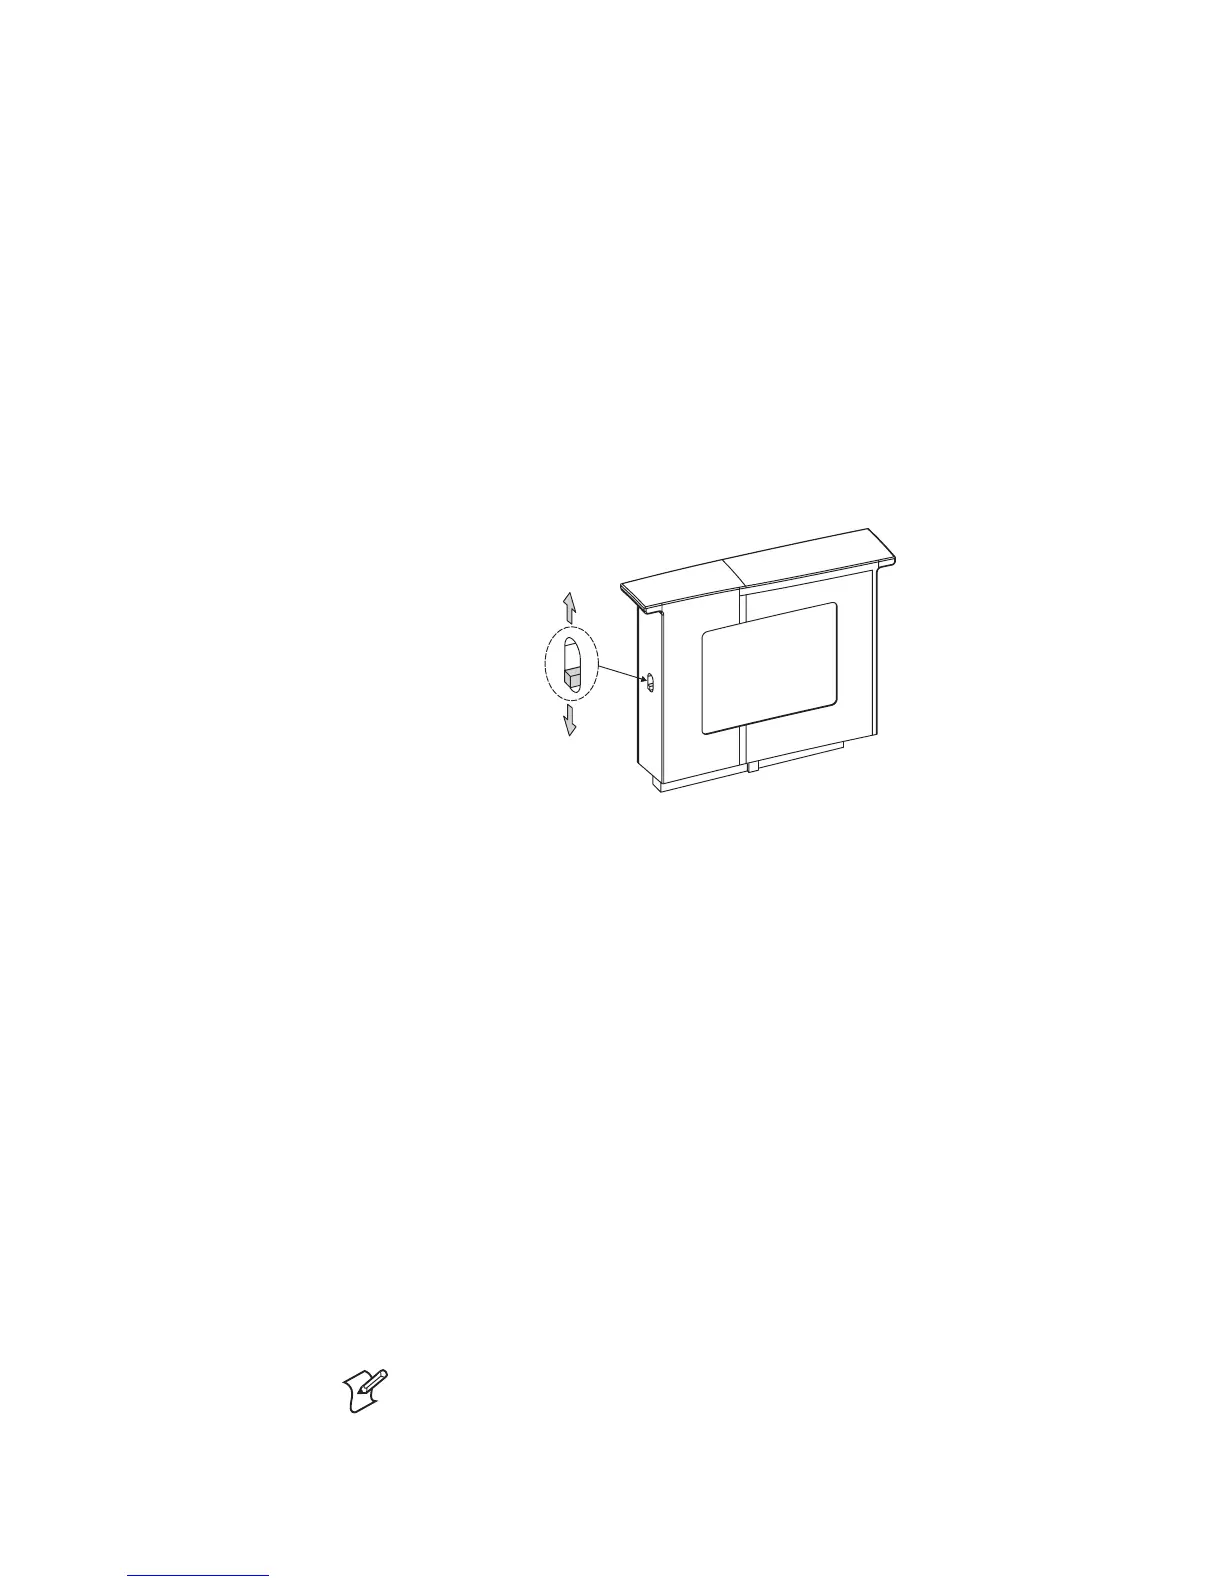
2 Move the switch on the side of the cartridge to the upper position.
3 Insert the cartridge.
4 Switch on the printer. e indicator lamp will start blinking during the
upgrading. Wait until the blinking stops, which takes about 40 seconds.
5 Switch off the printer and remove the memory cartridge. Put back the
cover over the memory cartridge slot.
6 Press the Feed key and keep it pressed while switching on the power to
the printer. A test label will be printed. Check the version number on
the test label to verify that the upgrading has been successful.
7 Tap the Feed key once to leave the Dump Mode and return to normal
operation, or keep it pressed for more than 3 seconds to reset to factory
default values (recommended).
8 You can use the same memory cartridge to upgrade several printers by
moving the cartridge from printer to printer and repeat this procedure
for each printer. Make sure not to change the position of the memory
cartridge switch until all printers have been upgraded.
9 e cartridge can be used as a normal memory expansion cartridge after
the upgrading is completed. Move the switch back to normal position,
insert the cartridge in a printer, and switch on the printer. e memory
cartridge will then be formatted automatically.
Note: If the switch is not moved back to normal position, its content will
be erased when trying to write to the cartridge.
Normal position
Firmware download
position