Operation and Application
b. Rotate the knob to select I/O Advance Config and press [Enter] key to
confirm.
c. Rotate the knob to select External Cal and press [Enter] key to confirm.
3. External voltage calibration.
a. On “PT 1” input the voltage value which is the first point showed on the
Voltage Meter, and press [Enter] key to confirm.
VSET 1.000V DA: 384
PT 1 AD:15500 M 1.003V
b. On “PT 2” input the voltage value which is the second point showed on
the Voltage Meter, and press [Enter] key to confirm.
VSET 9.000V DA: 3456
PT 2 AD:28500 M 9.070V
Finish the external voltage calibration and enter the external current cali-
bration interface.
4. External current calibration.
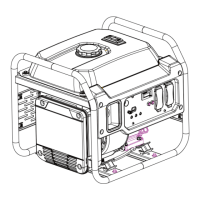
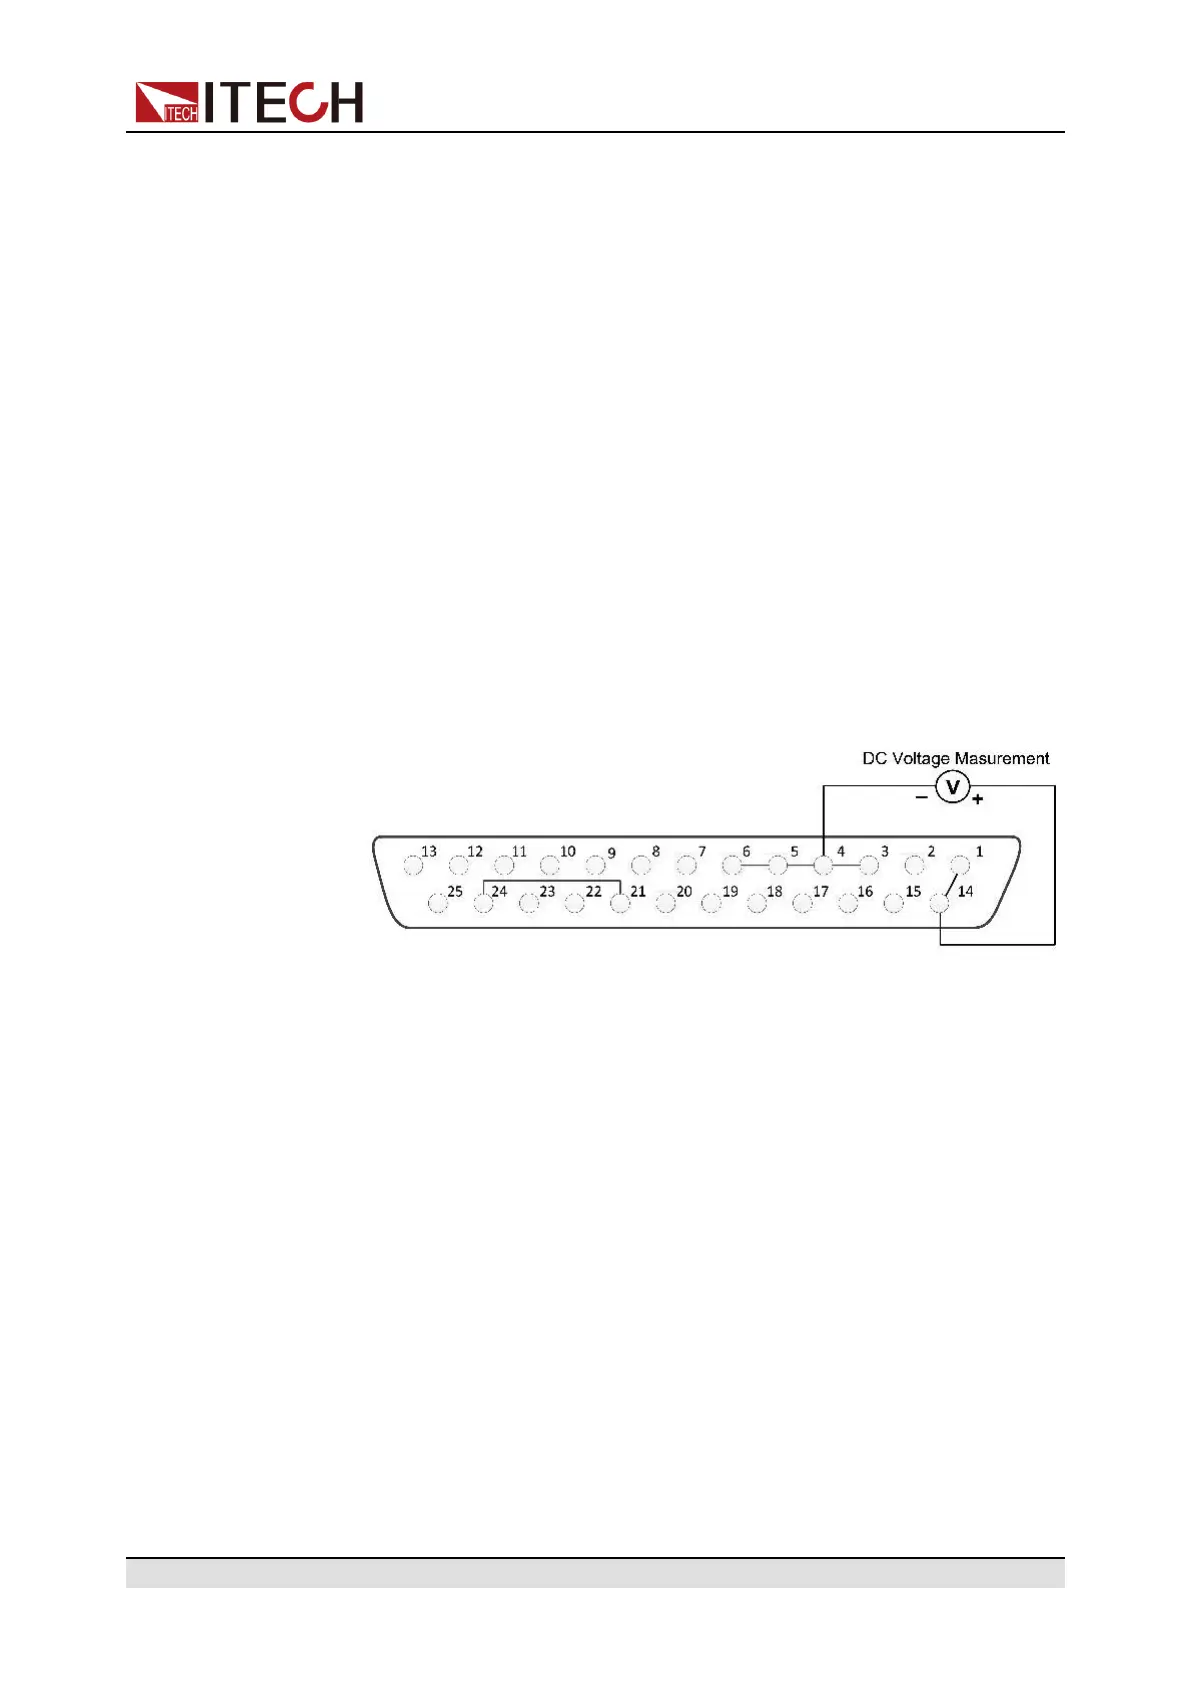
a. Please refer to the figure below for connection of the instrument under
calibration.
By connecting a digital voltmeter to the 1, 14 and 6 pins.
b. On “PT 1” input the voltage value which is the first point showed on the
Voltage Meter, and press [Enter] key to confirm.
ISET 1.000V DA: 345
PT 1 AD:16500 M 1.070V
c. On “PT 2” input the voltage value which is the second point showed on
the Voltage Meter, and press [Enter] key to confirm.
ISET 9.000V DA: 3456
PT 2 AD:28500 M 9.070V
Finish the external current calibration.
Copyright © Itech Electronic Co., Ltd.
95
 Loading...