UsingthePatchwizard Patchingyourlights
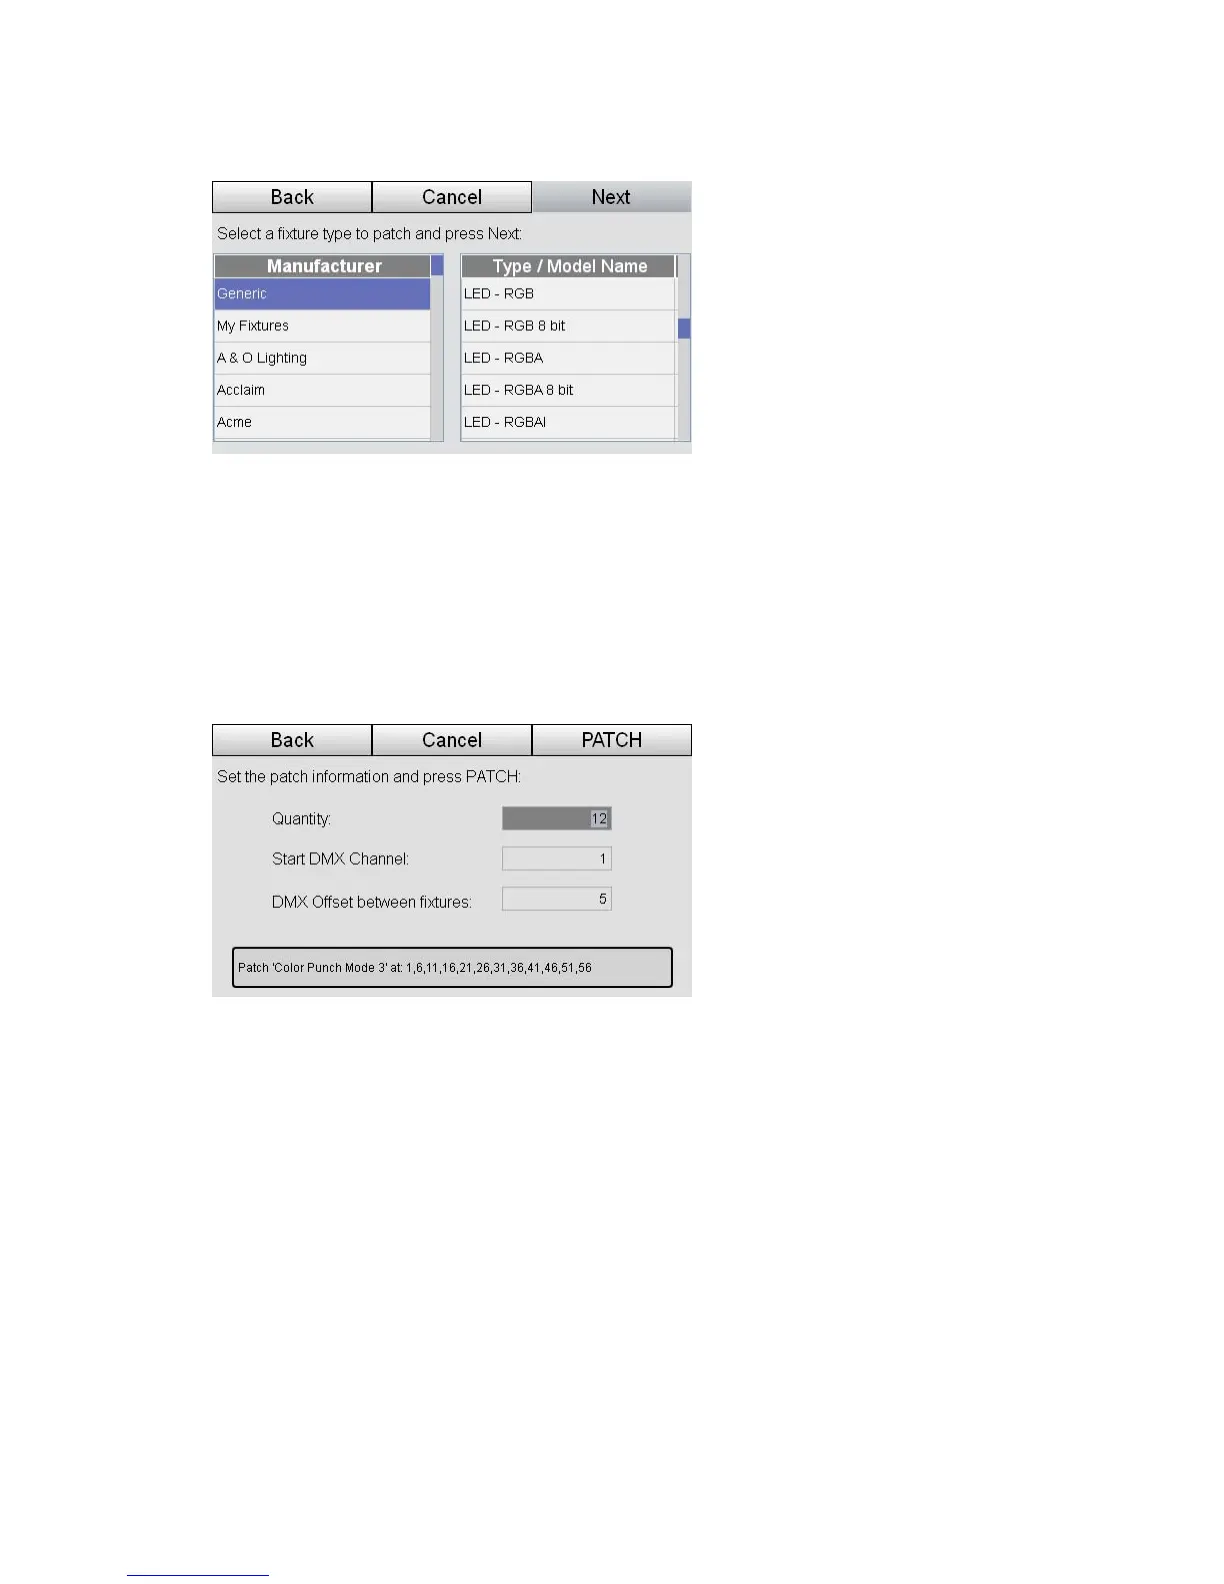
When you press Next Stage CL displays the fixture selection window:
To start patching your fixtures:
2. Use the touchscreen dial to scroll up or down the list of manufacturers in the
left column. When you find the manufacturer of your fixture type press the
dial button or tap the screen to select it.
3. Use the touchscreen dial to scroll up or down the list of fixtures in the right
column. When your fixture is highlighted press the Next button. Stage CL
opens the Patch information window:
4. If it’s not already selected, tap on the Quantity field and use the touchscreen
dial to set the number of channels to patch with this fixture type.
5. Touch the Start DMX Channel field and set the DMX address for the first
fixture channel
6. The wizard automatically patches the other fixtures at the next available
DMX address. If you want to have your fixtures spaced at different intervals
tap the DMX Offset field and enter a different value.
7. When you are finished press the Patch button.
8. If you want to patch more fixtures, press the More button and repeat steps 2-
6. If you have patched all 12 Fixture Channels or are finished, press the Done
button. Stage CL returns you to the Patch window where you can see the
fixtures you’ve patched and their DMX addresses.
4‐2 StageCLUserGuide,Version1.3